Are you interested in learning a new skill? Woodworking projects are the options to go! Whether you are a professional or a beginner, there is always something for you. If you are a beginner, chances are, you may not have an idea where to start. Why not check these beginner woodworking projects?
The best thing about these ideas is that there is no need for you to come up with a complete workshop or experience in woodworking. All you need to have is some common tools, and the willingness to learn and follow instructions.
1. Shoe Organizer
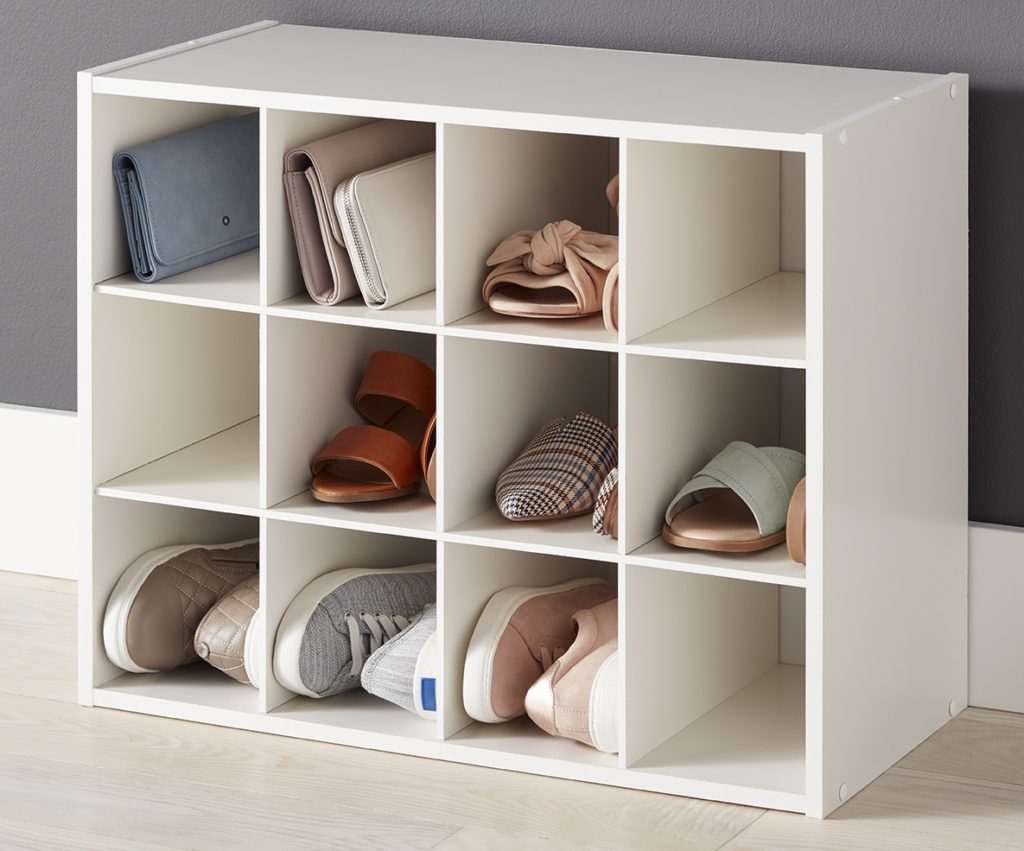
With a shoe organizer, you can no doubt keep your floor tidy and free from shoes. While there are plastic shoe organizers that you can buy anywhere, creating your natural wood organizers can handle all types of shoes from summer sandals to winter boots. The best part is that there would be no scuff marks or mud buildup on the wall.
Materials
- Miter saw
- Tape measure
- Level
- clamps
- Countersink drill bit
- Cordless drill
- 4-in-1 screwdriver
- Wood glue
- Screws (1-5/8-in, 1×3, 1×4, 3-in screws, 5/8-in dowels)
Instructions
Step 1 – Drill Dowel Holes
Use the 1×3 support to clamp to a scrap wood piece as you continue drilling the holes. This will prevent the splintering of wood.
Step 2 – Screw the Supports to the 1x4s
The next step is to screw the supports to the 1x4s. Cut them afterward to fit the space available and the shoes. Glue or nail the dowels into the supports, leaving at least 2 inches, extending toward the end to hang slippers or sandals.
Step 3 – Apply Finish
Before mounting your rack to the wall, or installing it in a place, apply finish to make it look extra appealing.
2. Hat and Coat Rack

This hat and coat rack are easy to make and very functional in purpose. It is easy to build, taking only about two hours to complete.
Materials
- Circular saw
- 4-in-1 screwdriver
- Paintbrush
- Level
- 1×4 board
- Hooks
- Drywall anchors
- Primer
- Paint
- sandpaper
Instructions
1. Place the Racks in the Right Position
Drive the screws halfway into every board. This will allow the screw tips to poke from the back. Position your board where you would like to install them, pressing hard to determine the area for the drywall anchors.
2. Install Drywall Anchors
Screw the anchors to every spot marked, attaching the boards afterwards. They are easy and quick to install.
3. Magazine Storage Container
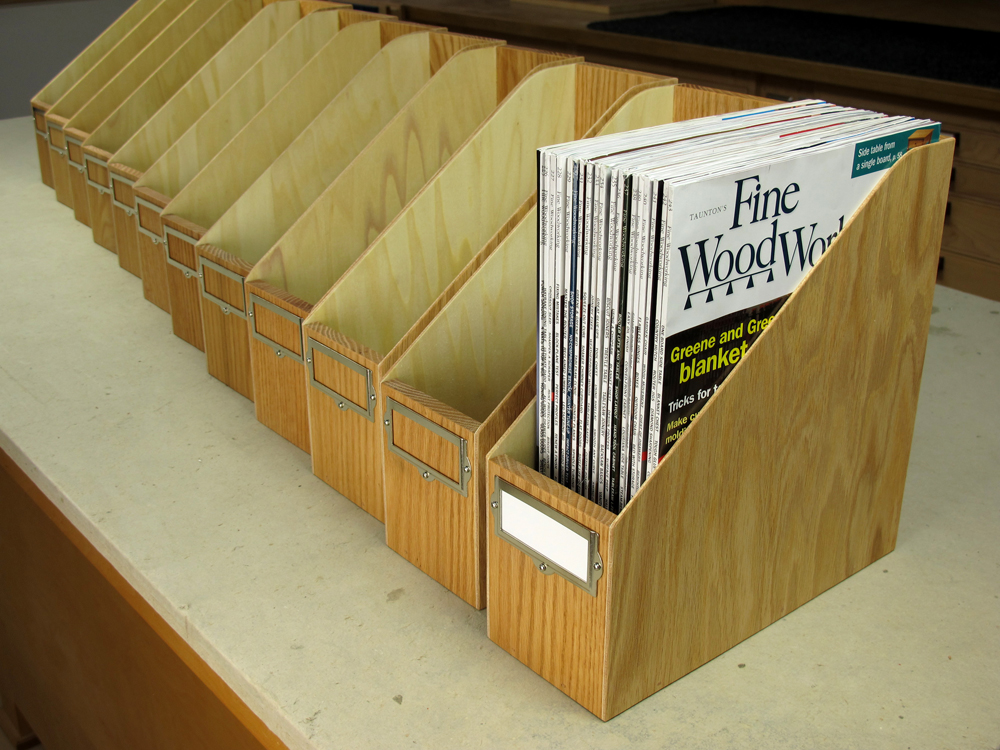
If you are looking for an ideal storage container where you can archive your magazines or other documents, a wooden magazine storage rack is a great option to take into consideration. Cutting of the wood is easy with either a band saw or a jigsaw.
Materials
- Air hose
- Jigsaw
- Air compressor
- Cordless drill
- Circular saw
- Brad nail gun
- Drill bit set
- Safety glasses
- Orbital sander
- 1 x 4 pine
- ¼-in plywood
Instructions
1. Mark the Areas for Cutting
To start with this project, you can cut the ¼-in plywood first into 8 pieces of 11-1/2 x 11-inch pieces. A 5-gallon bucket can be used in tracing a gorgeous S-curve out of the 11-1/2 inch in height corner crossing the plywood over a 6-inch mark on the opposite side. The goal here is to create a smooth curve.
2. Cut the Curves
Stack the pairs into the best sides while facing each other. It will also help to tape all of the sheets together, flushing toward the edges. A certain technique called the “gang cut” can be used to a curve using a band saw or a jigsaw.
4. Spice Rack

One way to store your favorite seasonings is with a wooden spice rack. It is fast to make and fun to complete.
Materials
- 1-1/2-in wood ball (or other types of knobs)
- 5/8-in spade (a brad point drill bit will also do)
- 1-7/8-in Forstner drill bit
- (4) 1-5/8 x 5/8-inch dowels for the legs
- (1) 5-1/4 x 5/8-inch dowel handle
- 9-inch lazy Susan
- 11/12-inch & 7-1/4-inch wood discs
Instructions
Step 1 – Divide the Larger Disc
For the first step, you can use a protractor and a pencil to divide the bigger disc into wedges of 30- degrees, creating 12 lines for the indents of the bottle. Locate the center, tracing the smaller disc above the bigger one.
Step 2 – Drill Holes
Use a drill press to create 3/8-in deep holes on each of the 12 center lines. You can use a 1-7/8-inch Forstner bit, creating a space in between the outer edge of a disc, as well as the traced middle. You can then start dividing the smaller discs into wedges of 60-degrees while drilling six other 3/8-in deep holes using a Forstner bit.
Step 3 – Drill and Glue
Drill (4) 5/8-inch in diameter, and ½-inch in depth holes on the bigger disc within the circle that has been traced. Next, with 5/8-in dowel centers, move the locations of the hole into the underside of the smaller disc.
Drill (4) ½-in deep holes beneath the small disc, along with a ½-inch deep hole in the middle of the upper part of the dowel handle. Glue the dowels together, joining the discs, and finally gluing the handle.
Conclusion
Indeed, the feeling of creating something out of your own hands is extremely satisfying. The items mentioned above include the best beginner woodworking projects that you can try out. After all, woodworking is one of the most amazing hobbies these days, allowing you to explore your creative side, producing very functional pieces while adding your flare to them. This will give you an amazing sense of accomplishment in the end.
Share with us some of the woodworking projects that you have completed yourself in the comments section below. Feel free to share this article too if you like!
Leave a Reply