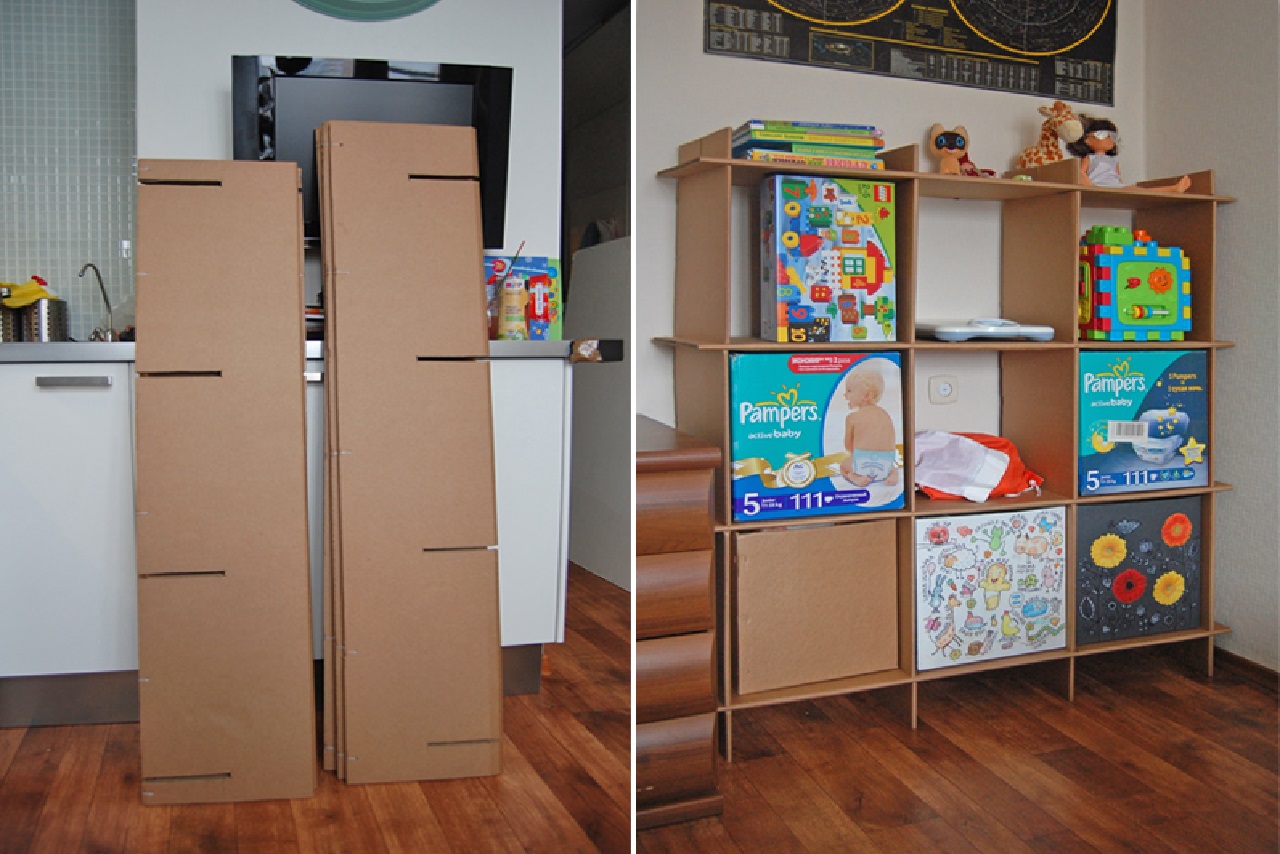
Many DIYers agree that making DIY cardboard shelves is one of the easiest and most satisfying woodworking projects they have tried. As a bonus, you can get a functional shelf that you can use for your home. Making cardboard shelves is easy to cut and assemble. All you need is scrap cardboard, and the willingness to follow the instructions accordingly. Take a look at this guide and start making your DIY cardboard shelves.
What You Need
- Tape/Pin
- Glue
- Scissors
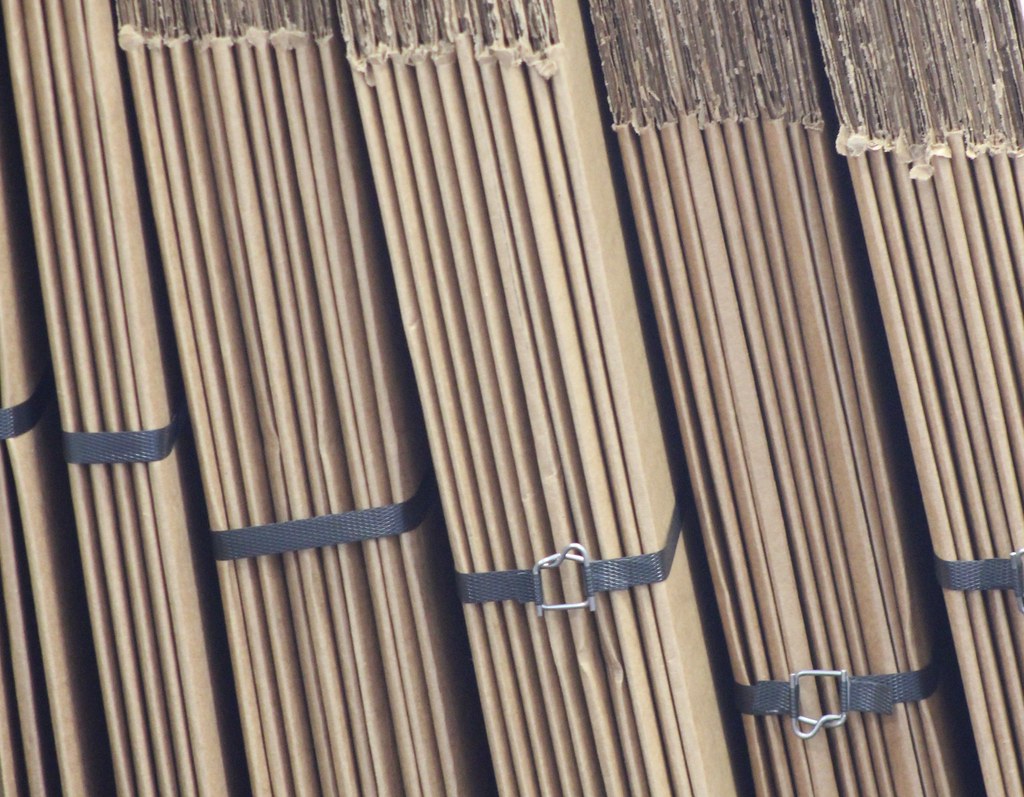
- Cardboard pieces
Step-by-Step Instructions
Step 1 – Prepare the Materials
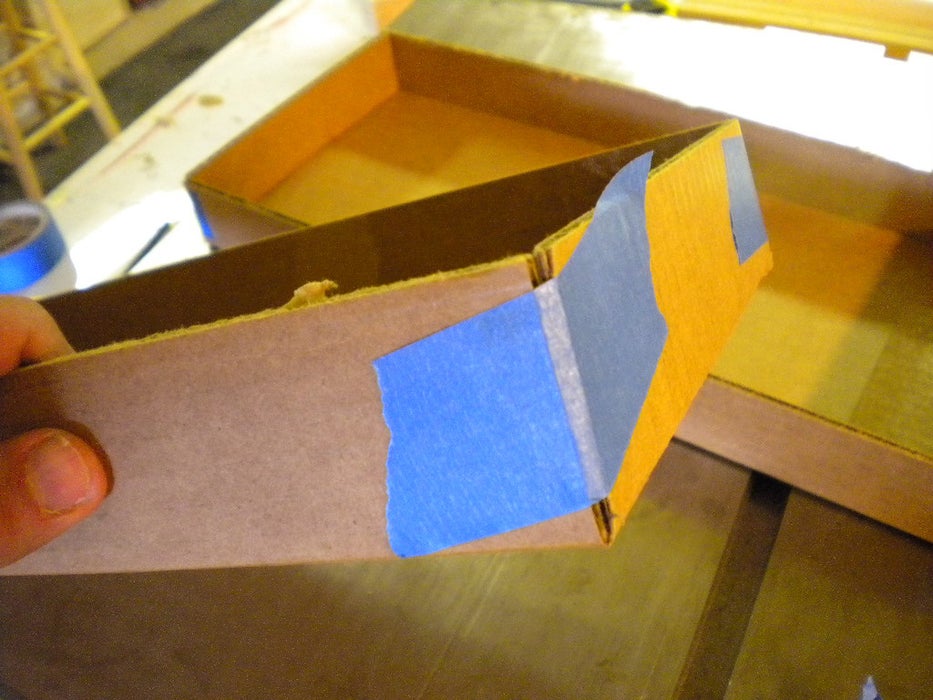
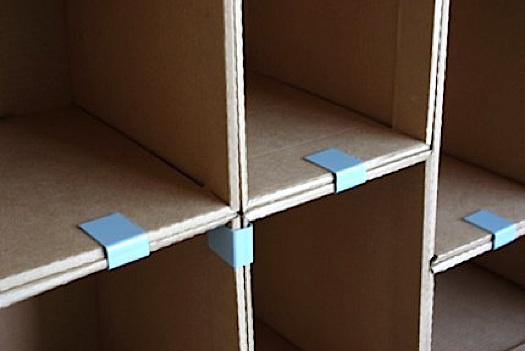
Before you start the actual process, make sure to tape every corner of the tray shelf, applying a small amount of glue to the inner part. The purpose of this process is to pin it in. Also, make sure to prepare the overall form first. This can be done by attaching the bottom shelf first, then the top shelf, and later on filling in with the middle shelves. Every unit should be with a width of 20 inches or less. This may already be strong enough to pile books and other random stuff for display.
Step 2 – Make the Tray Shelves
Making the tray shelves is very easy. Every shelf could either come in a preassembled shape, similar in appearance to a box lid, or you could also cut both upper and lower parts from a taped-shut box to have two. You can also leave the tray sides which have been turned down at around 2-inches for strength. An ideal depth is sized at 9 to 11 inches.
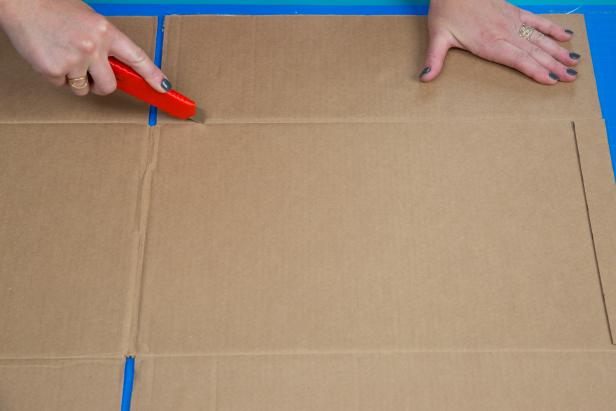
If you cannot come up with boxes of the same size, you can try using a refrigerator box, as it will allow you to make good trays. Cut 4-inch in width rectangles, with a length that depends on how long you want your shelves to be.
Cut 2-inch squares from every corner. Next, drag a 2-inch offset line from the edges, as this will serve as a guide for folding and scoring. After the pieces have been cut and scored, you can start folding the tabs a few times to make sure that they are sturdy and compliant.
You can then start taping the corners using as little tape as you could use. You can opt to run a medium-sized bead of glue in every seam where the two tabs meet together. The purpose of this part of the process is to hold the shape until the entirety is blued together with the vertical angles and supports.
Step 3 – Cut Vertical Supports
The vertical support should have a size of 6-inches in width, single-ply and corrugated. The length is also up to you. If you are looking for a good source, appliance stores, and bike shops are places where you can get some free cardboards. Cut them into 6-inches strips, scoring in the middle, and folding a few times. Remember to score a material using ½-inch thickness, which requires cutting through a trough or v-groove at about 1/8-inch in width.
Mark the supports before starting to glue anything. You can begin with the lower part, a single corner at a time. Note that the sturdiness of the entire unit will depend on that shelf being square to its supports. To achieve this, you may use a carpenter’s square to serve as a guide.
Step 4 – Assemble
You can start the assembly by trying it first on a scrap, trying two kinds of hot glue joint – a ¾-inch puddle, and a 1 ½-inch diameter circle drawn by a glue bed. The puddle is just located in a specific area, which means that glue and heat will penetrate the cardboard.
It will then allow you more time for adjusting the square, though you still need to wait as it is set in place. The circle will cover a bigger area. If this can be quickly aligned, then it will give you a strong output. After setting the bottom shelf in, make sure that your shelf can support your stuff by installing the upper shelf similar to that of the bottom.
After you install the upper shelf, fix any visible crookedness that you may observe from the bottom shelves. The middle ones will then be fitted snugly in place. After placing all shelves in, the entire cardboard shelf will look like a collection of rigid, smaller boxes. If you want to build anything larger, you can then gang them up together to form a bigger model.
Conclusion
Making DIY cardboard shelves are easy, as they resemble building cardboard boxes. You can even make a cooler output if you use existing box corners and tray lids, which means that there is no need for you to score and fold. Try this out and tell us your experience! Leave your thoughts in the comments section below! Please feel free to share this article with your friends if you like!
Leave a Reply