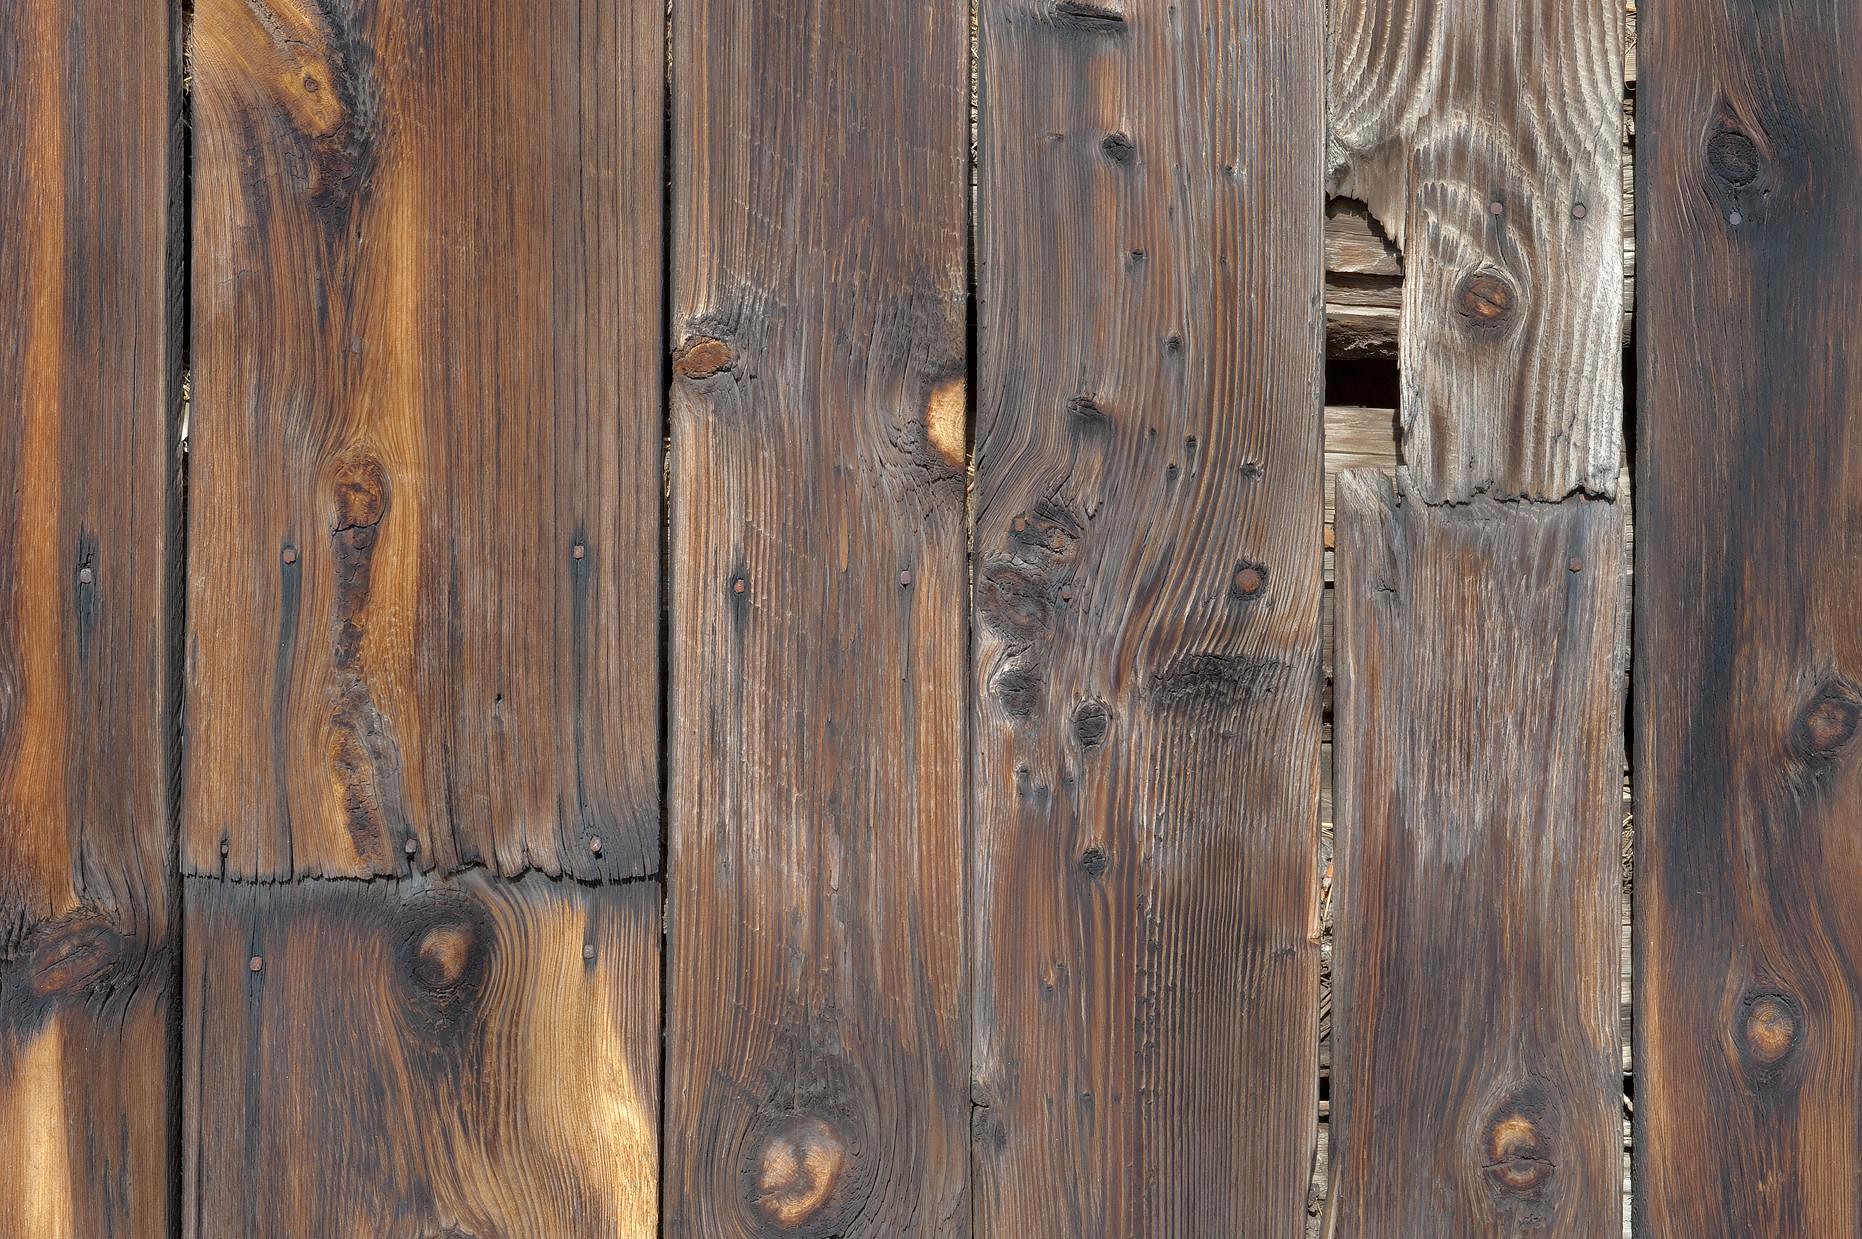
There seems to be something special with aged wood. It creates that casual or rustic appeal to any given space. Aged wood is ideal for producing a relaxing, and homey environment, turning a cold setup into something comfortable. The vintage look of aged wood can easily give any room a softer feel.
If you have furniture at home that came straight from the store, knowing how to age wood will help you achieve a gorgeous worn, vintage look of wood that does not require waiting for years to achieve through the natural process.
After learning this process, you can easily turn pieces of furniture into a character-filled opus. In this guide, we will learn three hacks that will help you how to age wood, making any wood item look like it’s been aged for years.
Hack 1 – Vinegar and Tea Method
What You Need
- Vinegar (preferably white)
- Glass jars
- Steel wool
- Black tea
- Water (warm or room)
- Rags
- Sandpaper
- Plastic gloves
- Polyurethane or paste wax
Step-by-Step Instructions
Step 1 – Make the Vinegar Solution
One of the easiest ways to age wood is using things that you already have at home, in your kitchen. Fill a glass jar halfway with vinegar. Shred steel wool, adding it into the solution. Allow the vinegar and steel wool to sit uncovered for a minimum of 24 hours. Leaving it for longer will produce a darker appearance. This is good but does not allow rust to form, because you might end up with an orange stain.
Step 2 – Add Tea
After at least 24 hours, combine tea and hot water in a separate glass jar. The tea is composed of tannins that will react with the other solution, creating a darker finish.
Step 3 – Sand Wood
If the furniture is already finished or painted, sanding is required before applying the stain solution. If this step is skipped, the solution may not stick well to the wood.
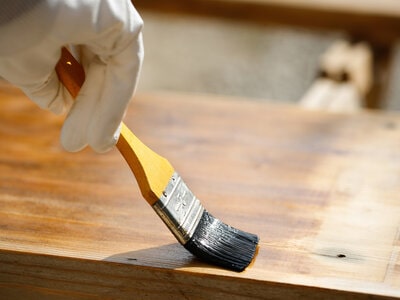
Step 4 – Apply the Tea on the Wood
Using a paintbrush, apply the tea to the wood, giving it time to dry before applying the solution to the piece. The process of aging continues as it eventually dries off, which is why there may be a need to wait before a second coat is applied.
Step 5 – Apply for Protection
When you are already satisfied with the appearance of your furniture, you can protect it even further by applying polyurethane or paste wax.
Hack 2 – Using Commercial Stain
What You Need
- Paintbrush
- Sandpaper
- Water (warm or room temperature)
- Wood stain
- Plastic gloves
- Rags
Step-by-Step Instructions
Step 1 – Sand the Wood
Start by removing coatings and creating a smooth, clean surface. This is done by sanding wood. If you are using a stain that is designed specifically for creating an aged look, it is best to follow the instructions prepared by the manufacturer.
Step 2 – Brush Water on the Wood
If regular wood is what you have, you may want to brush water on it. This will help in allowing less of the stain to go deep into the wood and be absorbed by it.
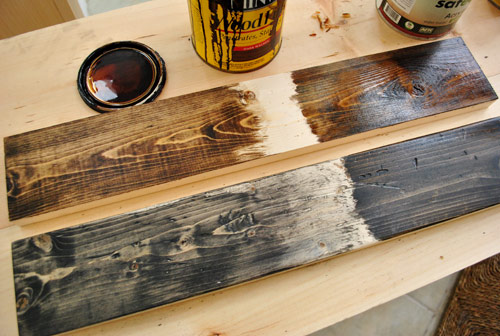
Step 3 – Apply the Stain
It is important to allow the wood to dry first for a few seconds. Afterward, you can then apply the stain. Wipe off the extra stain immediately using a rag. Allow the wood to dry. Repeat the process if needed. You can then finish this by applying protection, such as polyurethane or paste wax.
Hack 3 – Mechanical Options
What You Need
- Sandpaper
- Hammer
- Metal chain
- Drill
- Awl
- Nails
- Wire brush drill attachment
Step-by-Step Instructions
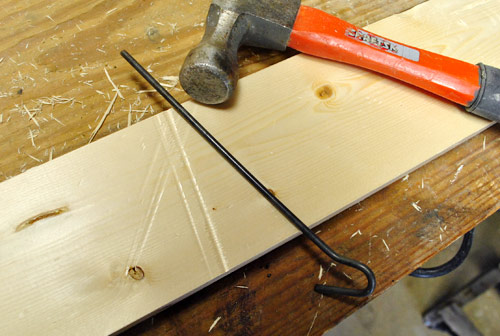
Step 1 – Distress the wood
When it comes to aged wood, some dings and dents are often a good thing. Use objects and tools to distress wood. Create some scratches along the way. A cloth bag or sock filled with nails, creating an irregular pattern.
Step 2 – Create Texture
This requires the use of a wire brush attachment to remove the softer wood areas while allowing the grain to shine. Fit attachment right to the drill, running the brush in a back-and-forth movement through the wood, going through the direction of the grain. Repeat this step until the wood is textured. Sand the surface lightly as a finish.
Step 3 – Insect Damage Design
Aged wood is usually filled with wormholes. To create this look without the actual bugs, you can drive awl in the wood. This will create a random pattern. Screws may also be drilled using a 2×4, using it to make small holes in the wood.
Conclusion
Whether you are using furniture for your floors, shelving, or other items at home, aged wood brings a sense of rustic appeal to your space. If you are not able to find real reclaimed wood to fulfill your dream project, why not use new wood and learn how to age wood using the techniques mentioned above? This will not just save you some time and money, but will also allow you to explore your creative side. Share with us your experiences in aging wood in the comments section below! We would love to hear from you!
Leave a Reply