Renovating your house, particularly the area in the kitchen, can make an excellent way to beautify your home. You can alter as minimal as a kitchen island and still manage to come up with an invigorating design to the kitchen.
Kitchen islands are an incredible way to incorporate more seating, storage space, and counter to one of the toughest working areas in your home. They are physically engaging and offer a lot of character to your area. Whether you want to have the best storage solution, a relaxing place to rest, or a place for informal dining, learning how to build a kitchen island from scratch can give you the advantage to customize your kitchen island without spending more amount of money.
What Do You Need to Follow this Tutorial?
Here are some of the things that you need to secure before you can follow this tutorial:
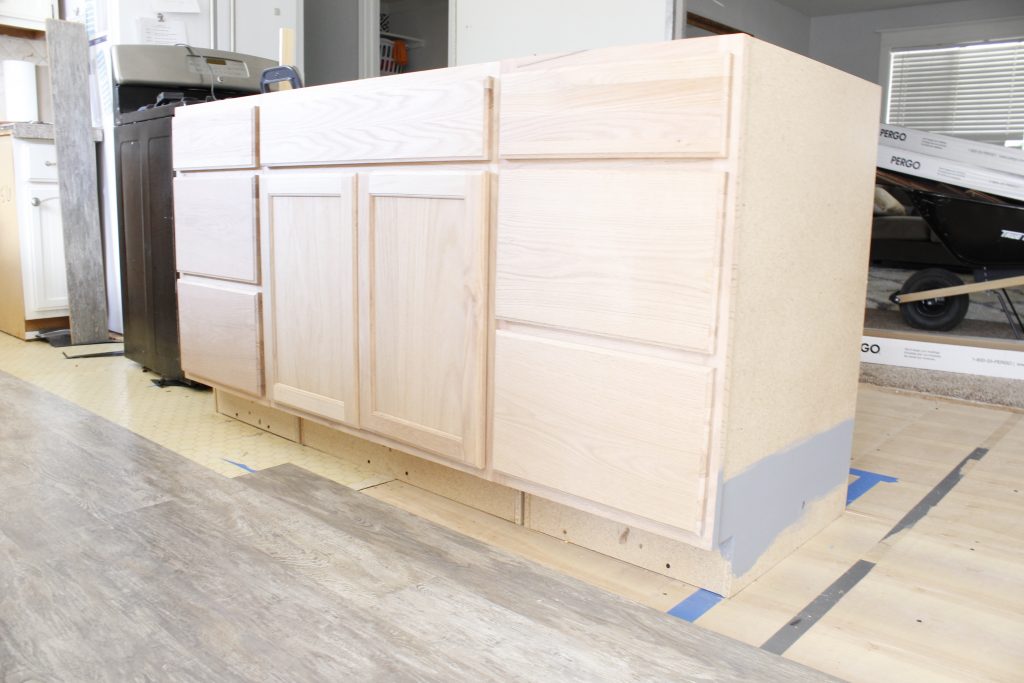
30-inch base cabinets
You will need two 30-inch cabinets to be the base of the island. You may also want to use cabinets of different sizes. However, you may need to do some adjustments to the center wall. But for the sake of following the steps featured in this tutorial, it is highly recommended that you get two 30-inch base cabinets since the top and bottom parts in this tutorial are already based on this kind of cabinet.
Screws
You will need the screws to attach the different parts. Prepare forty 1 5/8” screws. These should be enough to secure the cabinets and the counter. You should be particular about the size of the screws when following this tutorial as you do not want the cabinets or the counter to break because of your poor choice of screws. Later on in the tutorial, you will understand why you need to secure enough screws at this size.
Step-by-Step Instructions
This easy-to-follow DIY kitchen island tutorial is best if you like to immediately replenish your kitchen. To help you make a kitchen island, here are the steps that you need to follow:
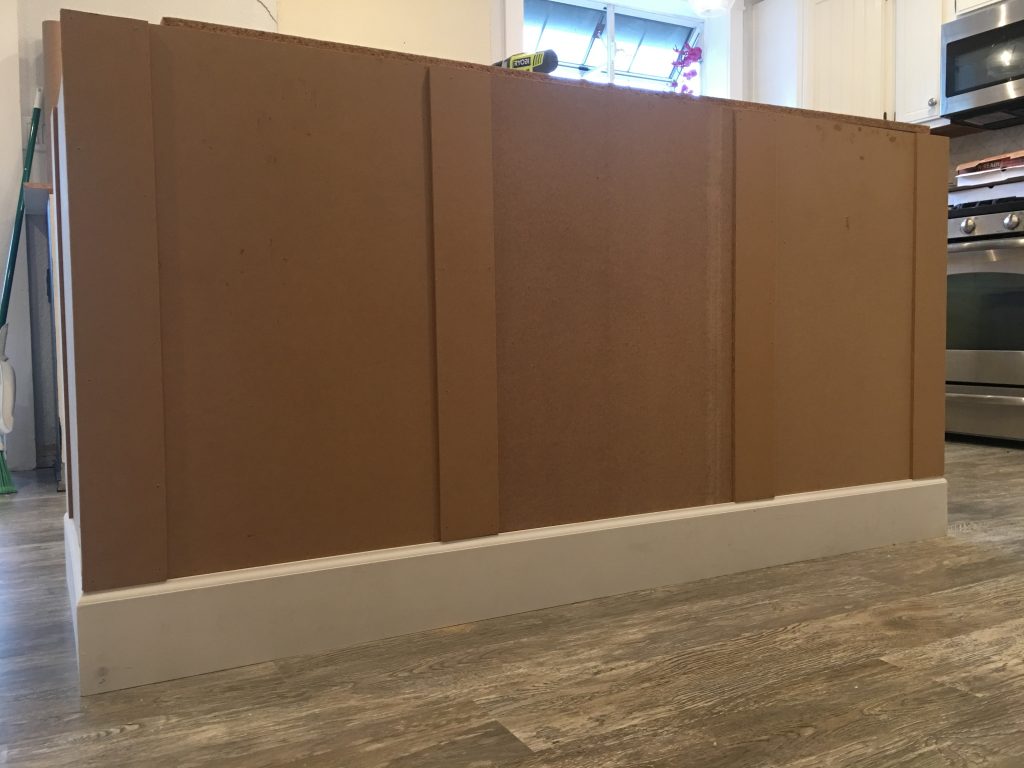
1. Cut the Board for Framing
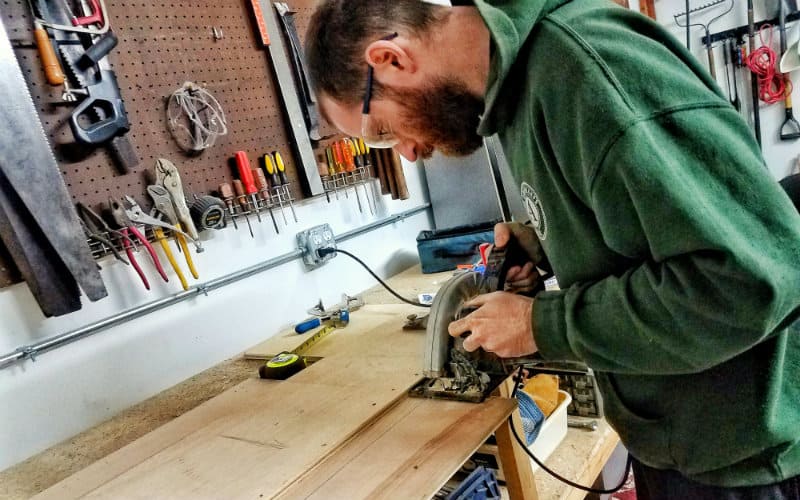
For this tutorial, we will make a kitchen island that can hold two 30” base cabinets. You will need a 24 x 60” bottom and topped with a 39 x 73” counter. The larger top offers a protruding part on the back portion and on the side to give space for the bar stools. You can easily alter it by adjusting the width of the middle wall.
Make sure that the “like parts” have the same length. Use the first cut of every part to serve as the standard for each ensuing cut. Once done, set the studs next to each other to make sure they have the same cutting in terms of length. A tall stud can restrain the finished kitchen island from a sitting level.
2. Place the Toe Kick Box
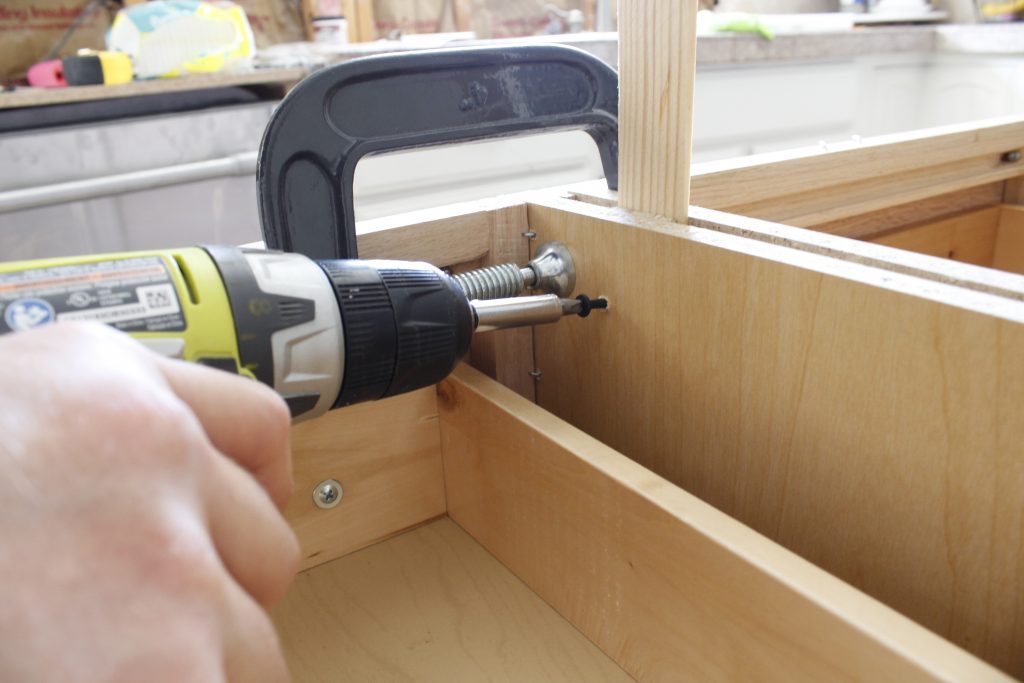
Set up the cabinets based on the instructions given by the manufacturer. Once done, set up the toe-kick as a different box with a dimension of 21 x 54”. Place the toe kickbox fixed in the kitchen and hook it up to the floor with L brackets. Doing so will make the assembly more secure and will not flop.
If your kitchen has a tile floor, shove the screws into the grout areas to prevent breaking the tiles. In case you decide to take off the island, you can just load the holes with some grout.
3. Position the Cabinets on the Toe Kick Box
This time, position the cabinets on the toe kickbox and fasten them using screws. Then, fasten the cabinets to one another by still using screws. You will then proceed to set the counter on your cabinets. On the side of the door, you will like to have a 1 1/2” overhang. On the back part, there will be around 15” hanging over.
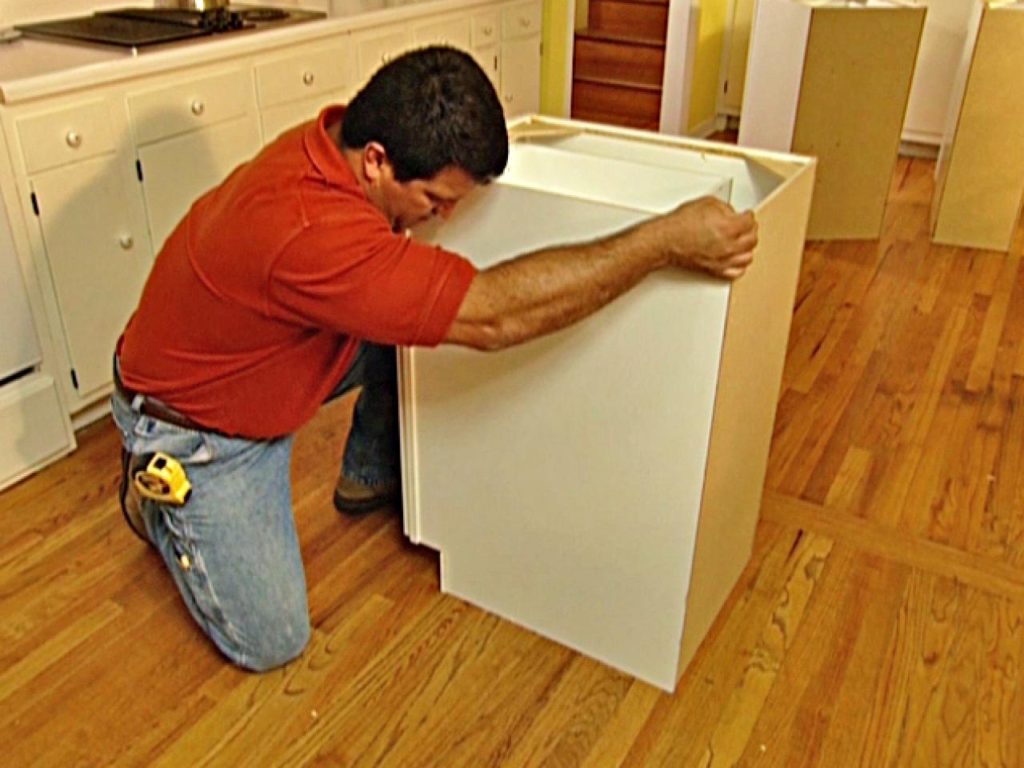
4. Hook up the Counter
Hook up the counter by using screws. Screw up through your cabinet with 1 5/8” screws and secure them into the sturdy wood undersurface. And finally, connect the doors with the comprising hardware. You will see that the freshly custom-made DIY kitchen island is already done and is set for placement.
Conclusion
There you go! You now know the steps on how to build a kitchen island from scratch. Just like any other DIY, you get to save money if you choose to build your own kitchen island. You can incorporate your preferences and work on your project according to your timeline.
Making your own kitchen island can be quite complicated but with the detailed steps above, you can improve your kitchen by adding your newly-built kitchen island. Although it can get exhausting, you can find pleasure once you see the finished product of your project.
Leave a Reply