
Wood carving is a common type of carving, and many people still practiced it today. Learning wood carving is an enjoyable hobby. Not only will you dip your hands into a beautiful culture, but you get to indulge in the story of an old tradition that survived up until today. Plus, you will learn to be patient as well.
If you are fascinated by studying how to carve wood, this tutorial is the first reference for you to begin. Know what to prepare, the supplies you require, and other various concerns to know. Your interest in wood carving will sure bloom into a full-on hobby that you will enjoy.
What Do You Need to Know?
Before you start learning how to carve on wood, it is necessary to know more about wood carving in general. It means getting to know the different types of wood carving, what wood to use, and the different types of knives you will use to carve.
There are different things to cover before you get the chance to hold the gouges or the knife and start wood carving. So, here’s a quick overview of what you must know.
Knowing the Types of Wood Carving
Wood carving has different fundamental types. The most common ones are whittling, chip carving, and carving in the round.
Whittling is a traditional style and gets done through a whittling knife. Hence, the name. Some people do it as a past-time. Whittling is the process of carving thin slices of wood repeatedly until the wood takes shape into the design you want.
Chip carving is removing small slices and chips from a flat wood surface. Thus, the back of the wood remains flat, while the front shows the carving of the design.
Carving in the round creates lifelike wood carvings. Thus, compared to whittling, the lines in this type are smoother and more defined than the other.
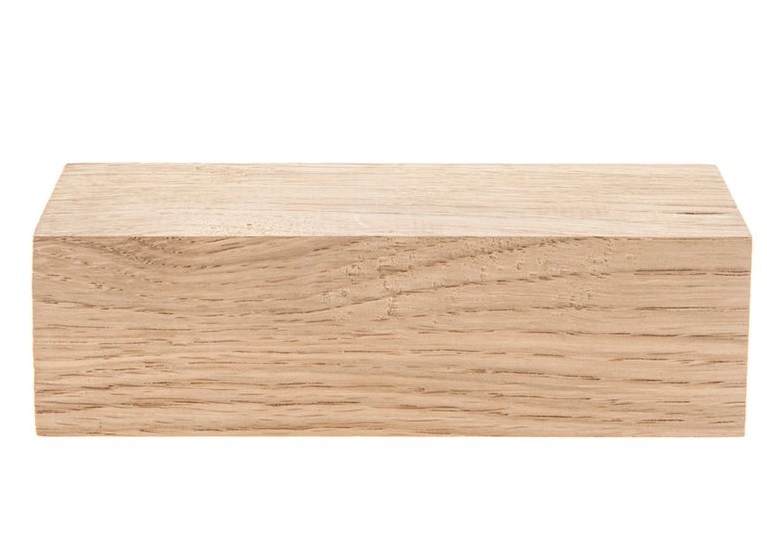
The Right Wood for Carving
There are different woods to use when learning how to carve wood. For beginners, basswood or pine wood are the best. They are called softwood, so they are easier to wood carve than the other types.
On the other hand, mahogany and walnut are best if you want to upgrade from your beginner woods. Then, to get to the expert level, you can work on maple, oak, or cherry woods.
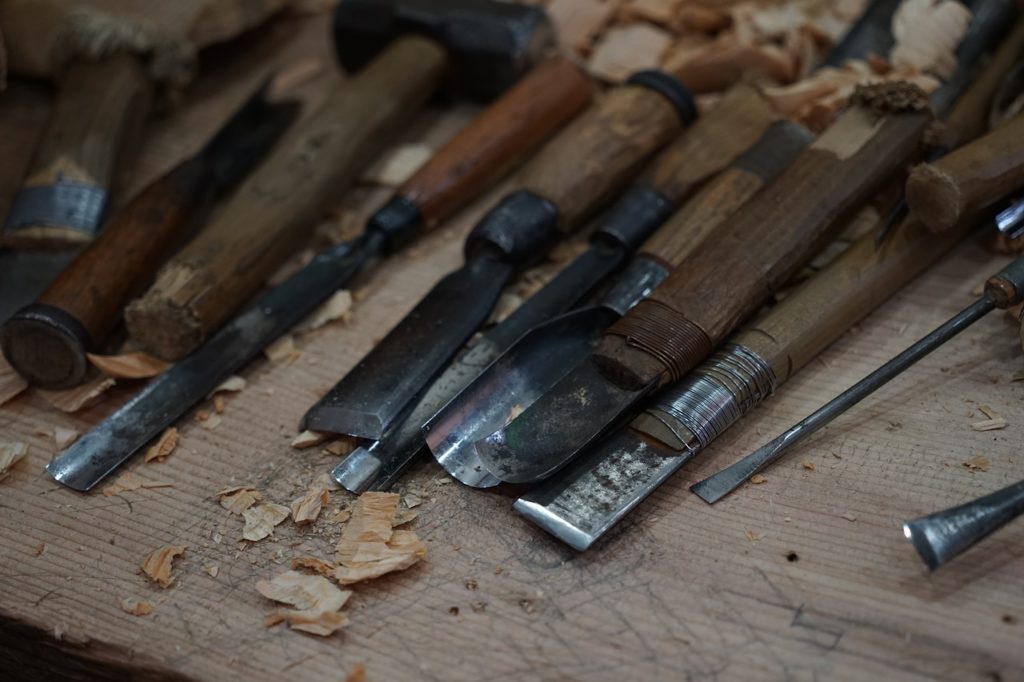
Carving Knives and Gouges
There are different carving knives and gouges out there. Some of them come in a set, so it is worth it to buy them. Plus, you may need one or more tools to carve your desired shape. It depends on the variety of wood carving you intend to do.
Gouges work well if you don’t want to work with knives. They have different scoop sizes. Though gouges are not primary tools for wood carving, investing in these is worth it.
You can order a craft knife as your novice knife first, instead of buying a whole set.
How to Carve Wood?
Learn how to carve wood with the following tips and guidelines. Remember that you are still experimenting and testing your skill, so be patient with yourself and the process.
1. Set your working space.
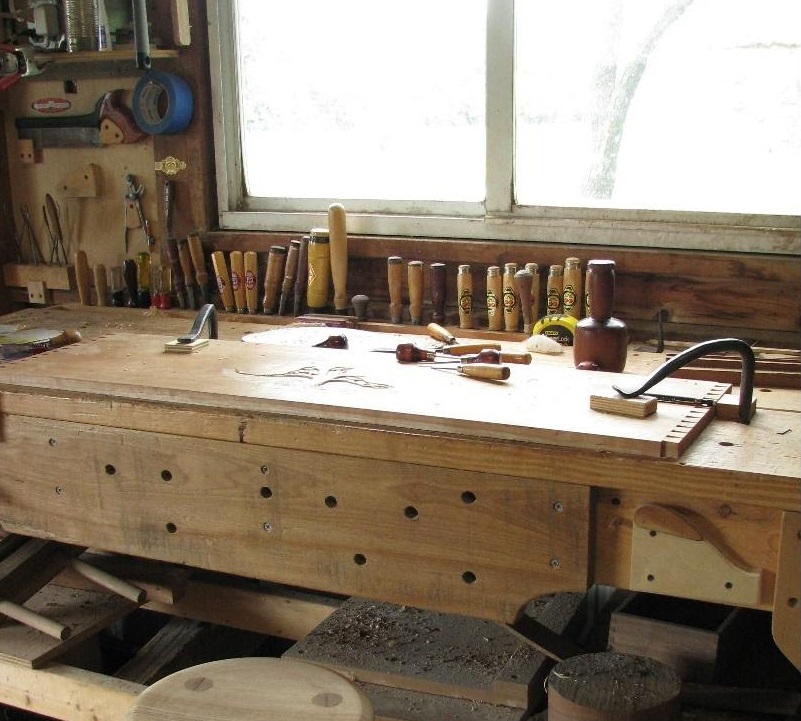
Find a suitable working space to start learning how to carve. You will be handling sharp objects, so find a safe working space away from children’s reach. You would want a comfortable and airy space to help you focus and get started.
2. Choose your wood
If you are a beginner, choose softwoods that are easy to carve. It will make it easier to learn compared to when you start with stiff and hardwoods. You likewise don’t need too much. When you practice, focus on simple designs first.
3. Pick your carving tool
Whether you want to use a carving knife or gouge, it is up to you. What matters is how you handle your tools. They are sharp and can cause injuries when handled inappropriately. So, be safe and be responsible for your carving tools.
4. Practice carving beforehand
With a scrap of wood lying around, try to practice different basic cuts. You can learn how to handle your tools better as well. When you practice on scrap wood, you wouldn’t mind too much on the design but the cut, so this will make you feel familiar with the ways of woodworking.
5. Stay Safe while Carving
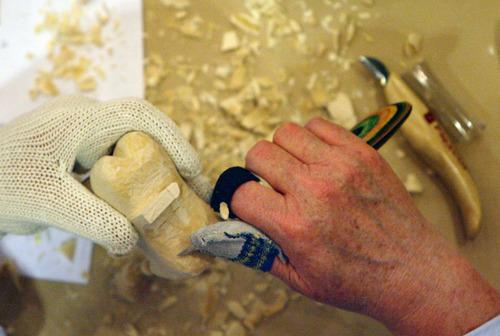
Stay safe by wearing your gloves and safety glasses too. Carving can quickly become dangerous. So, better protect yourself from getting any harm. The gloves will protect your hand from the knives, while the safety glasses will keep your eyes safe from any flying chips.
6. Mark on the wood
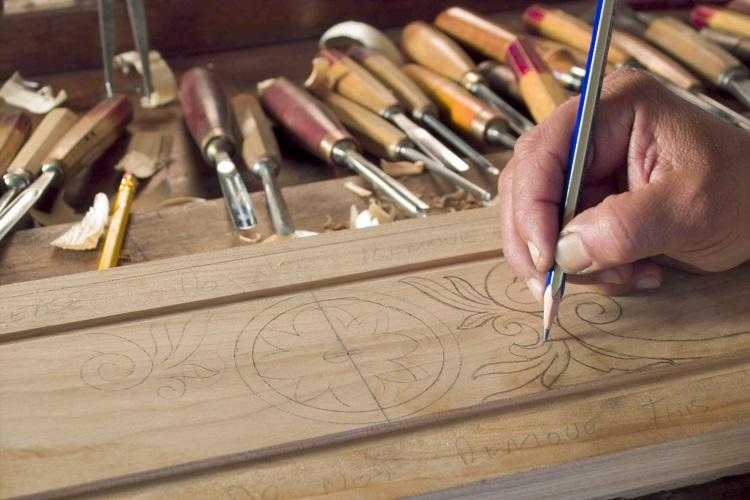
It helps you see the design better if you try to draw your carving design on the wood. Mark the points and sketch some lines. Seeing the lines and marks will help you see your progress and the next part to carve.
Remember, once you carved that part, you won’t have the chance to redo it again. You can either start again or make some changes to your design. So, sketching some drawings on the wood can help.
7. Cut the wood in shape.

Once you have the design in place, cut the excess wood off. It will help you see the size of your carving and how you want it to look. If you tried whittling carving and carve an animal, cut the wood into the size you want. Then, you can proceed to cut the details afterward.
8. Form the design you want

Now, start working on your wood carving. Be careful with your tools and check all the carvings you want to create. Focus is needed if you desire to get everything right. Also, start on simple and easy designs before going to the much-complicated ones. Carve each angle slowly but correctly.
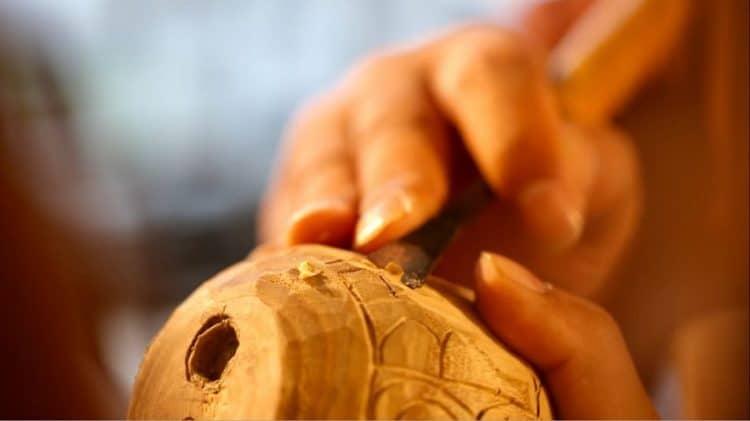
9. Add the details

Once you get the wood in shape, be it an animal, a face, or even a flower, start working on the little details. Either you adjust the sharpness of an angle or the thickness and shape. These small details are what make your wood carving beautiful. Then, you can sand off some areas to get that smooth finish.
Conclusion
Learning how to carve wood needs patience and skill. It requires safety and preparation. So, take time learning and enjoy the process. It won’t be easy. But if you start on the right mindset, you will understand and embrace wood carving well.
It is necessary to equip yourself with the right tool. Try and go to work carving classes to learn. You can get to ask questions. Lastly, try to understand not just the mechanics of woodcarving. Learn of its tradition and culture as well.
Leave a Reply