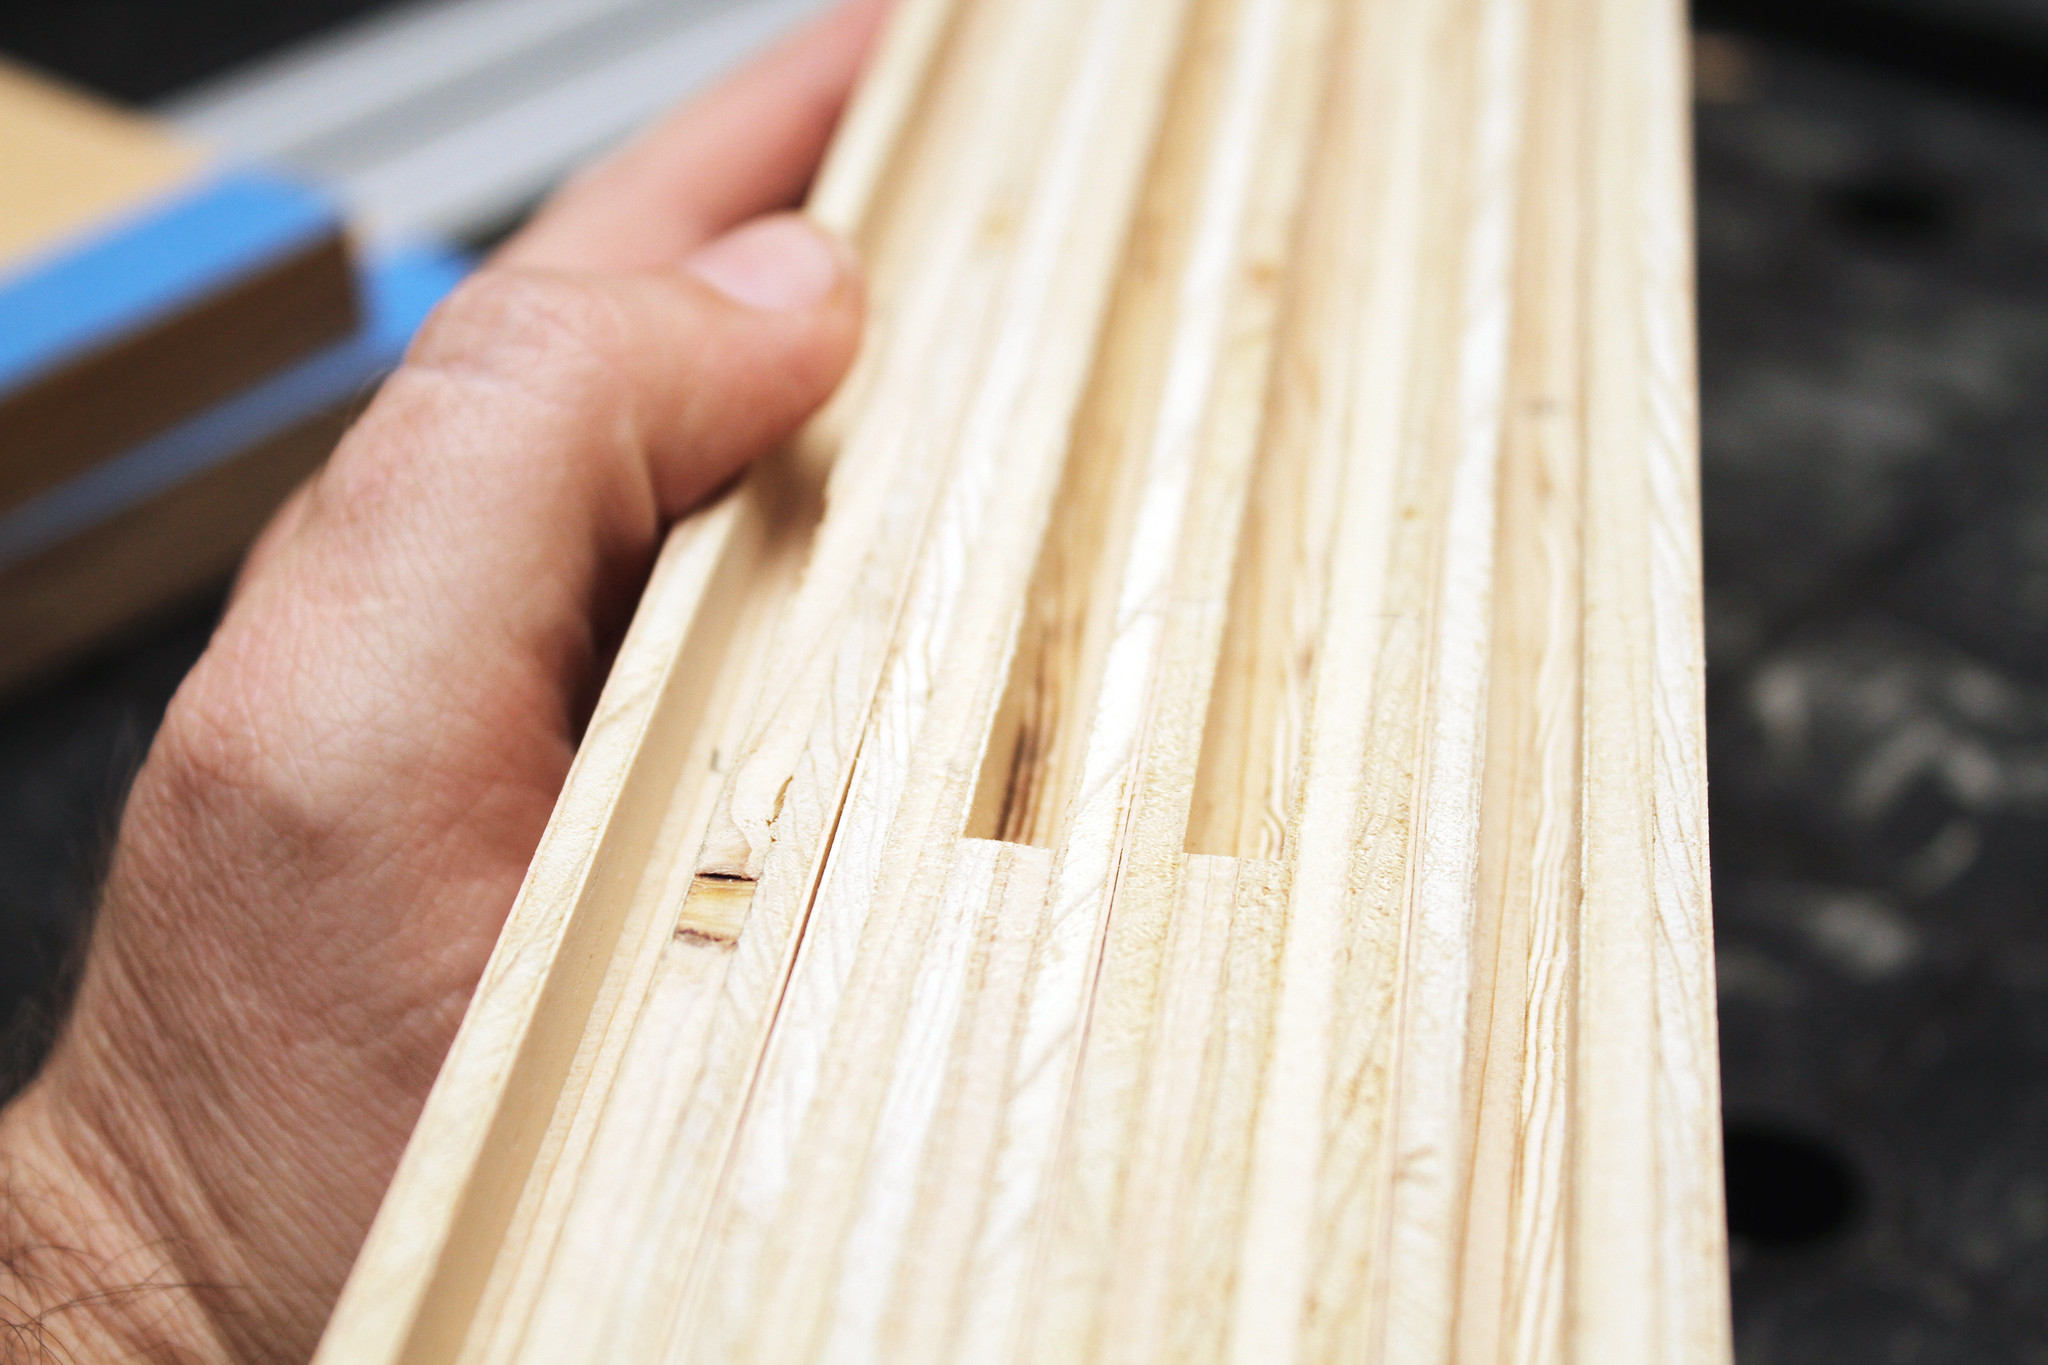
Cutting a groove or channel is a vital step in completing a woodworking project, especially if you are interested in carving out designs or joining wood. The easiest tool that you can use for this project is a plunge router, producing curved or straight grooves. You may also want to use a rotary tool that will allow you to cut short channels, though it could be more challenging to create long and straight lines using one. A table saw, on the other hand, will allow you to create a long groove and a flat bottom. Regardless of the tool that you are planning to use, learning how to cut a groove in wood will allow you to make beautiful woodworking masterpieces.
Use a Plunge Router
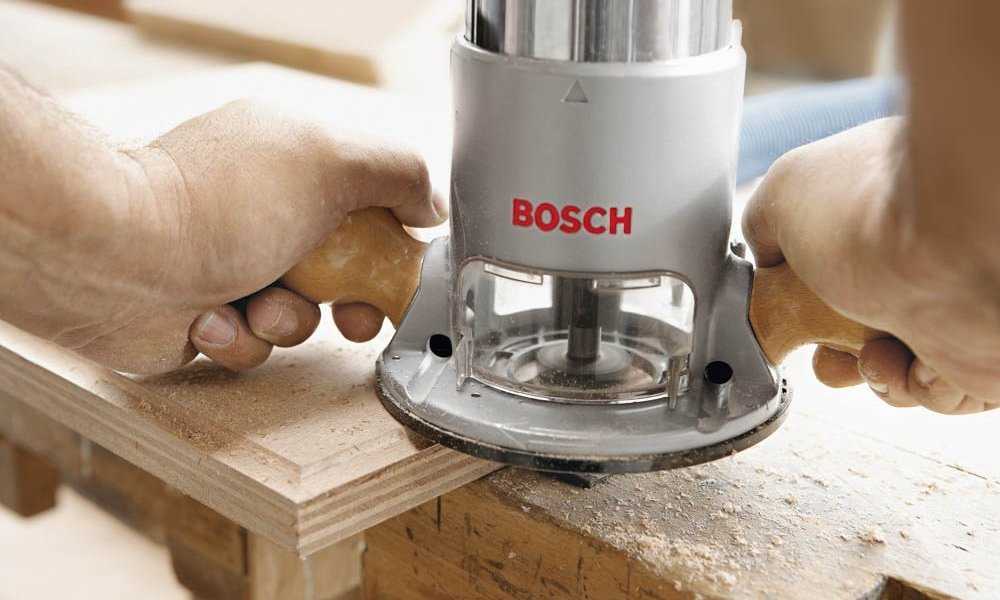
One of the ways to cut a groove in wood is by using a plunge router. To complete this, follow the following steps.
What You Need
- Plunge router
- Groove bits
- Router
Step-by-Step Instructions
1. Choose a routing bit that is shaped similar to the groove that you are planning to cut.
A router is a handy machine that features a rotating bit, allowing for the easy carving of grooves and lines. There are different types of bits that you can use in attaching to your router. For example, if you want to achieve a V-shaped groove for decorative purposes, a V-groove bit is what you need to use. If the groove that you want to achieve comes with a flat bottom and flat sides for joining wood, then a straight bit can be used on the router. If you don’t have it on hand, sets of router bits can be purchased from the local hardware.
2. Connect the bit to the router end.
The bit mechanism can be accessed by unscrewing the circular guard from the router’s bottom. The bolt can be loosened using a wrench, removing it from the router. Put the end of the bit in the router bottom hole, retightening the bolt using a wrench.
3. Adjust the depth to match the depth of the groove.
Locate the depth adjustment dial located on either the guard or the router side. Adjust the router in a scrap wood piece, allowing the bit to hang on the edge. Turn the dial to either raise or lower to the depth that you are trying to achieve. Lock it right in place after it has been set.
4. Mark a line where you want the groove to be.
Hold a straight edge on the wooden piece that you are cutting, allowing it to serve as a guide in drawing a straight line on the groove. Check the groove measurements, making sure that it is neither too long nor too short. Secure a scrap wood piece on top of the wood being cut.
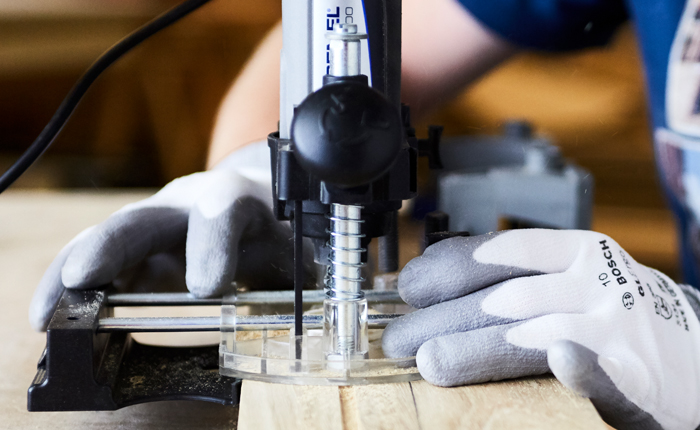
5. Pull the router to create the groove.
Put the router towards the edge of the line you have drawn earlier so that the guard is pressed against the wood that is clamped. Turn the router on, pulling the plunge lever, allowing the bit to the wood. Pull the router slowly close to you, following the line cut to the wood.
Use a Rotary Tool
A rotary tool is a handheld tool that comes with a rotating head that can be used in attaching multipurpose bits for several projects.
What You Need
- Routing bit
- Rotary tool
- Spiral cutter adjustment
Step-by-Step Instructions
1. Choose the routing bit
Choose router bits that are designed for groove cutting for your rotary tool, checking which specific shape they are ideal at carving out of wood. Bits with pointed ends produce V-shaped grooves. On the other hand, flat-bottomed bits produce a flat groove. Beneath the rotary tool, loosen the bolt, sliding the bit to the hole. Secure it in place by tightening the bolt.
2. Use a spiral cutter attachment
The spiral cutter attachment may be used to the edge of the rotary tool. It is a circular guard attachment that goes around the bit, allowing you to hold and flush it against the wood. Slide the cutter towards the end of the bit, screwing it to the threading. It is important to make sure that the attachment is tight so that it will not easily come loose.
3. Draw the groove
A straightedge can be used as a guide for drawing a straight line. Check the measurements more than once to make sure that they are accurate before moving forward.
4. Adjust the spiral cutter gauge
Next, adjust the gauge of the cutter to the appropriate depth that you are looking for. The role of the gauge is to control the depth in which the routing bit pops out from beneath the tool. Pull the gauge either up or down to loosen the wingnut located on the spiral cutter’s side.
5. Clamp scrap wood on top of the wooden piece
If you want to make sure that your groove is straight, you can place a piece of scrap beside the line that you are planning to draw. Then, set the tool on top of it, moving the scrap wood, allowing it to touch the cutter. C-clamps can be used to secure the wood in place.
6. Cut the groove
At this point, you are now ready to run the tool along the drawn line, cutting the groove. Make sure to wear safety glasses to avoid accidents.
Conclusion
In this article, you have learned how to cut a groove in the wood. Now, you are in a better position to apply the best method that will work for your needs. Whether you are planning to use a router tool, or other equipment such as a table saw or a drill, you now have an idea of what to do to achieve the best results.
Make sure to follow safety guidelines, especially since you are dealing with power tools. Share with us your experience in cutting grooves in the wood. Leave your thoughts in the comments section below. Feel free to share this article if you see it fit!
Leave a Reply