If you are planning to start a woodworking project and you are not working on a sculpture, chances are, you will need to cut angles. The mark of a good ability is the capacity to create a square, accurately angled corner. Cabinets and furniture with such types of angles will not just look professional but are also secure and fit when installed. There are different ways of doing this. Learning how to cut angles in wood will help you achieve the output that you are looking for.
Cutting Angles in Wood Using Handheld Tools
What You Need
- Handsaw
- Miter box
- Pencil
- Speed square
- Miter guide attachment
- Cutting wheel
Step-by-Step Instructions
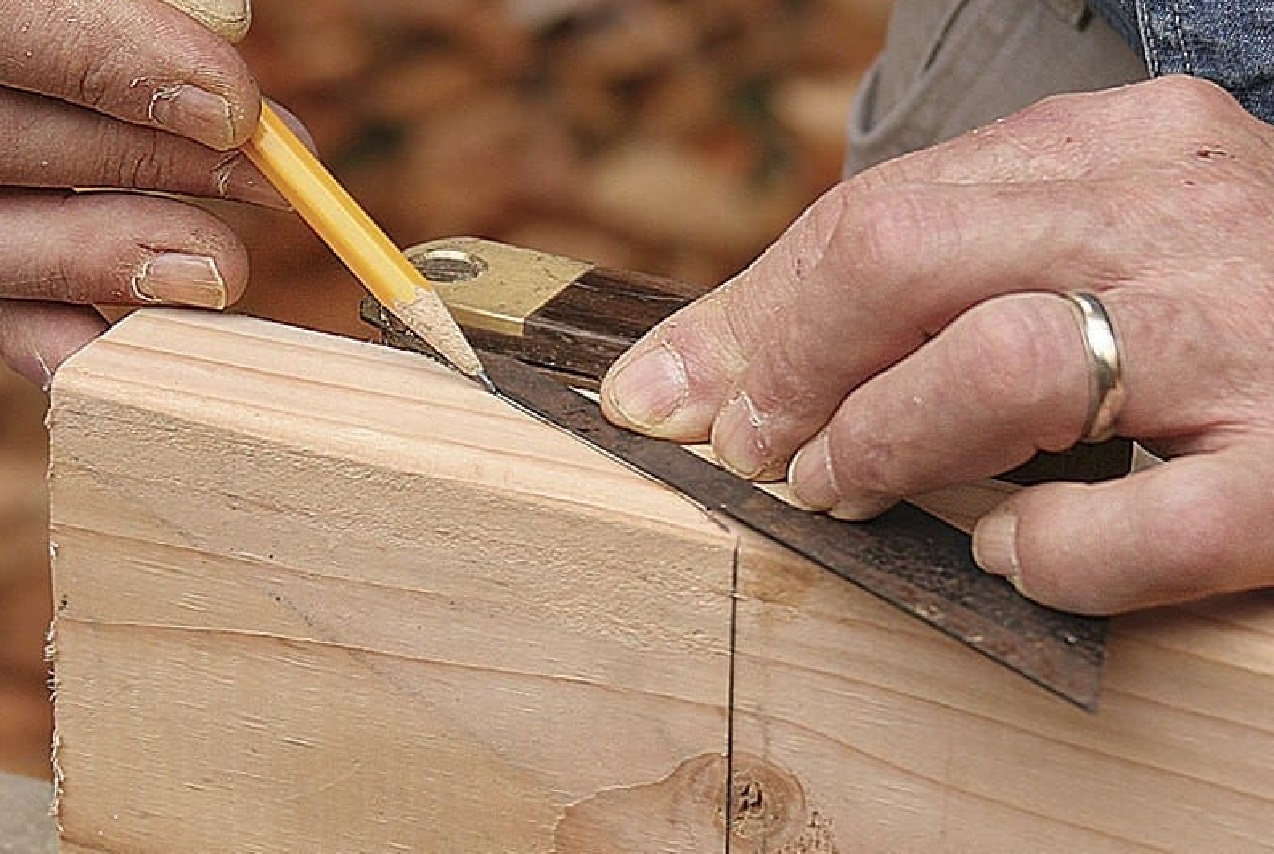
Step 1 – Place the Proper Marks
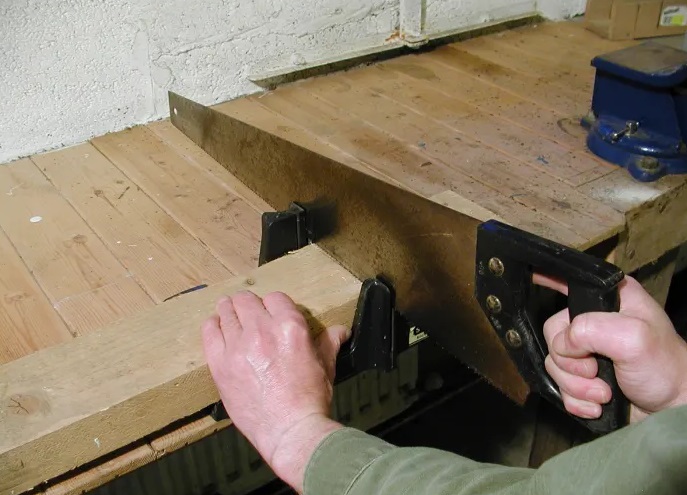
If you opt to use a handsaw, you may want to use a miter box. Mark the specific cut using a pencil and a speed square. Put the board in the box, aligning the marked line to the right-angle groove. Hold the board down, placing the saw in the chosen grooves of the angle, cutting the board using full strokes.
Step 2 – Prepare the Other Board for a Reciprocal Cut
You can now set the other board that is prepared for the reciprocal cut in the same way that you would do using a tabletop saw.
Step 3 – Use a Miter Guide Attachment (for Handheld Power Saw)
If you opt for a handheld power saw, a miter guide attachment is something that you would need.
Step 4 – Adjust Cutting Depth
The cutting wheel can be adjusted for the appropriate cutting depth. Next, use a stick to serve as a fence for the attachment. Use it in aligning the angled cut. To achieve a 45-degree cut, you may want to align the angled edge against the stick.
For other types of angles, you may need the outer edge of the attachment, aligning to the angle indicator of the attachment. Clampdown the attachment and cut by using the attachment as a handheld saw fence.
Step 5 – Tip: Take Your Time and Keep Safe
Taking your time involves the reminder “measure twice, cut once”. Make sure that you have your safety equipment on, securely bracing the board before the actual cut, making sure that your fingers are at a safe distance away from the path of the blade.
Cutting Angles in Wood Using Power Tools

What You Need
- Tabletop circular saws
- Pencil
- Speed square
Step-by-Step Instructions
Step 1 – Set the Cut Angle
To set the cut angle, release the lock that is located at the front. Make sure that the saw is powered down. The cutting head is attached to the swingarm which is operated using a spring-loaded lever. This lever is located beneath a handle that is just in front of the cutting head. Compress the lever by holding the handle using one hand. This allows the arm to freely swing.
Step 2 – Swivel the Cutting Head
Swivel either to the right or left as you hold the lever down. You will notice that a gauge will indicate the cutting head’s angle, either on the base or just above the cutting head. When cutting major angles, a click will be felt, which is an indication that the blade has already settled in the preset position.
Continue moving the head until you see the gauge reading the angle that you are trying to achieve. Set the cutting head by releasing the lever.
Step 3 – Test Cutting Angle Occasionally
For common corners, a 45-degree cut without vertical bias is needed. Test the cutting angle occasionally using a speed square. This will make sure of accuracy. Mark the cut using a pencil and a speed square.
Step 4 – Start Cutting
Put the board beneath the blade, positioning it just out of the pencil marking. Use a piece of scrap wood or stick in pushing the board against the fence. Grab the handle and start sawing. As you hold the board using one hand, and the saw handle with another, bring the saw blade down to cut. Ensure that the saw blade spins until it goes back to the starting position. Wait before the saw blade stops spinning before clearing the cuttings and board.
Step 5 – Set a Reciprocal Cut
Set the reciprocal cut for your other board. This can be done by setting the saw to create a 135-degree cut. Another option is to flip the other board before starting the cut. If you choose to flip the board over, be careful not splintering the presentation side.
Conclusion
Learning how to cut angles in wood is very important especially in professional woodworking. If you are planning to create furnishings that will look beautiful and durable, being able to confidently cut angles is a skill that is worth practicing and consistently mastering. Share with us your stories of cutting angles in wood. Leave your thoughts in the comments section below. Feel free to share this article if you like!
Leave a Reply