
The circular saw is conceivably the most flexible and important tool for woodcutting ever made. It exhibits the combination of speed, power, portability, and depth-of-cut ability makes it a popular tool among woodworkers and homebuilders.
You may know already that a circular saw can be utilized to make miter, square, compound-angle, and tilt cuts. When suited with the best kind of blade, you can expect it to do well in cutting concrete and metal. However, do you know that you can also cut plywood with it? How to cut plywood with a circular saw? You will learn that this work comprises simple steps.
What You Will Need to Follow this Tutorial?
To help you do the following tutorial, these are the things that you will need:
- Circular Saw
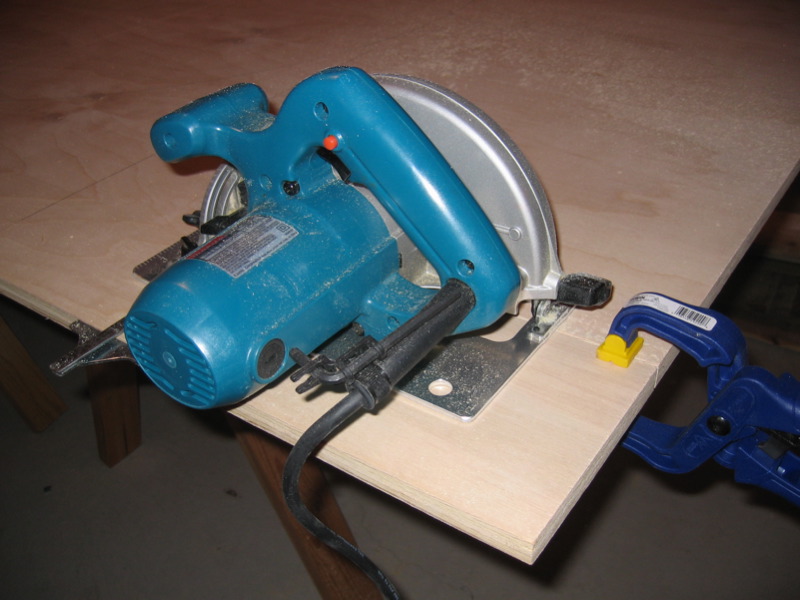
Obviously, you need a circular saw to carry on with this tutorial. This type of saw can quickly help you make straight cuts through a certain board. However, you should know that there several types of circular saw in the market. They may be classified based on the type of cuttings that they create on materials. To cut plywood, you should make sure that you get a circular saw that it fitted for the job.
- Blade
When cutting plywood with a circular saw, you should use blades with numerous teeth. The higher number of teeth the blade has, the cleaner cut you can make, specifically for rip cuts. You may also want to get blades that are devised for cutting laminate.
If you get the best blade to match with your circular saw, you will end up with a better finish. Invest in your blades if you want to achieve the kind of output that you want.
Step-by-Step Instructions
Here are the steps on how to cut plywood with a circular saw:
1. Properly Set the Blade

The first thing to do is to set the blade properly. No matter what kind of tool you are using and how amazing it is, if you fail to set the blade properly, you cannot expect to get the kind of finish that you desired to have.
How should you go with the setting of the blade? You must set it in a manner that it will use up the wood not exceeding half of the length of a carbide. You may opt to run it deeper, however, you must understand that creating a deeper cut will give the plywood noticeable tooth marks due to excessive teeth tugging. This will increase the possibility of developing chips and splints. Hence, it is best to go away from deep-cutting the whole blade through the wood.
On the other hand, opting to do a shallow cut will give your plywood a poor finish.
2. Cut the Plywood
Before you begin cutting the plywood, position it with its best face down. Splintering happens because of the teeth of the saw. You can minimize the visibility of splintering by positioning the plywood with its good finish facing down.
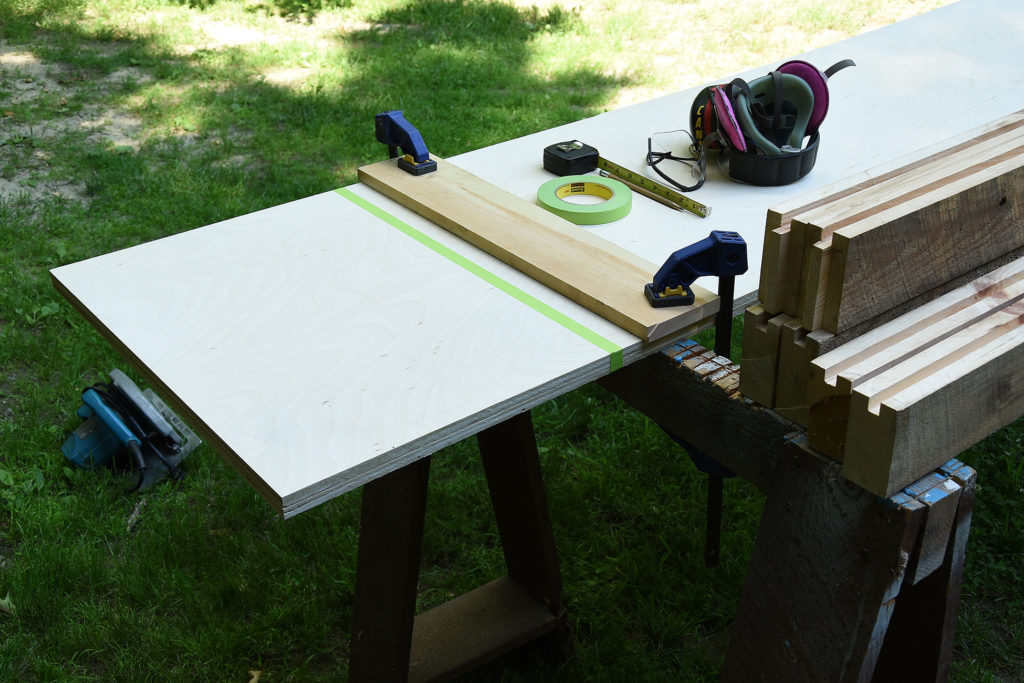
Tighten the plywood by clamping it with the best side facing down. Doing so will cover the cut marks. You can place it on top of the table or a sawhorse. You can actually find any place wherein you can secure it and will not move once you begin cutting. Placing it on the floor is the most ideal especially if you are working on an important task that requires solid support.
You should use the clamps to weigh down the wood and secure it. You can use 2×4 planks sheltering the sawhorse to weigh down your plywood or you may get another material to help it stay in place.
3. Mark the Line
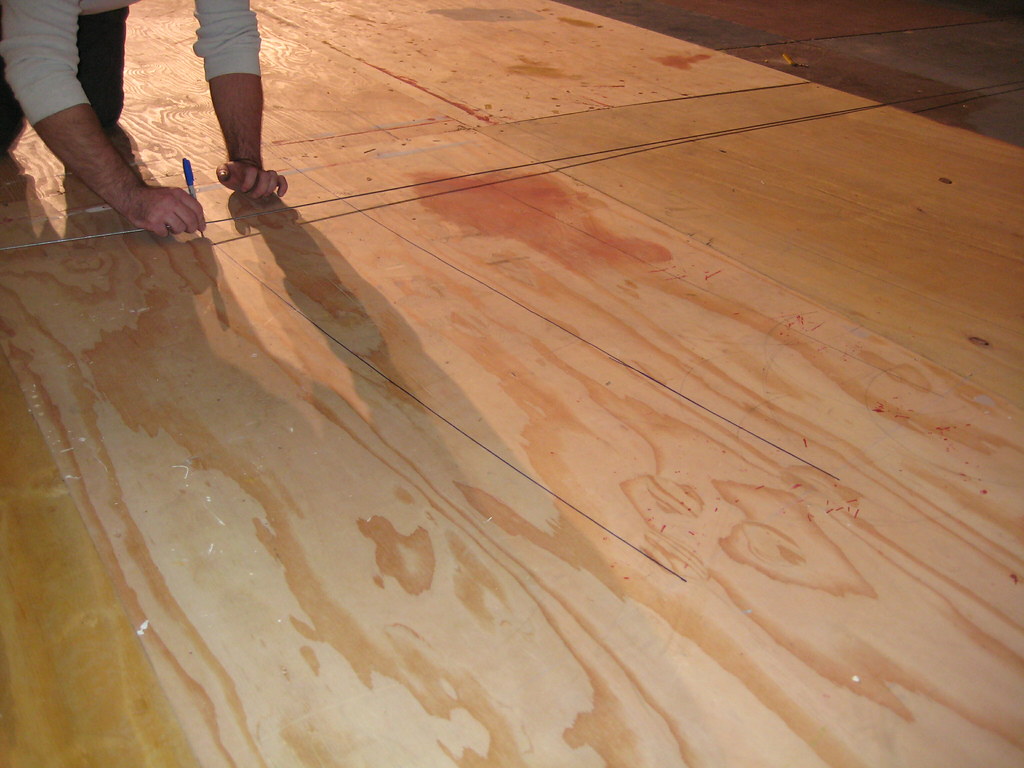
Making a line at the bottom of the wood will give you a clear illustration of where to trace your cut. Although other people will only depend on the guide block, it would be better if you will have line markings so you can check your work while you cut.
4. Use a Guide

Use a guide wood from a hardware shop or you can customize your own. If you decide to customize and you use offcuts, see to it that you have the best part of the wood against the saw. Clamp the guide into the wood to prevent it from moving. You should invest in a credible and powerful clamp as it can enhance the quality of your cut.
Size up the footplate of the circular saw to make sure it will settle conveniently against the guide woods. Verify the measurements by using a ruler at different distances.
5. Fasten the Plywood for Crosscuts
Unlike with rip cutting, you will not have a smooth line to trace when using a saw to cut the wood. With this, you can use tape if you are not using a unique kind of blade for this particular job.
Tape on the top side of the wood to minimize chipping and splintering. Nevertheless, you do not have to tape the wood if you have a blade particularly designed for cutting laminate.
6. Perform Slow but Steady Cutting
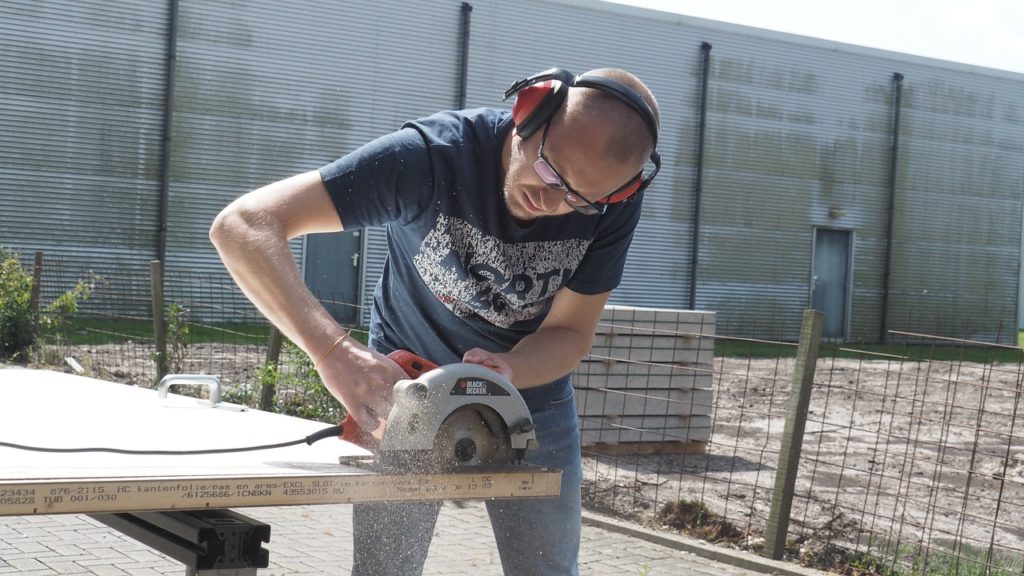
Make sure that you cut the plywood slowly and steadily. You cannot stop in between the cuts as it will only give tooth marks and may create a rough finish, conceivably damaging the work. You can do well if you can get a good space to carry out the task.
Conclusion
How to cut plywood with a circular saw? Credit should be given to this type of saw because of its incredible ability to cut plywood of any shape and achieve rectangular parts. It has an extremely high rotational speed; hence it is rather hard to achieve an even cut.
If you want to cut your plywood with a circular saw, you have to use discs with subtle teeth. Nevertheless, this will not give you complete assurance that you will not have some irregularities on your cut. You may also want to get a sander once you are done cutting the plywood with a circular saw.
Leave a Reply