Many would agree that painting and distressing furniture works wonders. The visible way in which old wood surfaces through the paint and the rustic appeal makes any project uniquely special. Distressing furniture using chalk paint is a favorite among many, not just for the result, but also because of its convenience and ease. It is so easy to accomplish that even beginners can complete this. If you are a beginner who wants to learn how to distress furniture with chalk paint, this guide is for you. Let us take a look at some specifics that will make the entire process easier for you.
What You Need
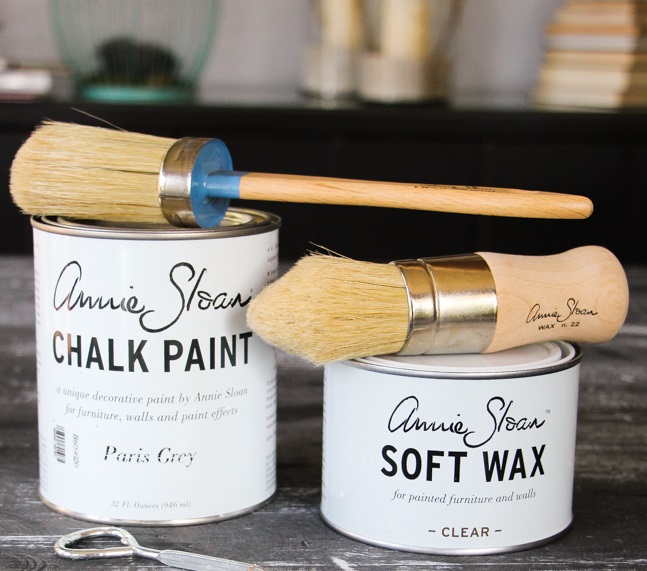
- Chalk paint
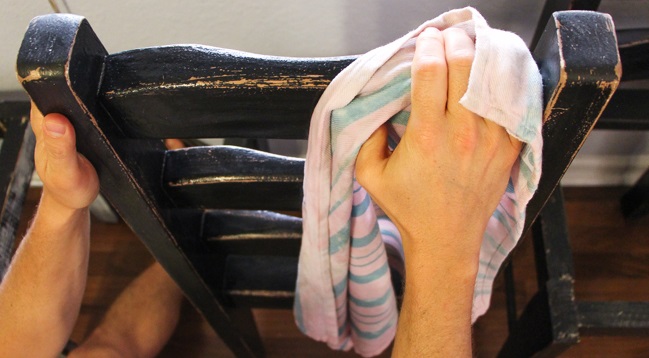
- Damp towel
- Paintbrush
- Clear soft wax
- Wax brush
- Sandpaper (recommended: 100 – 220 grit)
- Sanding sponge or hand sander
- Oil soap
Step-by-Step Instructions
Step 1 – Prepare Your Materials and Workspace
Refer to the list above for the materials that you would need for this project. When it comes to selecting an ideal workspace, consider the following:
- It is recommended to work at room temperature. Experts prefer working indoors to outdoors since you usually have better control over the temperature inside. Also, there is less chance of dust or insects landing on your piece.
- Proper ventilation is also important. If your workspace is small, make sure to have fans and windows open to encourage good airflow, especially when drying.
- Proper lighting is also vital. The ideal lighting condition is natural light. Since you may need to extend your work hours until nighttime, bringing some extra lamps may help.
Step 2 – Choose and Prep Your Furniture Piece
The very first thing that you need to work on is select the furniture that you will be using for this project. Among the best options are those that need some improvements and brightening up. If there is a need to, depending on the furniture you have selected, prime first before continuing to the next step.
For the cleaning process, you may want to get rid of some detachable elements such as shelves, hardware, and drawers. Feel some rough patches that may require sanding. Remove sticky gunk using water and soap. Fill holes with wood glue.
Even though your chosen furniture may look clean, there could still be some oils on it. Clean it first using warm soapy water, rinsing with clean water afterward. Edge off sections that will not be painted with painter’s tape.
Step 3 – Apply Aging Techniques (Optional)
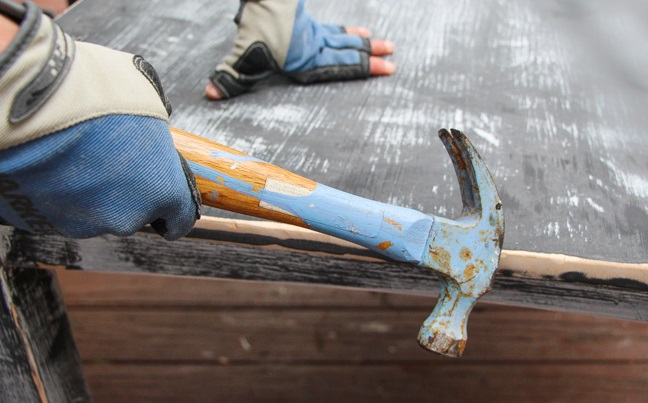
This step is optional. If you wish to add more character to your piece, you may want to use some aging techniques in this project. Some who have tried this project used a drill for sanding. The circular grooves that are produced by using a sandpaper disc drill attachment result in a time-worn look of the furniture.
Step 4 – Apply First Coat
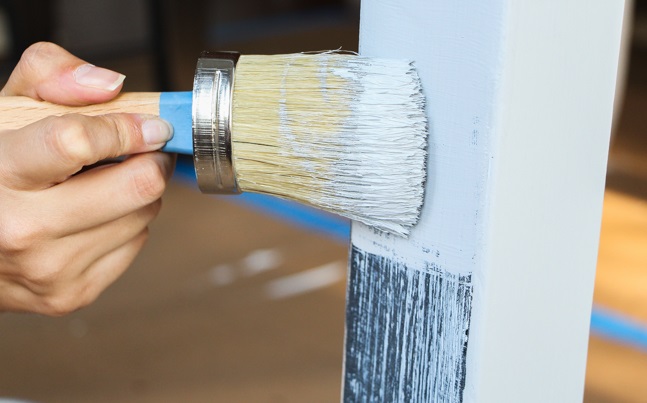
Make sure that your chalk paint is mixed well, setting it upside down for a few minutes. For beginners, you may want to apply the first coat in an area that is not highly visible at first. If you feel that the paint is thicker than your preference, you can always dilute it using water. When covering a particular area, you can always paint against the grain, or in an 8-figure pattern. The direction for the final pass is up to you.
Do not worry if the base wood or base coat looks extra streaky after the first coat dries. While you can already achieve a distressed look at this point, giving your wood more coverage will require a second coat.
Step 5 – Apply Second Coat
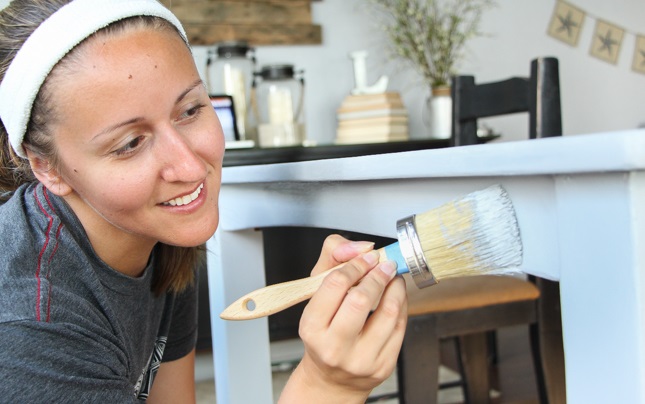
Usually, the first coat dries after 30 minutes or less. The second coat may be your final coat for this project. Check to make sure that the coverage is thorough.
Step 6 – Clean Up
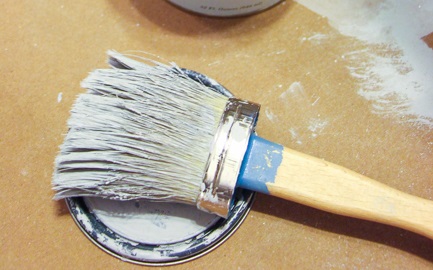
This step is pretty simple. It’s also easier to clean up used brushes if it has not been too long since you used them. Clean your brushes using warm, soapy water. This will help your brushes to last for years.
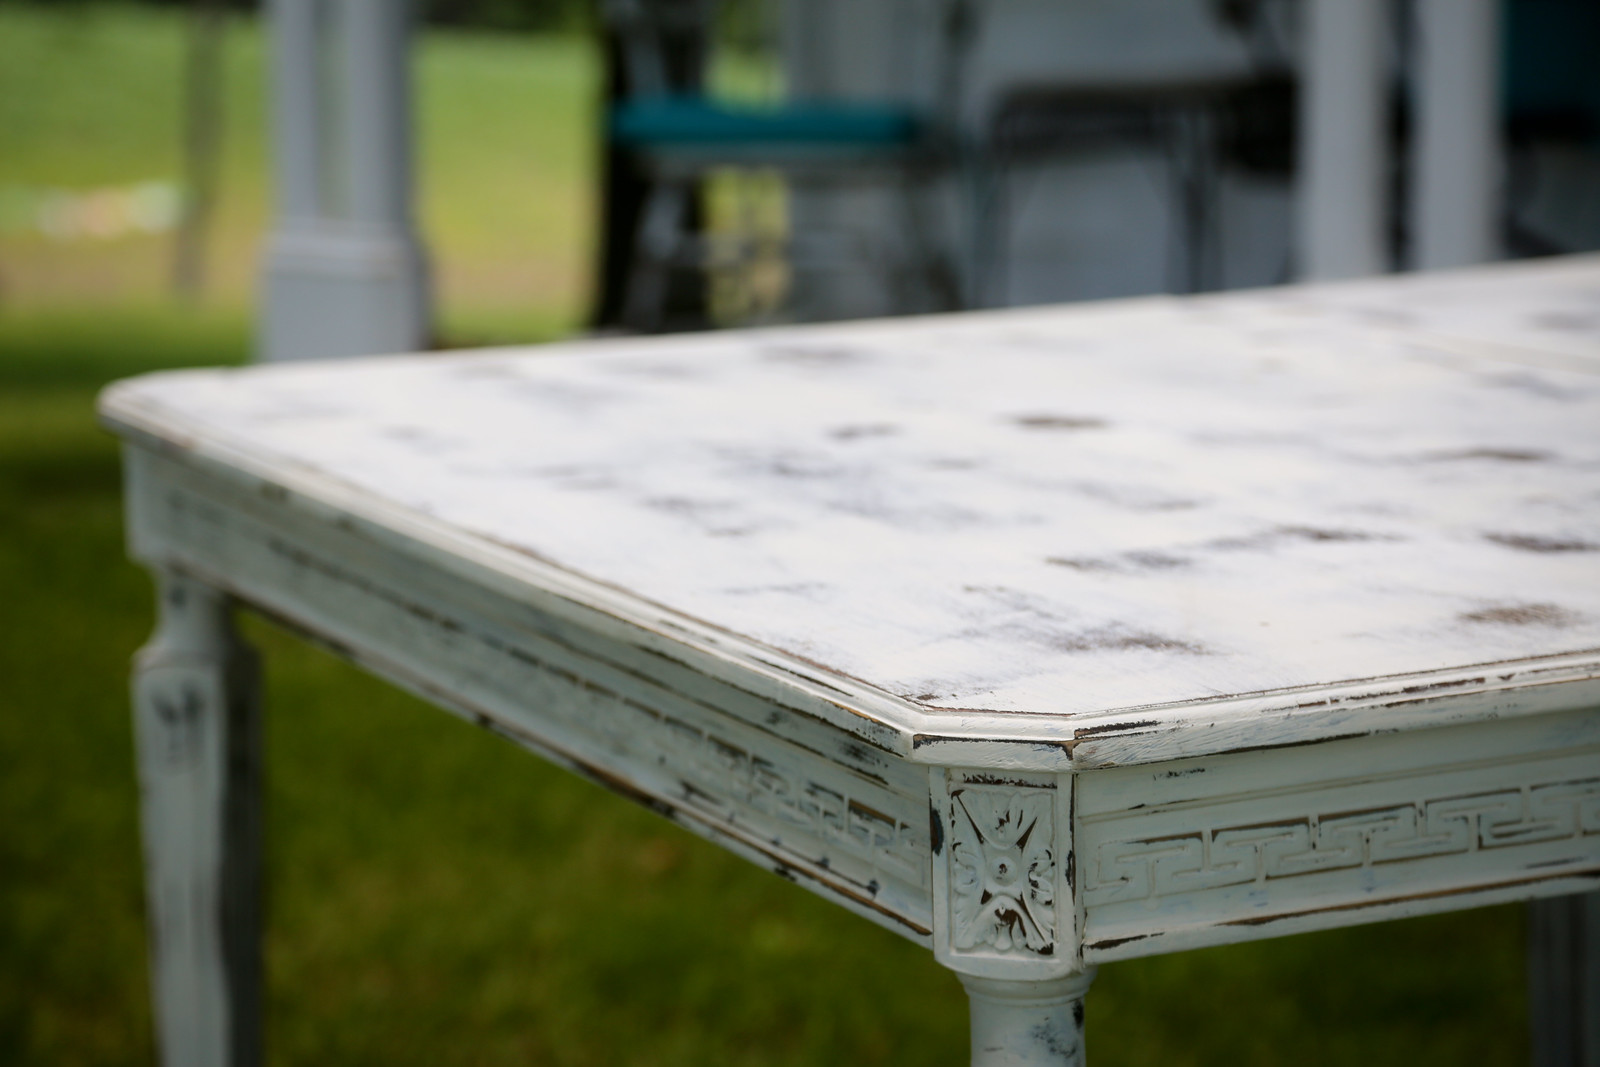
Step 7 – Distress Your Furniture in Areas Where Expected Wear and Tear Happens
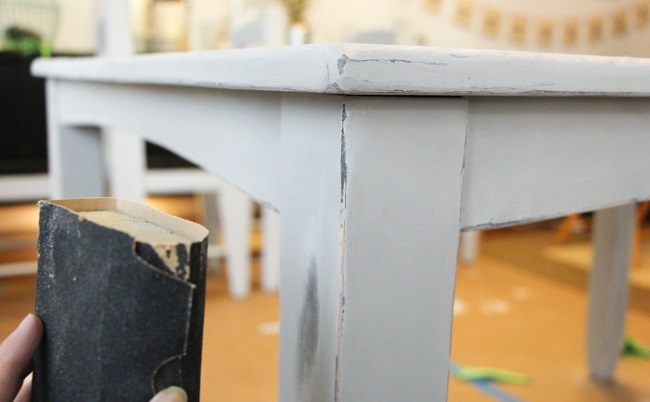
Now, for the exciting step! Distress using sandpaper in locations that would receive natural wear and tear through time. This includes edges, corners, wooden knobs, tops, protrusions, and raised decorative details.
Step 8 – Wax

This is the last step! Wax helps in sealing and protecting your piece. It will harden after drying for about 24 hours. You may need to add a second or even third layer of wax for tabletops. Make sure to clean your wax brush after.
Conclusion
If you are wondering whether learning how to distress furniture with chalk paint is easy for beginners, this guide has assured you that it is. If ever you encounter some challenges along the way, you can easily go back to the first step, touch-up or re-paint any parts that may have been overdone. This is practically the advantage of using Chalk Paint. Share with us your experiences in distressing furniture using chalk paint, if you have any. Leave them in the comments section! Share this article if you like!
Leave a Reply