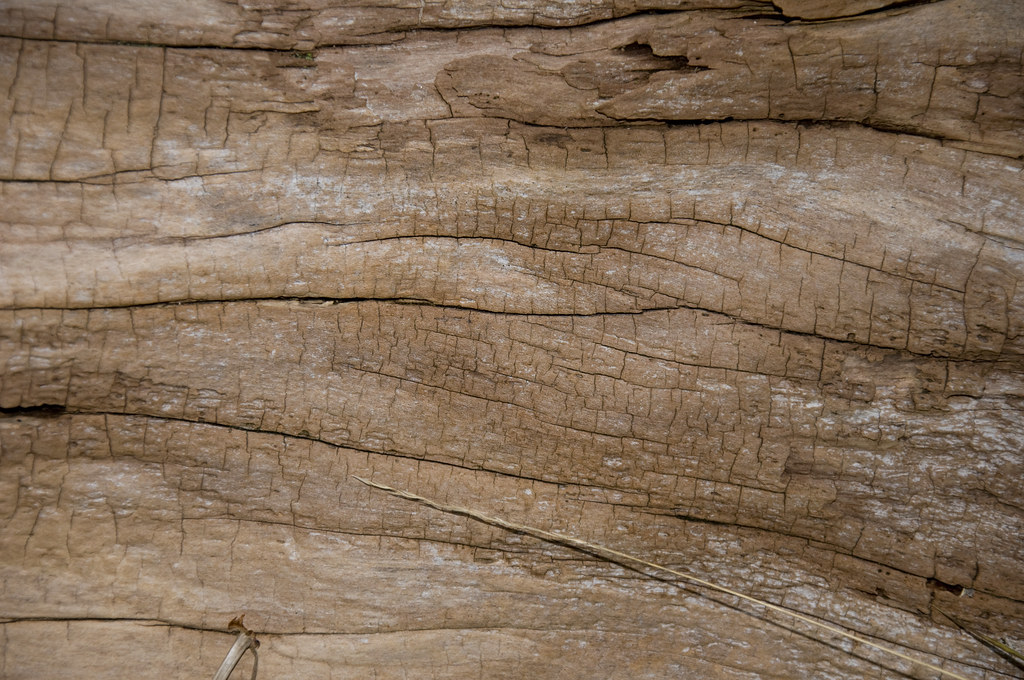
How to dry wood fast for woodworking? Lumber drying is a crucial process that is needed by wood, particularly those utilized by woodworkers. Technically speaking, it is possible to work or develop with fresh lumber, experts will not recommend it since the wood will likely penetrate moisture quickly and lose it bit by bit.
Once you consider building or assembling woodworking projects using green or wet lumber, you can expect to encounter some displeasing results. These involve depraving of woods and split joints. Hence, you might want to consider drying the wood first since it is a substantial element for the woodworking project.
Whatever kind of fresh lumber you intend to use for your woodworking projects, there is no doubt that you have to properly dry your wood. You will like to effectively dry the lumber since you will be handling a particular degree of contraction the moment the wood is dried. There are actually several methods available to dry wood fast, these methods are dependent on the thickness and size of the lumber. In this article, we will be featuring an effective way to dry wood fast.
What You Will Need to Follow this Tutorial?
Drying wood fast for woodworking is not that complicated. You only have to secure one thing to make sure that you can carry out the steps properly.
Stock Wood Moisture Meter
You will need a stock wood moisture meter to identify the wood’s content of moisture. This stock wood moisture meter has two probes in metal which you can tap against the wood. With the work of science, this tool can tell you the moisture content of your wood. The maximum tolerable moisture content among woodworking projects is only 7 percent. You will have to dry the wood if its moisture content reaches beyond the acceptable quantity.
Step-by-Step Instructions
How to dry wood fast for woodworking? These are the steps:
1. Know the moisture content of the wood to determine whether it has to be dried.
Use the stock wood moisture meter to determine the moisture content of the wood. Once you confirm that the wood requires drying, you should spread out a series of stickers in the ground. These stickers are simply dried pieces of wood, such as several old 2 x 4 pieces of wood.
Proportionately spread them out while securing a distance between them that is around 16 inches. Doing so will give you an inclined base to make sure that the air from the ground will reach the wood. This will also make sure that the moisture that is present in the ground will not dampen your wood. See to it that you have sufficient stickers to bolster the entire woods that you intend to dry.
2. Pile the boards on the stickers.
Gather the boards that you intend to dry and begin piling them on the stickers. Obviously, you should begin with the first layer. See to it that the wood you are working to dry is arranged perpendicularly in the stickers. Ensure you leave a distance of around one inch in between every piece of board. This step will improve the airflow to every wood piled. The better airflow circulates through the pile of wood, the quicker it can dry.
3. Make another row of stickers.
After doing the first layer, you have to make another row of stickers. Do not forget that the pieces of wood you are drying should not be piled straight on top of one another. Doing so will restrict the air from reaching them. You have to take turns between rows of stickers kept with a distance of 16 inches with portions of the drying board straight-up to the stickers with a space of 1 inch. So the sequencing would be a sticker, wood, sticker, wood, sticker wood, and so on. You have to secure the airflow to attain air-drying, otherwise, your wood will not dry properly.
4. Hold it down.
One important thing that you have to carry out after making your stack is to hold it down. If you happen to place it outdoors, you must secure it from rainfall. This commonly includes having single plywood that is large enough to conceal the entire top portion of the pile, putting that plywood on the stack, and then holding it down with bricks or cinderblocks. You need to put plenty of bricks or cinderblocks to develop pressure.
The wood will deprave when dried, and this is certainly not ideal when used to a woodworking project. Hence, you have to hold it down adequately to make sure it cannot deprave when drying to inhibit future damages. The use of plywood will further help in keeping the rain away in case the stack is placed outdoors.
Conclusion
How to dry wood fast for woodworking? If you have followed the steps above properly, you can expect your wood to dry fast. Just bear in mind that the warmer and drier the air is, the faster these steps will take helping you lessen the time needed for drying.
So, how do you find the steps above? Easy, right? Again, it is important that you properly identify the moisture content. The moment you reach the ideal moisture level, you can start with your woodwork and you can then create wonderful wood arts without attaining defects because of undesired water content.
Leave a Reply