There are many awesome reasons to install a wood stove. A wood stove can save you money as you don’t need to use electricity to cook your food or bake. You don’t need electricity to heat your home as well. A wood stove is easy to install and with all the different models, you can easily find one that will fit even a small kitchen. So let’s find out how to install a wood stove and the things you need to complete this project.
What you need to install a wood stove
A wood stove appliance
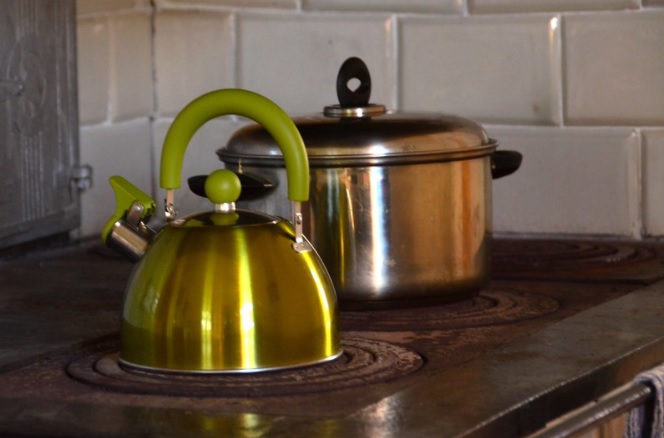
Wood stoves are available in different sizes, shapes, and forms. Some come with a stovetop with two or more burners while some have a small oven where you can bake bread and pastries and roast meat.
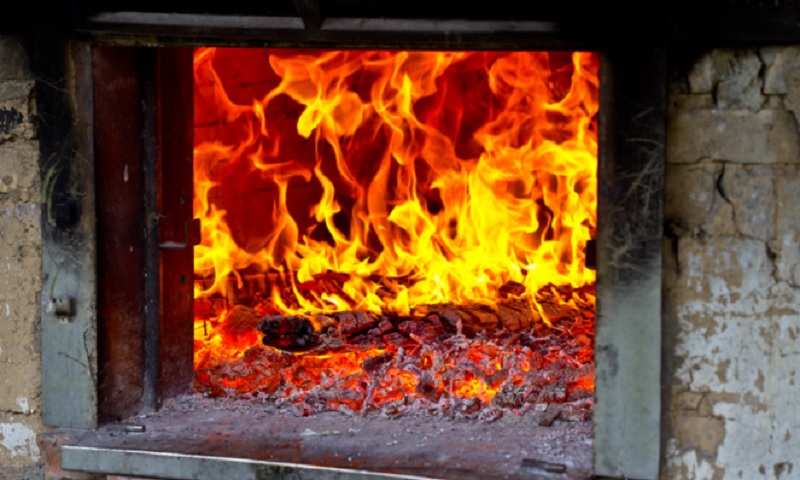
Almost all wood stoves have legs so you can cook more efficiently. Also, wood stoves have a chamber where you load the logs and a gate or door. The door handle should be padded while the glass and gasket seal is in one piece. An ash pan is found at the bottom of the log chamber where all the dirt and ash are collected. Also, the air controls are found along with the ash pan and this must be easy to use.
Floor padding
Aside from being heavy, the wood stove is a fire hazard if it’s not well-positioned and maintained. You should have adequate floor padding over your floors to prevent accidental fires and burns. Use brick as padding. Construct a brick wall padding that’s at least 18-inches from the front of the woodstove door at 8 inches from each side. Each state or country has existing laws regarding the use of floor pads for a wood stove. Check your local laws.
Aside from brick, you may also use ceramic tile or concrete. Any non-combustible material will do.
Heatshield
This is typically made from metal and is very simple to install. Like floor padding, check local building codes regarding rules about mounting a heat shield. You will be advised regarding any clearance requirements and the type of material you can use.
A chimney
Chimneys are very important when installing a wood stove as this will remove smoke and ashes out of the wood stove wood chamber. Most old-style wood stoves come with a simple chimney that you must install through a wall and out of your building or home. There are also local guidelines regarding the design and the installation of chimneys so check this out before installation.
Safety equipment and gear
As with all DIY projects, you must wear appropriate safety clothing like a face mask and work gloves. A part of installing a wood stove is ensuring everything’s safe. Keep a fire extinguisher and a bucket for water near the stove always.
Instructions
1. Decide where to place a wood stove inside your home
The place where you want to install a wood stove matters a lot. There are many things to consider.
You’re likely to place the stove in the kitchen as you want to cook or bake with it so, your kitchen must have a large space to accommodate this new appliance. Take note that you need to consider the size of the floor padding and heat shield which requires a large space between the stove and other kitchen appliances or cabinets.
If the woodstove will go to your kitchen, it should be placed near a wall to prop the heat shield at the back of the stove. The wall closest to the stove must not connect to another room as you need to open up a portion of the wall for the chimney.
If you’re planning to use the wood stove as a space heater, you should also consider the size of the room it needs to warm and the size of the stove. Check local building codes regarding the correct placement of a wood stove in your home before you purchase one.
2. Measure the area where the stove will go.
Now that you have decided on the right spot to install a wood stove, it’s time to measure the area to make sure that it’s the right size to fit your wood stove. Consider the extra space in front and along the sides allotted for the floor protector and the heat shield at the back.
3. Install the floor padding.
If you decided on brick or tile, clear the area first and install the material accordingly. Usually, the floor protector padding must be flushed on the floor so there should be no raised parts that may cause accidents.
The padding must be easy to clean and should not be slippery when wet. Again, refer to local laws regarding the dimensions of floor padding for a wood stove before you begin your project.
4. Install the heat shield
The heat shield is mostly a piece of metal like a flat sheet that protects the wall from extreme heat. This is installed using rivets on a cement wall or attached using a wood frame. The heat shield should be wider and taller than the wood stove to ensure maximum protection.
5. Add the chimney
The chimney should be wide enough and long enough to channel heat, ash, and smoke away from your kitchen and your home. This should be made of a very durable, fire-proof material like galvanized flat sheets. Install the chimney and make sure that water won’t get in.
You also have to be ready for anything so have a bucket of water and a fire extinguisher nearby.
Add accessories like a log basket, a small shovel, and bucket to remove ashes, and a poker to tend the fire inside the stove. You must also have tongs, a small broom, and a pan handy.
Now that you have an idea of how to install a wood stove, take time to plan your project. Always remember to check local codes regarding wood stove installation and fire codes and make sure to consider these as you install a wood stove.
Leave a Reply