A part of constructing a cabinet is installing hardware. In making kitchen cabinets, for example, you can choose from brass knobs, center bar pulls and drawer pulls. You may also use DIY cabinet handles such as those made from simple everyday items. And to help you with your cabinet projects here are some of the best techniques on how to install cabinet handles.
Things you need to install cabinet handles
- The cabinets you want to work on – we’ll be focusing on wooden kitchen cabinets for this tutorial as these are common in kitchens big or small.
- Cabinet handles you want to install – there are many types of cabinet handles and in this tutorial, we will focus on simple with two screws.
- Cabinet handle templates – you’ll find cabinet handle templates in most hardware stores. These are plastic pre-made, pre-measured handle templates that will let you install handles of different sizes.
- Ruler – you need a ruler to check if the cabinet handles and doors are levels.
- Adhesive putty – this product is used for temporary mounting of items like posters, decorations, tacks, and ducts. Adhesive putty is flexible and may be customized according to the object you want to mount.
- Superglue – or cyanoacrylate glue is a quick-bonding adhesive that can bond anything, even two different materials like metal to wood, plastic to metal, or metal to plastic.
- Thread sealant – a thread sealant will permanently seal a screw hole. This will bind well and will never shrink over time.
- Wood putty –this is a product that will hide small imperfections on wood. You will use this to seal the screw from the inside of the cabinet door. Wood putty is available in different shades; you need to choose one that matches the color of the wood you’re working on.
- Nail polish – instead of wood putty or epoxy, you can also use nail polish. This will only create a temporary bond but the right color will hide unsightly screw heads.
- Screwdriver – you need a screwdriver to install cabinet handles with ease.
- Awl – you need this pointy tool to create small marks on the wood.
- Drill with the right drill bits – you need this power tool to create holes and install screws.
- Sandpaper use 110 to 120 grit sandpaper in case you need to remove any excess wood before sealing a screw in the wood.
- Safety gear – wear your mask, goggles, and safety gloves. You’ll be working with wood, adhesives, and power tools so you must work in a well-lit and well-ventilated environment.
Instructions
1. Prepare the wooden cabinet you’ll be working on.

If you’re installing cabinet handles to new cabinet doors, you must create the hardware holes before finishing the doors.
Take a drill and create holes for your handles. We will tackle the different techniques to make holes in the next steps.
Right after drilling holes, proceed with finishing the cabinet doors. Sand the surface to make it smooth and ready for your primer.
Apply primer paint using a brush or a roller. After drying for at least a day, apply the topcoat. Dry the topcoat completely if you wish to apply another layer of paint. Otherwise, proceed with applying a sealant. This will be dry after a day and only then will you be able to install your cabinet handles.
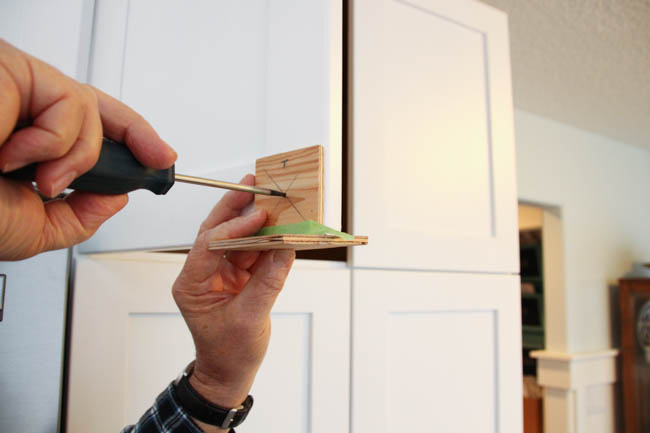
2. Use a cabinet handle template.
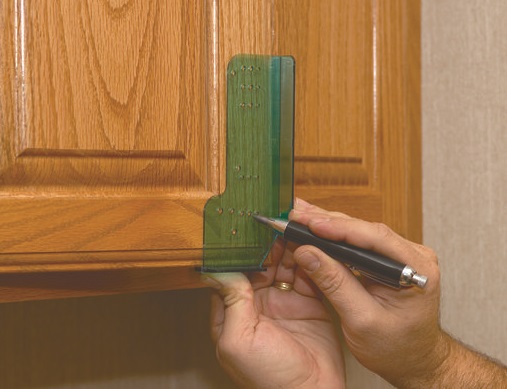
A template is a small plastic tool that will help you install level cabinet handles. Simply place the template horizontally from the bottom part of the door and use an awl to mark the holes. Place the template on the side of the door to mark the vertical placement of the handles. With a handy ready-made template, you can install any type of handle on any cabinet door.
3. Use a ruler
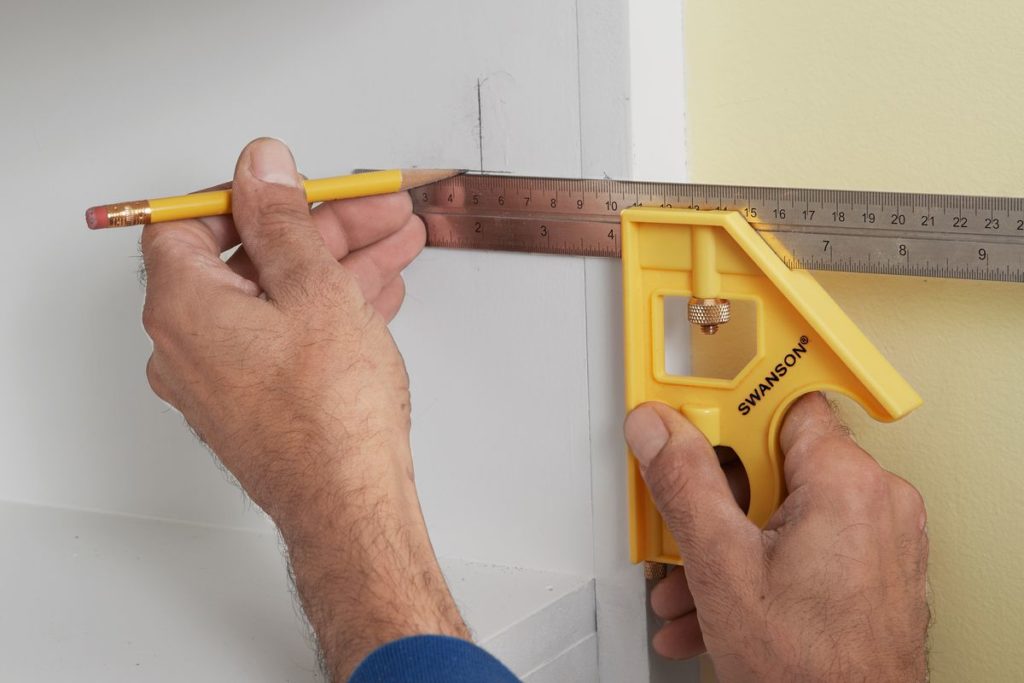
Check if the handles are level with a simple school ruler. You can also use a ruler to check for uneven cabinet doors. Sometimes, cabinet handles become uneven because the cabinet doors were uneven in the first place. To remedy this, check the hinges and see if these are tight. Use a screwdriver to tighten loose hinges. If the doors are already sagging because of old wood, replace them.
4. Use adhesive putty to temporary install the cabinet handles
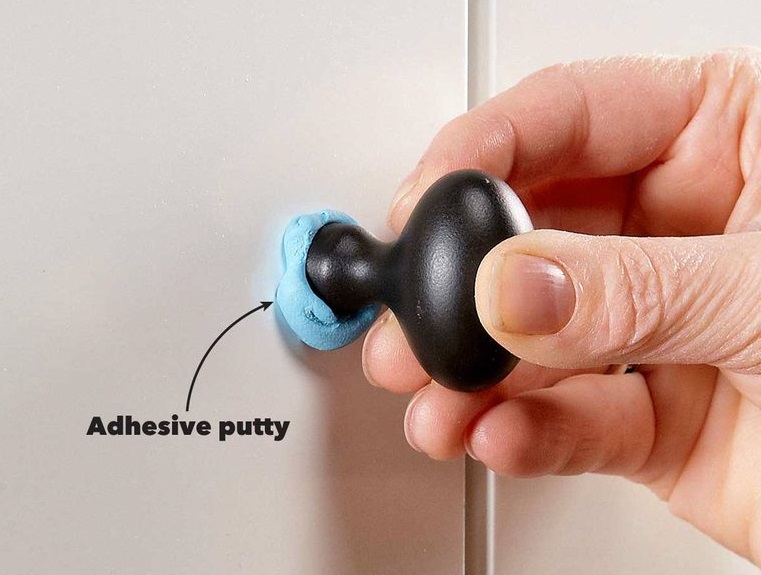
Place adhesive putty on the handle and stick it on the door. This is one way to check if the handle is level or not. You can screw the handle permanently once everything checks out okay.
5. Mark and drill the holes on the cabinet doors
If you’re certain that the cabinet handles will turn out level, it’s time to drill holes for the screws. Take your drill and create two holes for the screws. Use the appropriate drill bit.
6. Use super glue
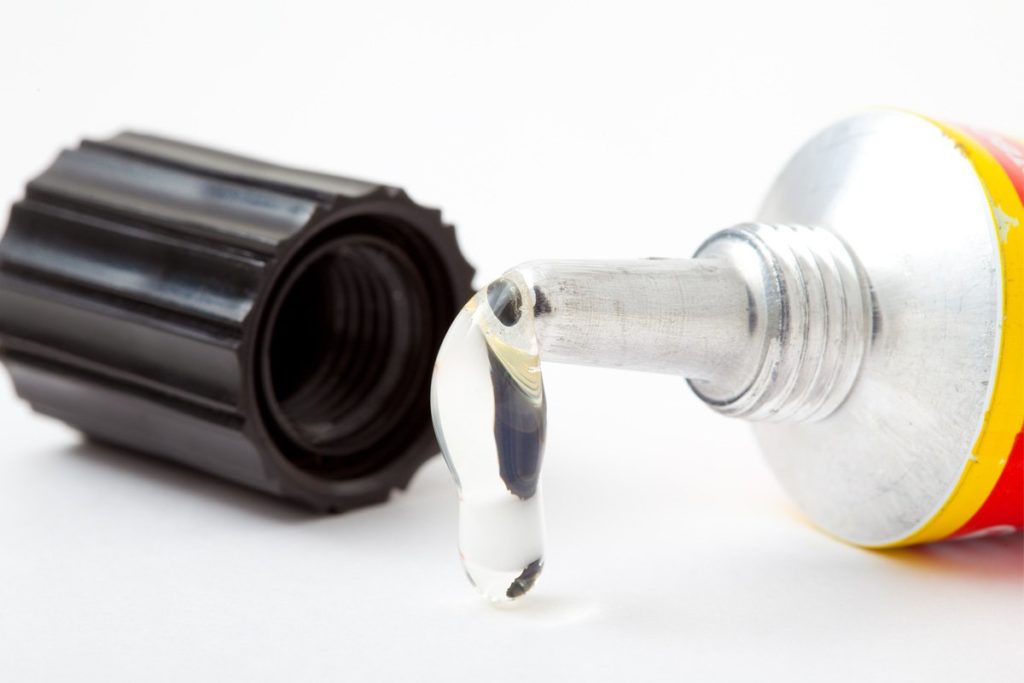
Sometimes, it’s too tedious to drill holes to install cabinet handles. This is why it’s more practical to glue the handles instead. Use super glue to attach handles on cabinets. Super glue creates a very strong permanent bond between metal and wood and plastic and wood. Before sticking the handle with glue, make sure that these are level first. Use a template for accuracy.
Cabinet handles installed with super glue must be held for a few minutes to allow the glue to harden. Although superglue creates a permanent bond, this won’t replace the strength of correctly installed cabinet handles.
7. Use nail polish or wood putty
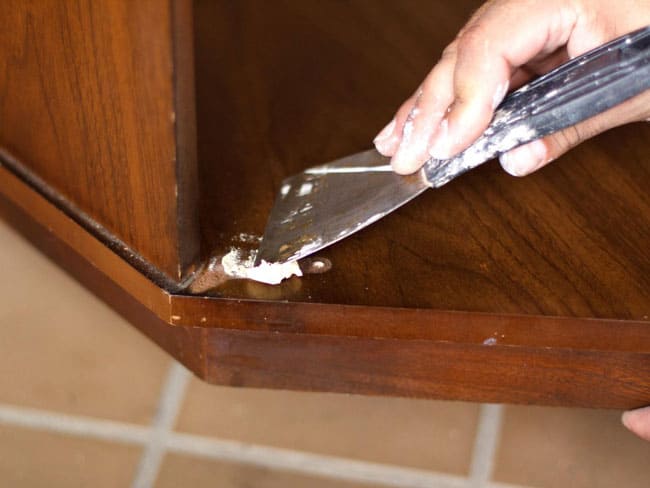
Hide unsightly screw heads with wood putty. Use a small applicator like a putty knife to mix wood putty components. Mix these well and afterward, apply on the screw head. Let this dry and you’re good to go. And if you don’t have wood putty, use nail polish as long as it’s the right color. Just dab the nail polish using the applicator and wait for it to dry.
By learning how to install cabinet handles, you’ll become a pro at installing all kinds of cabinet fixtures. You can also use your skill in completing similar projects. Learn about different cabinet handles and how to install these and you’ll save money on expensive contractor fees.
Leave a Reply