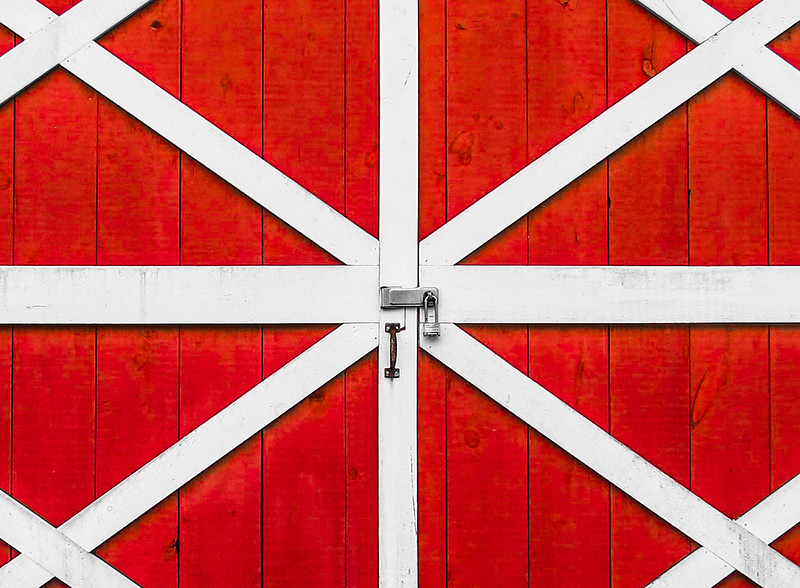
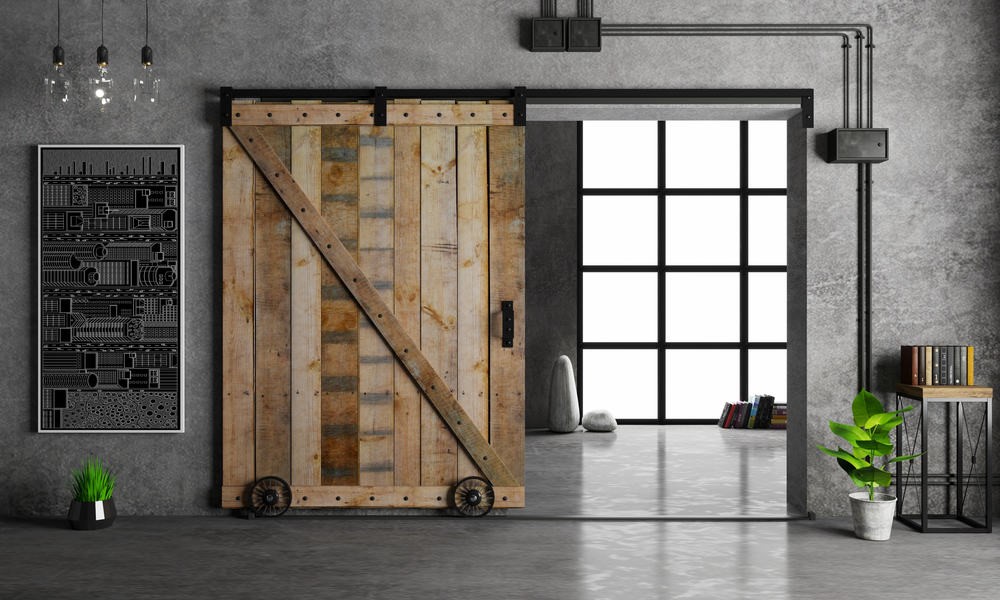
A lot of people have been asking about the excellent approach when making a barn door. Well, there is an obvious reason for this. Making a barn door implies that you do not need to rip your wall open and reframe it for your pocket door.
The good news is that there is DIY barn door hardware in the market today and they all come in different styles and prices. There is even a limitless option for doors. If you want to learn how to make a barn door, then this article can direct you to a DIY tutorial and you will surely enjoy doing it.
What Do You Need to Follow this Tutorial?
Surely, you are excited to perform the tutorial. However, before you get into the steps, you need to prepare one item so you can follow this tutorial:
Hardware Kit
Before you start with the tutorial, get the measurement of your door’s width coming from the exterior edges of the door casing. Once you get the accurate measurement, you should purchase a hardware kit featuring a track that is twice the width of the door. You cannot possibly proceed with this tutorial if you do not get the right hardware kit for this project.
Don’t worry since barn door hardware kits are available in many stores so you wouldn’t have a hard time finding the right one.
Tools and Supplies
This task is a bit complicated and the use of tools will make it possible for you to perform the steps. Get ready with a miter saw and a pneumatic nailer. These are essential equipment during the implementation of this tutorial. You do not need to buy new tools for this tutorial. Your old tools are good enough, as long as they are functional.
You should also prepare clamps, screws, and glue as they also take part in this tutorial.
Step-by-Step Instructions
Step #1 Set up the Boards

This project involves a 30” opening. Seven pieces of 16s perfectly cover the casing. You may have to tear the boards to measure. Then, proceed by measuring the height –starting from the floor up to the casing of the door. Trim the boards so that they are ½” shorter. Use a miter saw to cut the boards.
Arrange the boards next to each other, position the blocks near the edges on the exterior part, and then get the clamps to secure them. Then, square up the fabrication by utilizing longer-size strapping for both bottom and top edges. Lock up the strapping and blocks with a screw, then take off the clamps.
Step #2 Install Filler Strips
URL: https://www.thisoldhouse.com/doors/21017217/how-to-build-a-sliding-barn-door
Trim the filler strips using a miter saw. Trim three rails of the door’s width. Trim four stiles to occupy the space between your rails, wrapping up the lower and upper panels. Apply adhesive and position the top rail flush near the top portion of the boards.
Attach the upper stiles underneath it, flat to the exterior edges, while the center rail underneath them. Then, attach the lower rail and stiles. Leave an approximate allocation of 1” for the channel intended for the floor that has the door.
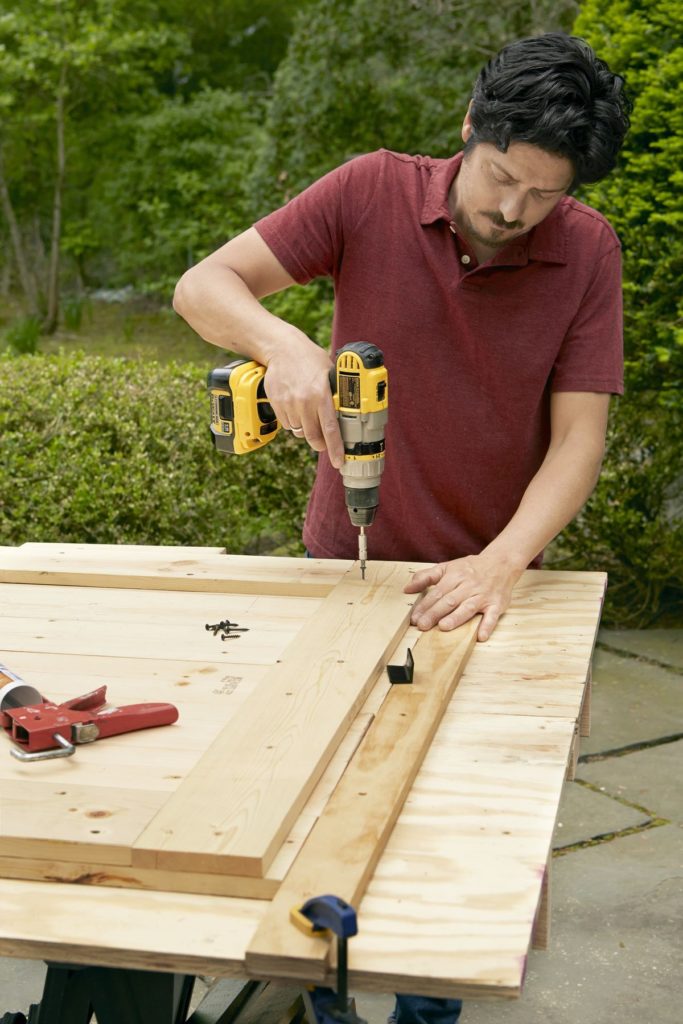
Plunge a deck screw, ideally 1 ¼”, through every filler strip toward each of the 16 it passes over.
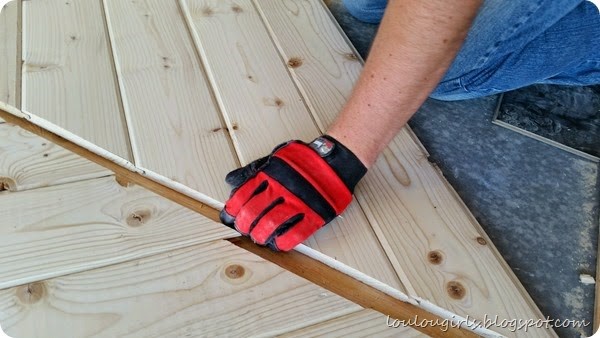
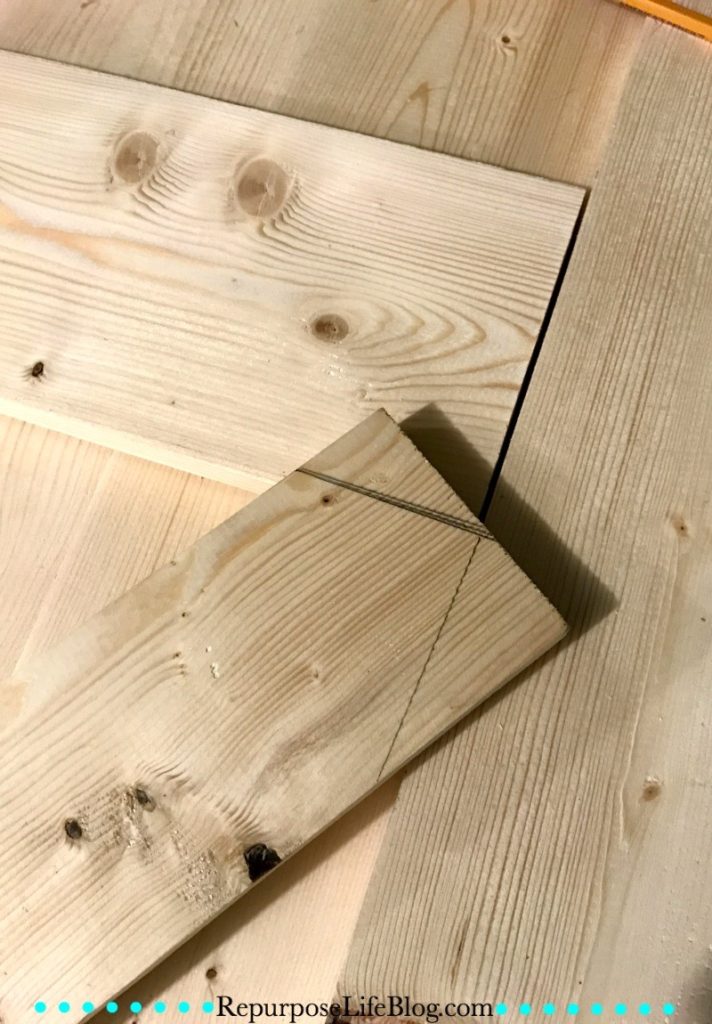
Step #3 Trim the Chevrons
URL: https://www.loulougirls.com/2014/08/how-to-build-your-own-chevron-barn-door.html
Draw a centreline down the inset panels of the door. Setting the miter saw to an angle of 45 degrees, trim off one end on every pallet board. Hook the ends and color at the centreline, creating an arrow. Label the boards around 1/8” short where they extend along with the stiles. Do the same process for the other chevrons.
Step #4 Mount the Pattern
URL: https://www.thisoldhouse.com/doors/21017217/how-to-build-a-sliding-barn-door
Get the pair of boards individually and use panel adhesives through the lower sides, and push them back to their position. Mount the boards by driving 1 ¼” bolts through a pneumatic nailer, one close to every side of every board. Simply perform the same process as you proceed to the next panel.
Step #5 Bore Holes
URL: https://repurposelifeblog.com/how-to-make-your-own-sliding-barn-door/
Trim two stiles for the door’s height. Then, trim four rails so they can cover the space between stiles. Glue the edges and clamp together two rails to create a rail for the bottom. Cut off 2 inches from one edge once the glue already dries. Assemble the pieces while putting the rough part down, filling in the filler strips.
Clamp the pocket-hole jig that is seen at the tip of the rail. Clamping only one edge can also work. Readjust the jig near the other end and do the same step.
Bore two holes on each tip part of the middle and upper rails.
Step #6 Create the Frame and Install the Face Frame
URL: https://www.thisoldhouse.com/doors/21017217/how-to-build-a-sliding-barn-door
Glue the end parts of the rails as well as the connecting ends of the stiles, then proceed in clamping the frame. Plunge the screws into the tips of the stiles on every pocket hole. Then, take off the bar clamps.
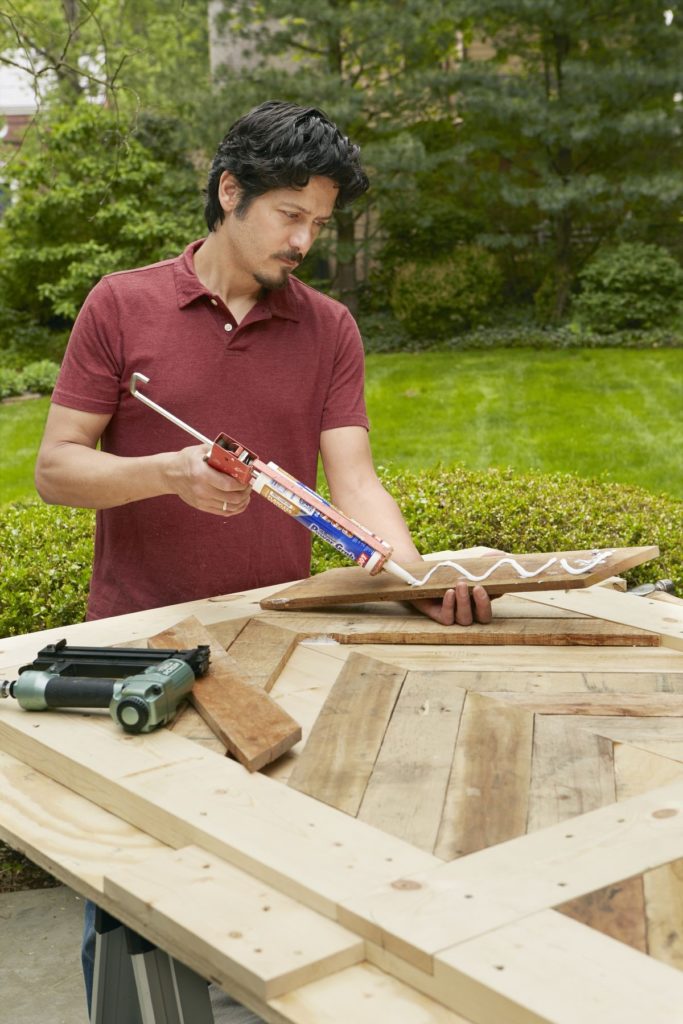
Slowly take off and set aside the face frame. Put a panel adhesive following a zigzag format throughout the filler strips. Now, get the frame into the table and direct it with its rough part up, concealing the screws. Position it and line it up through the four edges. Fasten it with 1 ¼” bolts at 8 inches intervals.
Step #7 Install the Rollers

Sand the whole door using 100-grit paper. Apply a generous amount of wax into your wood. Then, you should install the rollers. Mark the locations of the screw, bore pilot holes through the edge of the filler strip with a 1/8” bit. Settle the placement of the hardware by screwing it.
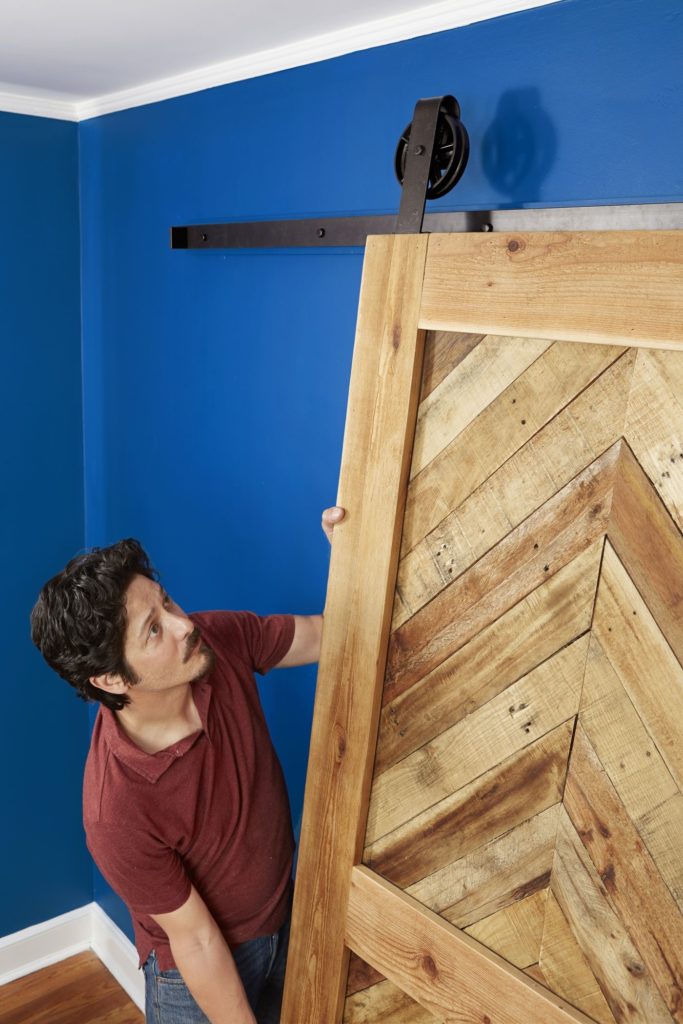
Step #8 Roll On the Door
URL: https://www.wcmanet.org/diy-barn-door-hardware/
Install the mounting board. Then, followed by the installation of the track. This time, you are set to roll on the door. Mount a doorstop at your preferred end. Lift the door into the track, then slide it until stop. Layout the L-patterned floor guide to making it feature the door in open and closed positions.
Conclusion
Those are the steps on how to make a barn door. A DIY barn door is always a great option as you can customize your plan, aside from the fact that it is an affordable option, too. The step-by-step instructions in the article feature detailed steps to make sure that you can easily carry them out. With proper understanding, you can end up with a beautiful barn door. You’ll even love the result more as you know that you have exerted time and effort in constructing it.
Leave a Reply