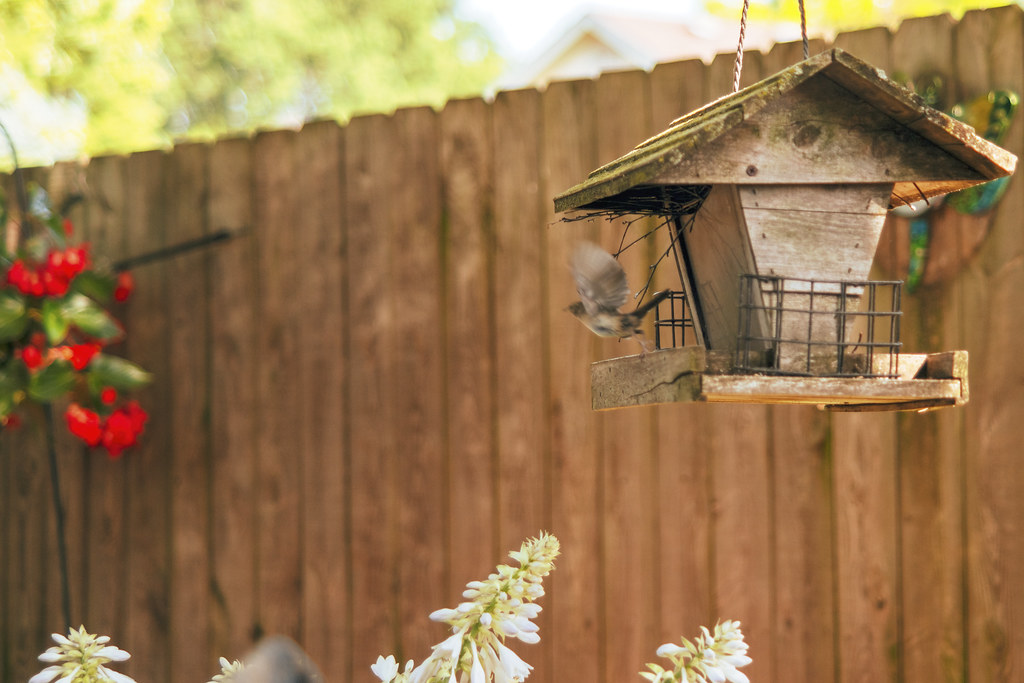
If you are looking for an interesting woodworking project for your family, learning how to make a bird feeder out of wood is a good option to consider. A wooden DIY bird feeder is easy to do since you can use materials that you can find at your local home center or a grocery store. The finished product will not just be entertaining to accomplish, but satisfying at the same time. You can fill your bird feeder with seeds, watching those neighbor birds swarming around.
What You Need
- Copper top
- Plastic soda bottle
- Single cedar board (cut into specific pieces specified below)
- Vinyl-covered wire
- 4d nails
- Glue
- Epoxy
- 120-grit sanding block paper
- Compass
- Square
- Bar clamp
Step-by-Step Instructions
Step 1 – Prepare the Wooden Parts
Combining the use of a compass and a square, prepare 6 individual pieces of wood that will make up the feeder. The size of every piece should be 2 ft (length) 1×6 cedar, (3) 3 ½-inch squares, (2) 3 ¼-inch circles (diameter), and (1) 4 ½-inch square.
Next, clamp the wood into a worktable. A jigsaw can be used for cutting out squares and circles. Cut the 4 pieces of perches (4-inch in length) out of the ¼-inch dowel. With a 120-grit sanding block paper or a random-orbit sander, sand every piece to make them splinter-free and smooth. Ensure that the dust bag is located behind the sander
Step 2 – Work on the Upper Part of the Bird Feeder
Glue together two pieces of 3 ½-inch blocks, securing them using 4d nails. Attach one circle with glue and nail on the top. Combine epoxy, spreading it on a square’s side. Put the square on the cap of the copper post. Allow it to sit for about 20 minutes.
Step 3 – Establish the Base
Turn on edge the 4 ½-inch square, and use a bar clamp to steadily hold it. Next, drill a ¼-inch hole with a depth of around ½-inch to the middle of the square’s edge. Do this again until you make a hole for every edge. Glue the perches (with a length of 4 inches) on the holes.
On the pair’s square side, drill a hole with a depth of ¾-inches to the center using a ½-inch spade bit. Use a ¼-inch bit in exchange, drilling into the pair. Creating a larger hole will allow you to hold the wire right in position.
Step 4 – Wire the Base
Cut 3 feet of vinyl-coated wire, feeding it into the hole that is located in its base. Fold the wire’s tip over with a pair of pliers on the square side, creating a small knot. Pull the knotted part into the bigger hole where it ends right at the circle. Ensure that it goes through the hole, not sticking out. Glue and nail the remaining square into the hole, covering it.
Step 5 – Create a Wire Hole on Top
Place bar clamp surrounding its post cap base, holding it steady. Using a finish nail, create a small dent where the copper peak is. Drill a ¼-inch hole carefully right into the peak, and later on out of the middle of the circle attached.
Step 6 – Work on the Seed Holder
Form a cylinder by cutting the edges of a one-liter soda bottle with a pair of scissors.
Step 7 – Assemble
Connect the cylinder from a soda bottle on a wood scrap that is clamped into a worktable. Then, continue by drilling 4 pieces of ¼-inch holes and evenly spaced, about 1 ½ inch from the edge of the cylinder. Feed the attached wire into the base into the cylinder. Place it above the circle, positioning the holes just over the perches. Secure the cylinder into the base by nailing it using blued tacks.
Next, thread the wire into the upper part by passing to the circle, and out of the copper peak, fitting it to the cylinder. To ensure that the top is held in, use a rubber grommet, sliding it to the top, pushing it tightly against the peak. The feeder is now assembled.
Step 8 – Fill with Seeds and Attach to a Tree
Fill your cylinder with seeds, fitting the top right back, pulling the wire taut, sliding the grommet tightly against the top again. Look for a tree where your feeder can hang. It should be a thick and healthy limb that can support the feeder weight, the seeds, and some birds.
Conclusion
Learning how to make a bird feeder out of wood will not just give you a product that will allow birds to enjoy, but it will also give you a sense of satisfaction after completing something rather than simply buying one. As the cold months start to approach, birds will no doubt be happy to have a place to rest and eat. Since this can be done with your family, this woodworking project will no doubt bring enjoyment to your family. Why not share your thoughts with us? Leave them in the comments section below. Feel free to share this article if it interests you!

Leave a Reply