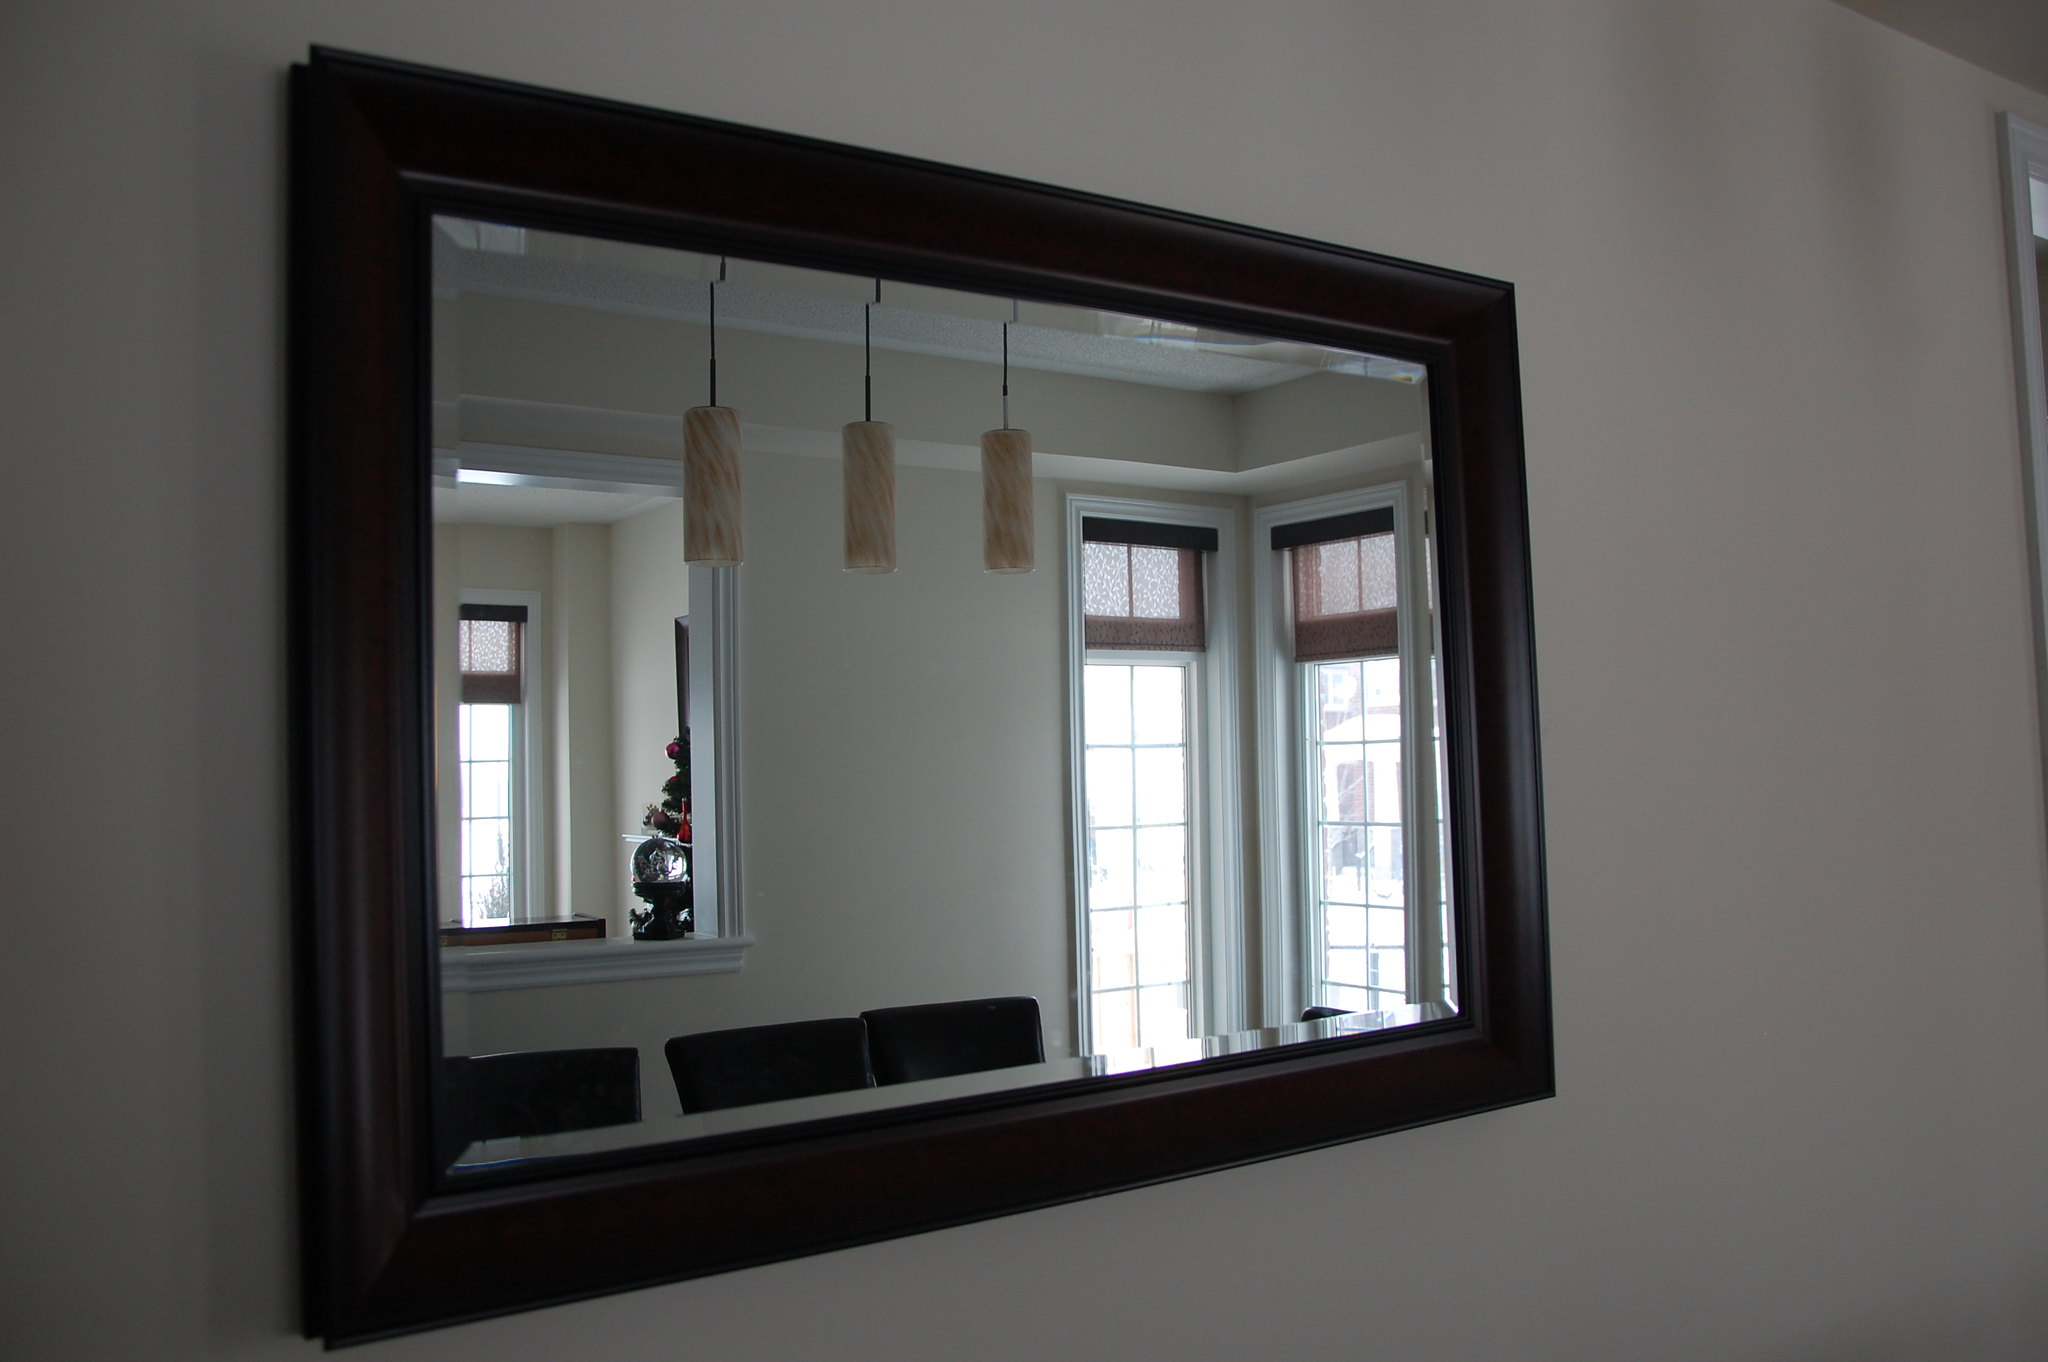
If you agree that mirrors are among the most important furniture pieces in a home, then learning how to make a mirror frame is something that you might want to consider adding to your next woodworking project. Even though mirrors are not that functional these days, they have the capability of transforming the way your space looks.
Mirrors are capable of serving as design elements that introduce light into any space, making even small spaces look bigger. Check out this simple mirror frame woodworking plan, inject your creativity, and prepare to make your very own mirror frame!
What You Need
- Ruler
- Gloves
- Sandpaper
- Safety glasses
- Hand saw or miter saw
- Carpenter’s square
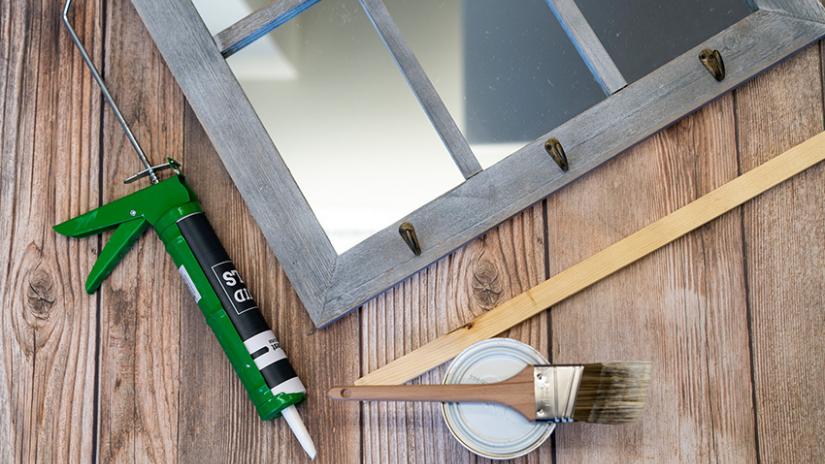
- Construction adhesive
- Stain
- Drop cloth
- Brush or clean rags
- Reclaimed wood or wood molding
Step-by-Step Instructions
Step 1 – Choose Your Frame Type
This step is very important since there are different types of frames that you can take into consideration. They come in different variations, serving various purposes and aesthetics. The following are the most common frame types to consider:
- Raw Wood
Untreated, raw wood is ideal if you are planning to create a frame for rustic spaces. Look for reclaimed wood to achieve that weathered appeal.
- Painted Wood
You can also opt to paint your mirror frames either in exciting, bright colors or in an understated black or white hue. To further add space, you can even tape off certain sections of the mirror frame to make a pattern. Note that there is also an appropriate type of painters’ tape that you need to purchase to achieve the best results.
- Stained Wood
You also have the option to stain the wood frames to match other wooden elements and furniture items in your home, including the molding or floors.
- Metal
Metal is an industrial material that has become trendy these days. If you are planning to use it for your mirror frame project, select one that matches the metal fixtures of your home.
- Frameless
Frameless options offer a modern statement. They offer an amazing effect in giving a room a larger feel.
Step 2 – Prepare Your Wood
From the first step, you may have already chosen some wood pieces. Make sure that they are flat and straight. Otherwise, you may need to purchase wood molding lengths. To get a discounted alternative, you can purchase reclaimed or lightly used wood at a local thrift or surplus store.
Step 3 – Take the Needed Measurement
Since there is a need to glue the frame to the mirror edges, make sure that the exterior edges of the frame also match the exterior dimensions and measurements of the mirror.
Step 4 – Plan the Corners
At this point, there is a need to decide whether you would like to see your frame corners joining at 45-degree-angle seams, or one with molding corner medallions. If the latter is your preference, you may also want to get medallions as well.
Step 5 – Sand
As you do this step, make sure to wear safety glasses and gloves. Sand the rough edges gently, including the splinters, removing existing paint or stains, cleaning them off the wood.
Step 6 – Stain Both Wood Sides
It is very important to stain not just one side, but both sides of the wood. This is because when it is glued to the mirror, the back part of the mirror frame is also reflected. To do this, you can lay the wood on your drop cloth, swiping the wood stain on it with a brush or rag.
Note that using a rag may leave that rustic, textured look while using a brush will give a smoother coat. Allow the first side to dry out completely before continuing with the other side for painting. To achieve an extra-rustic appeal, you can sand again on the stain that has dried to further distress the overall finish.
Step 7 – Measure Twice, Cut Once
Make sure that your wood is carefully measured, marking the area where you want to cut. Then, use a miter saw to cut the pieces of wood down to size. If you prefer using a hand saw, use a square to make sure that the angles are exact at the corners.
Step 8 – Connect the Frame to the mirror
Apply a bit of construction adhesive to every piece of wood, pressing it to the exact edge on the mirror. Ensure that the pieces are correctly aligned in the corners. Choose a color of the adhesive that is close to the frame color to achieve a seamless and flawless look. Allow the adhesive to dry out first before hanging your mirror.
Conclusion
Now that you know how to make a mirror frame, you can explore your creativity and add spice to your modern home. Whether achieving a rustic appeal for your entire space or allow your mirror frame to stand out, the options are endless. You can follow the steps mentioned above, or inject your style. If you have tips about this woodworking plan, share them in the comment section below! Share this article if you like!
Leave a Reply