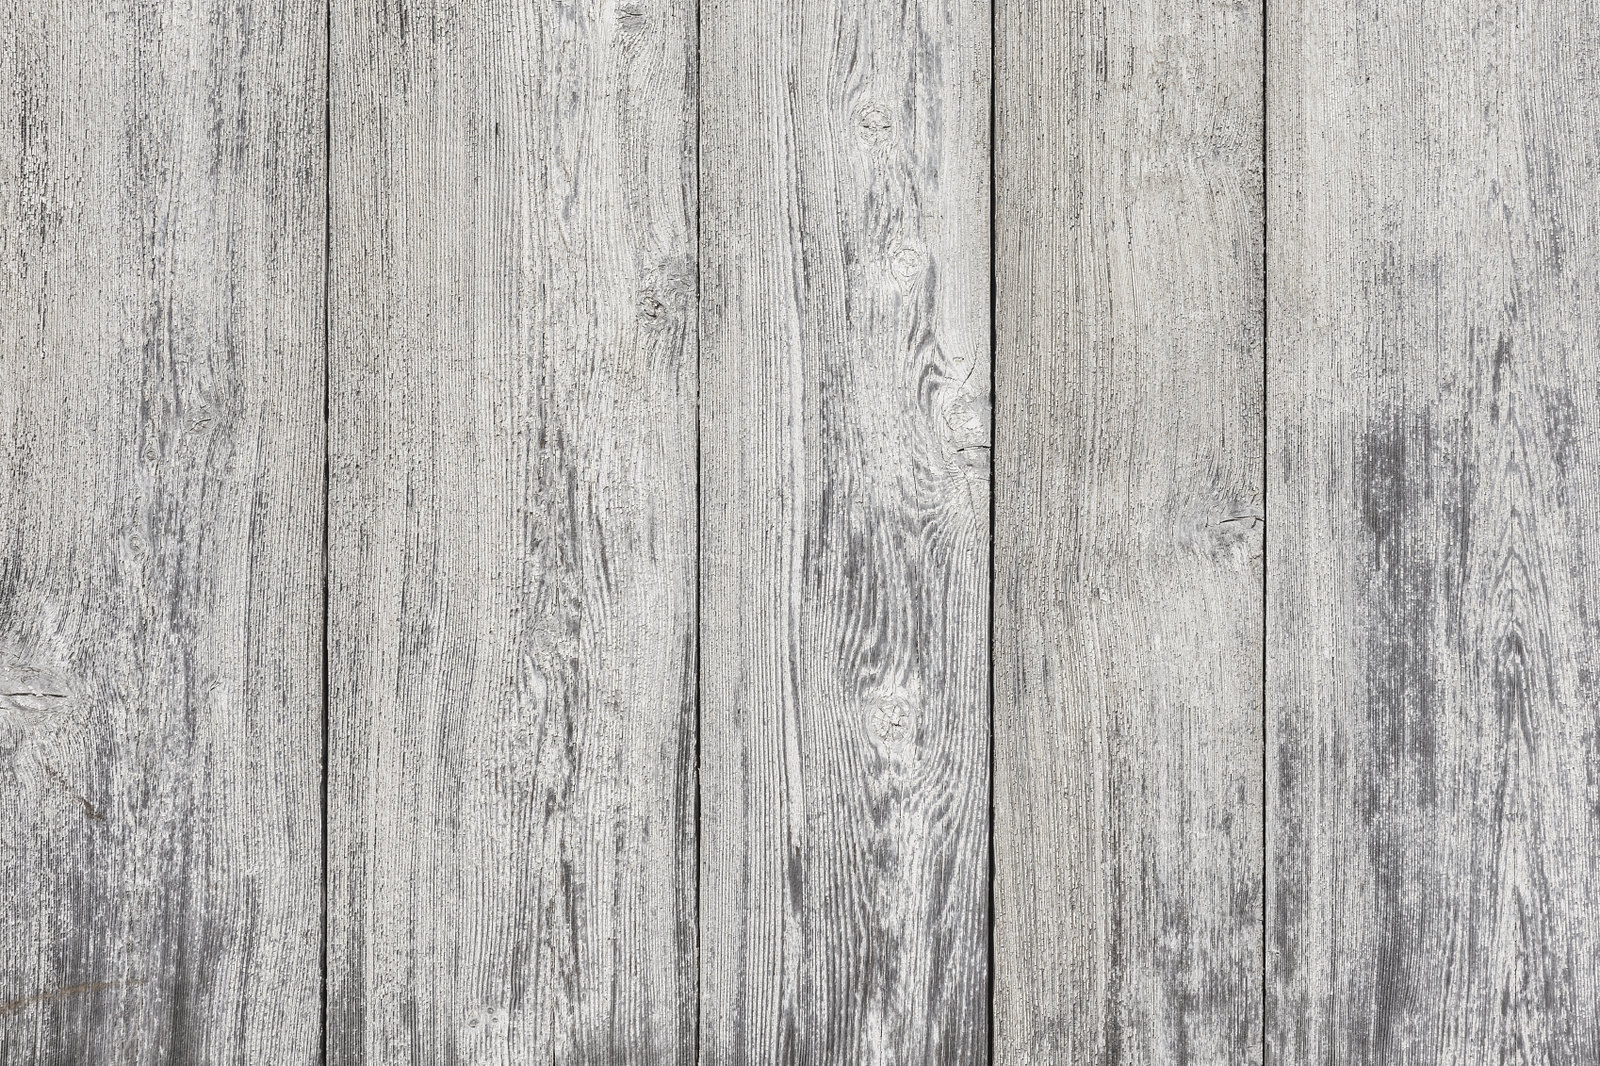
Distressed woods feature an old look, giving a picturesque, cozy charm. A lot of people love to incorporate vintage-looking furniture in their homes. So if you are making your own furniture to save money, you might find it interesting to know the steps on how to make wood look old with white paint and stain. Your objective is to achieve an archaic-looking wood as if it has survived years of use, abuse, spills, and sunshine – even though it is only weeks old.
You can make it happen. A lot of people have been utilizing arts to achieve an old-looking wood.
What Do You Need to Follow this Tutorial?
These are the necessary things to do this tutorial:
Paint and Stain
For this tutorial, you should use white paint and a wood stain. Choose a nice brand as you would want the paint to last longer. As for the wood stain, you can use walnut oil.
The finish of your wood will actually depend on the manner of your application. Although your choice of paint is important, you should also know how to properly apply it. You will later learn how to do it and you will be amazed to know that is easy.
Sand
The use of sand is important for the polishing of the wood. For this tutorial, you need a 150-grit and a 220-grit sanding block. You cannot miss this thing once you start with this project. You want to polish the edges of your wood. This is crucial in obtaining the kind of look that you desire.
The same with the paint, the manner of your sanding will play an important role in the success of this project. Do not be allured of sanding excessively.
Step-by-Step Instructions
These are the steps on how to make wood look old with white paint and stain:
1. Get Ready with your Wood

Before anything else, free your wood with any hardware. So, if you will be working on a piece of furniture, make sure that all stuff that is put on it is set aside. You might find it helpful to mark off the part of the wood that you do not intend to put paint on. You can use painter’s tape to do that.
Thoroughly clean the wood to remove dust. Before you proceed to the next step, you must completely dry the wood.
2. Sand the Current Finish
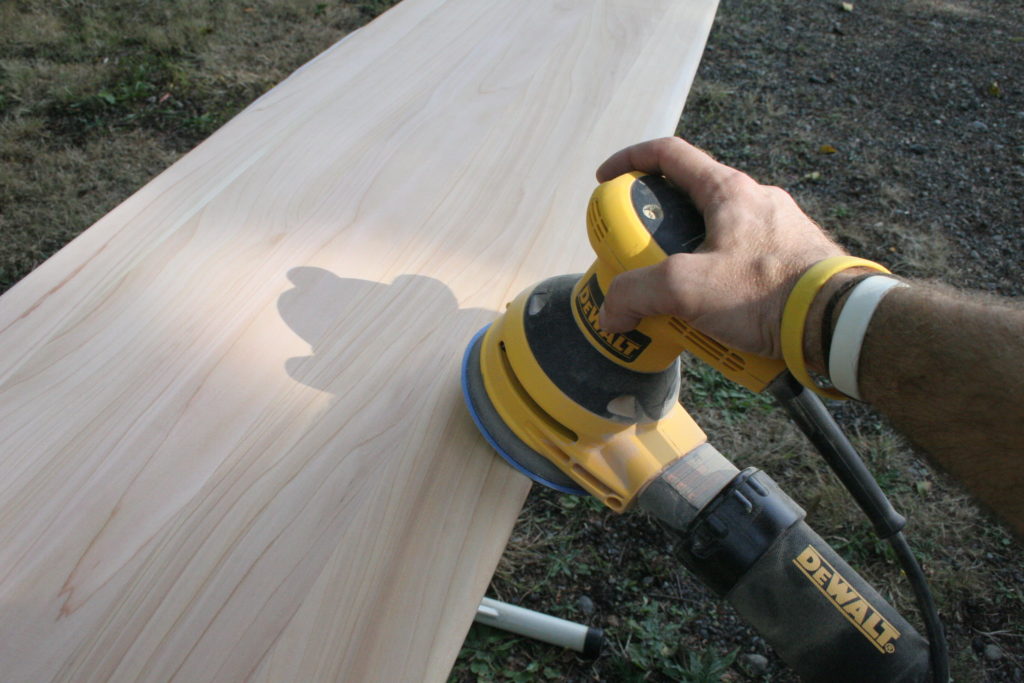
Using a sanding block, particularly a 150-grit, gently sand the whole surface. You do not have to get extensive when sanding. The purpose of sanding the surface is simply to get rid of the glaze.
Next, get the sanding block to entirely get rid of the current stain in portions that would be susceptible to bulkier wear, such as the high points and edges. The objective is to go through the natural covering of the wood to secure the penetration of the coloring agent. You may also consider using a power sander to quicken the step.
3. Color the Unadorned Wood
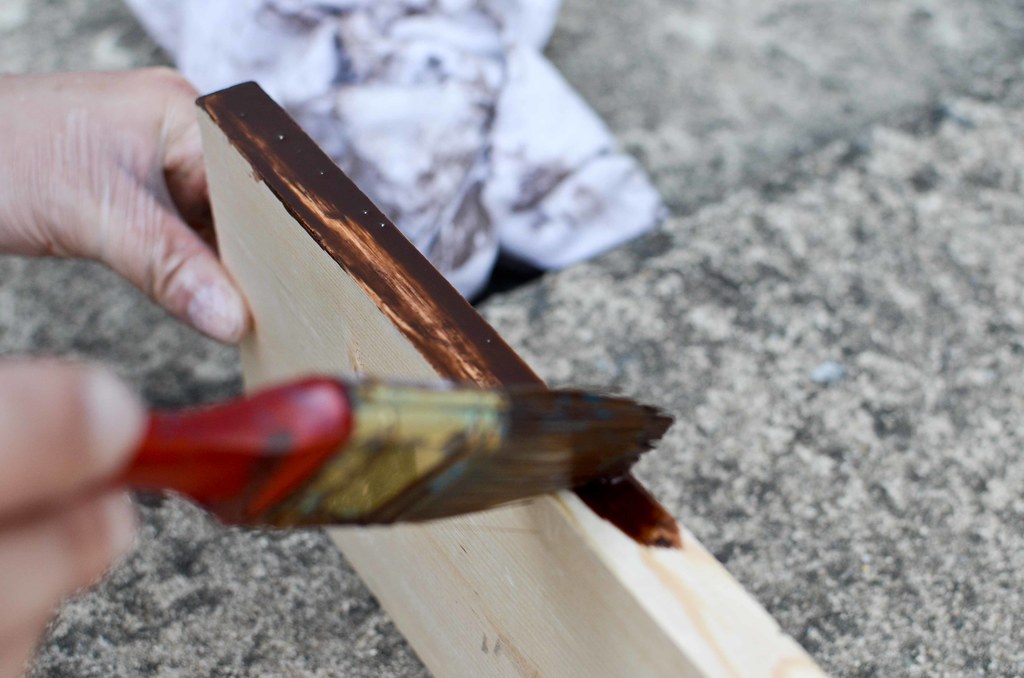
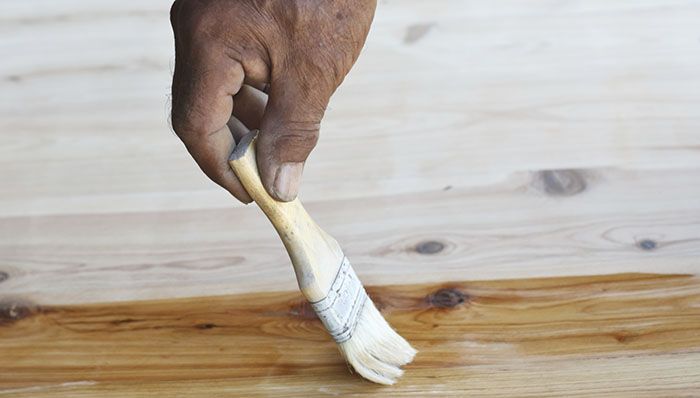
After completing the initial sanding, apply a wood stain to serve as the coloring agent to low areas and sites where wood has been uncovered. You can use any kind of wood stain such as walnut oil to obtain similar outputs.
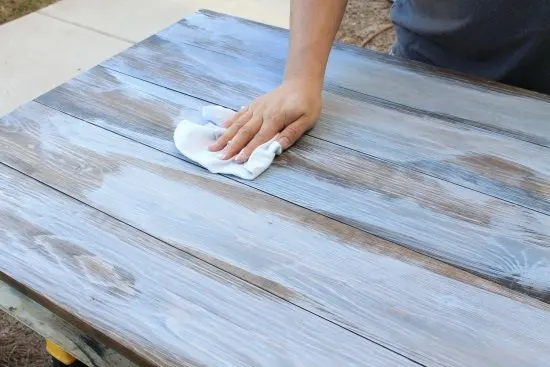
If you choose to use dark paint, then consider attenuating it a little by adding some water. Use a clean rag to effectively apply the coloring agent. In case the surrounding paint is being overrun by your coloring, it will be coated by the following layer of paint.
4. Bring into Play your White Paint
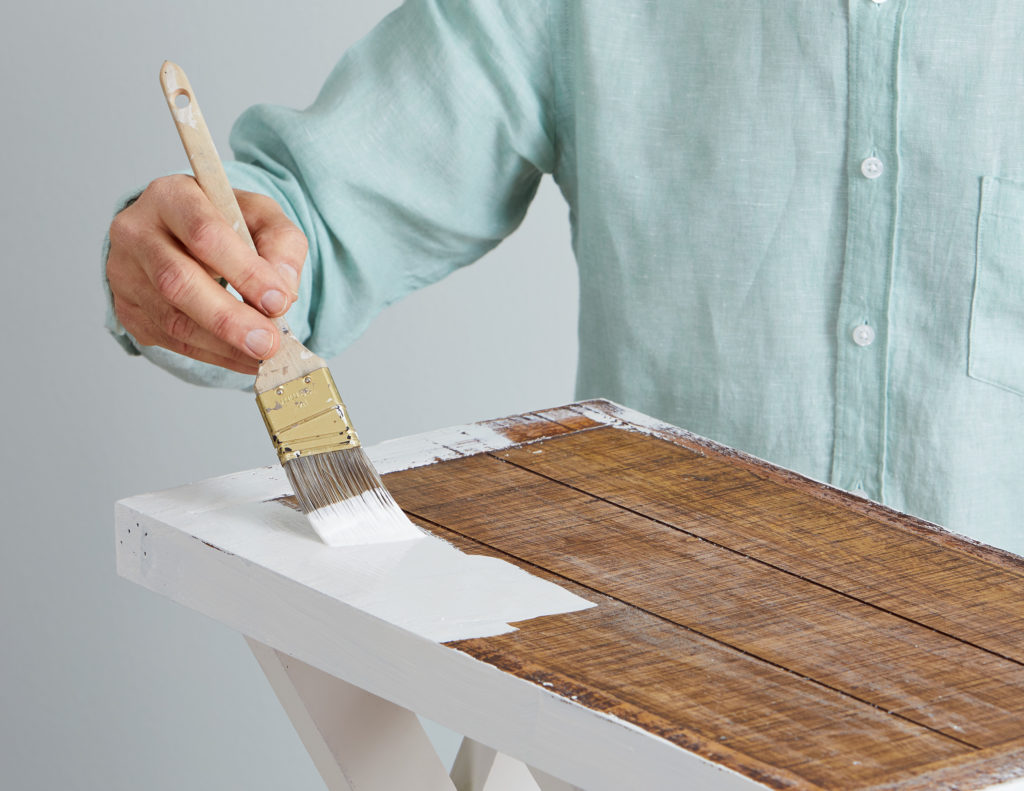
The next step involves coating the whole surface of the wood with a little layer of white paint. The idea is that the thinner the layer of paint is, the more doable the next procedures will be.
The key to having a good result of old-looking wood is a lighter hand execution. Thick layers of paint will complicate the task of sanding and can it more challenging to obtain the kind of look that you want. Allow the initial coat to dry for one complete day before doing the next procedure.
5. Do the Final Coat
Applying another coat of paint will guarantee that the entire excess coloring is completely coated and is not draining through, making your output appear more natural.
If you are subjecting an unpainted wood, you may want to use another choice of color for your final coat. This will show through more layers once you distress your wood. Just like with the initial coat, the second coat has to be administered in a thin layer. Wait for it to completely dry before proceeding.
6. Sand and Then Polish
It is in this step that you achieve your goal. With a 150-grit sanding block, polish the edges to make sure that the dark portions will begin to peep through. Do not rush the process. Step back to assess the distressed appearance. Sanding too much is strongly not advised.
Next, gently sand the top layer of the paint using a 220-grit sanding block. This will expose the original finish. Lastly, saturate a rag in the coloring agent and polish the edges.
The finish of your wood will depend on the manner of your application. Although your choice of paint is important, you should also know how to properly apply it. Get a 220-grit sanding block to gently sand the whole piece. You can use a butter knife to scrape certain spots to boost character.
Conclusion
The steps on how to make wood look old with white paint and stain are quite easy to follow. It may require hard work, but if you are a true fan of archaic furniture, you wouldn’t mind spending some time brushing and scrubbing your wood. This can be your opportunity to dress up your home with some old-looking woods on your furniture.
This is a task that you do together with a family member. You will see that your efforts are well-paid once you see the product of your art.
Leave a Reply