Your home could feel relaxing and warm if it has paneling. Paneling is actually very prominent in the 1970s and you would notice that a lot of aged homes are accessorized with paneling. However, if the house is using dull and deteriorated paneling or the veneer is substandard, then it would best to let go of the paneling. If you do not have the budget that is enough to cover the expenses of taking off the paneling, or you choose not to take it off, the next best thing to do is to have it painted.
So, how to paint paneling without sanding? Painting paneling is not costly and it can grant a bright and fresh look to the dreary paneling. You can proceed with painting through the wood without getting worried that it will peel. Sanding is not a requirement when painting paneling. However, you have to make sure that the surface is free from dirt.
What Do You Need to Secure to Follow the Tutorial?
Deglosser
You should get a deglosser and you have to make sure that you are using a good quality deglosser. This will help clean and de-gloss the fabricated wood paneling without sanding. You can use it easily. All you have to do is pour around 32 ounces in a 2-gallon container and swab it on using a rag. Make sure to follow the instructions stated on the label. You will be asked to wear protective glasses and rubber gloves.
Primer
It wouldn’t be good to simply use any regular kind of water-based primer since water-based primers are not equipped to obstruct stain. Hence, if you choose to use water-based primers, it would be possible that you will only result with yellow spots in the topcoat. There might be dark spots too between the panel grooves. This is mostly possible if you are working with a light color. It would be most ideal to use an oil-based primer.
Paint
When it comes to the paint, it would be based on a personal preference. You can ask your local retailer to help you get the best paint for you. After soliciting an idea, you can proceed with the application of your topcoat. It would be best to perform two coats. This will help you get the appropriate consistency and mil of paint. Also, you will not get your preferred color if you only do a single coating.
Steps to Paint Paneling without Sanding
If you decide to paint the paneling in your house, it is important that you only get excellent-quality products and follow the proper procedures. You should understand that paneling demands extra caution to make sure that the walls will look perfect.
How to paint paneling without sanding? This project is not complicated, so you can do it yourself. You can enjoy the task without having to spend a lot of money. Here are the procedures that you should do while you are painting paneling:
1. Fit Off the Surface
Image URL: https://encrypted-tbn0.gstatic.com/images?q=tbn:ANd9GcRM8ZIAHBRG7yk9V4J3qSYGoEEbUeWiKn7UgQ&usqp=CAU
Take off all wall hangings as well as the electrical gadgets that are attached to the wall. Use old bedsheets to wrap everything. This will make sure that you will not stain them with paint. Bring the furniture to the middle of the room to draw space for your painting and to make sure that it won’t be stained by paint. Additionally, use drop cloths to wrap the floors. If a glossy material is used to seal the paneling, you can wipe it by using a liquid deglosser.
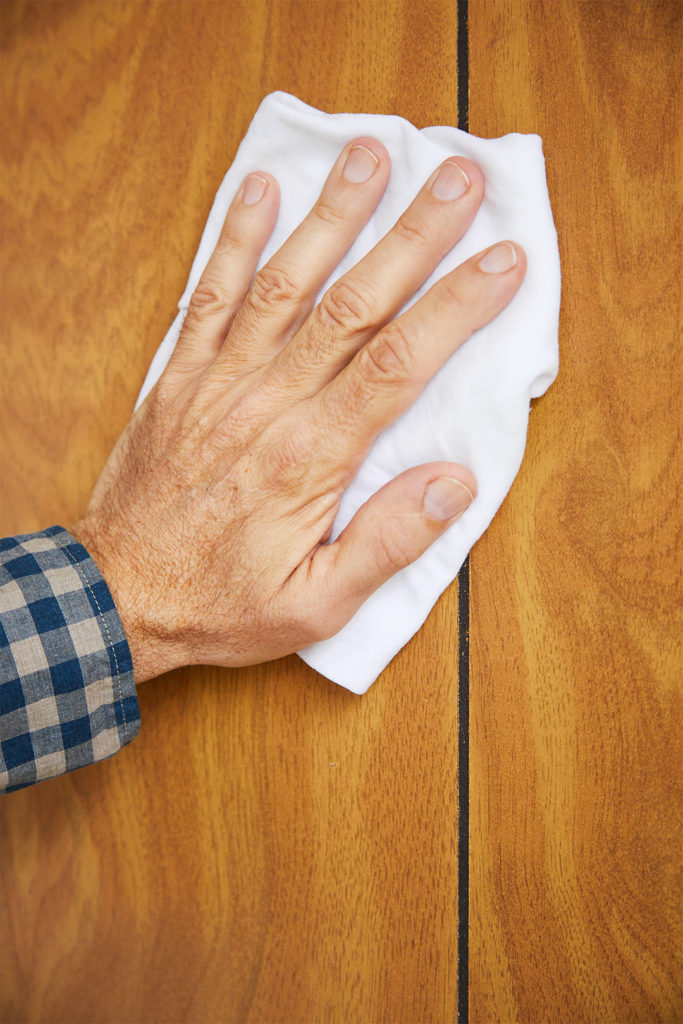
2. Remove the Dirt in the Surface Area of the Paneling
Before painting the paneling, make sure that you have thoroughly removed the dirt. Get a damp cloth and wet it with soapy water to remove dust, dirt, and cobwebs. If there are coatings of grime in the paneling, you can use an extensive cleaner like trisodium phosphate or TSP.
It would be useless to paint on an uncleaned surface since it will not properly adhere. Also, the presence of dirt can create a messy look since the paint will take up chunks of dirt.
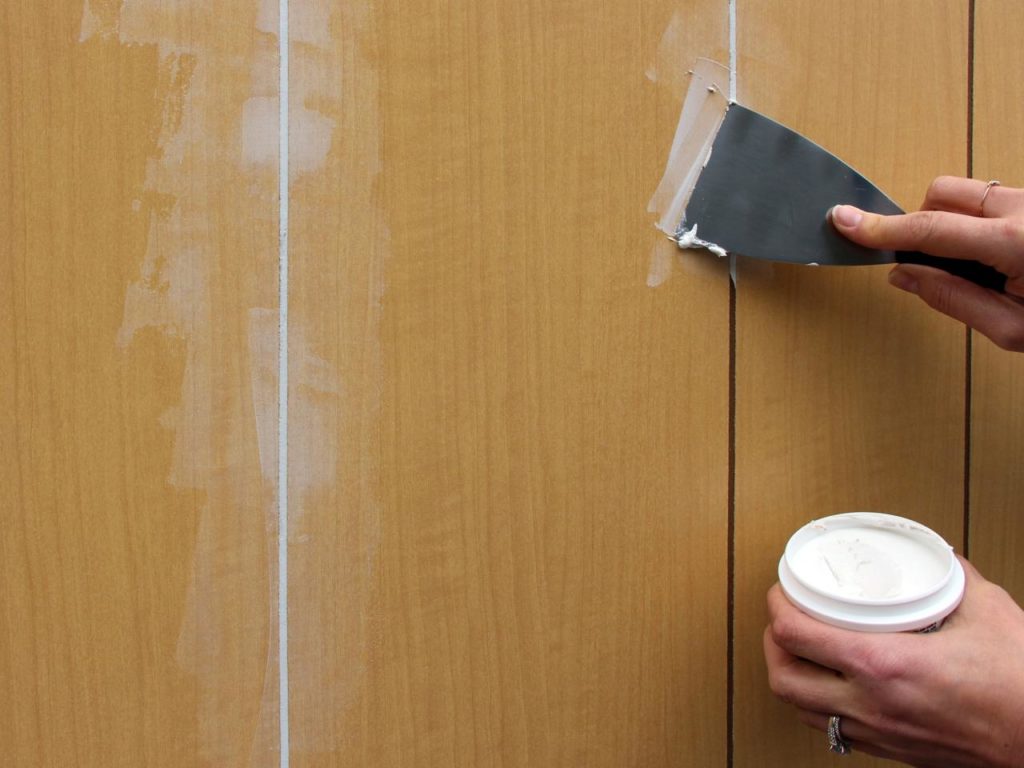
3. Load Cracks and Holes
Get a wood putty to load any holes and cracks on the paneling by using a flexible knife and allow it to dry. Apply a little quantity of wood putty on the knife and begin loading the nail holes and cracks that the paneling can have.
After drying up the wood filler, use a damp cloth to wipe it to make sure that there are residues on the surface. It is important to properly cover the nail holes since they are visible on the surface the moment the painting is completed. A quality primer adheres to the first finish, thus, it is not necessary to sand the wood.
4. Trimming the Caulk
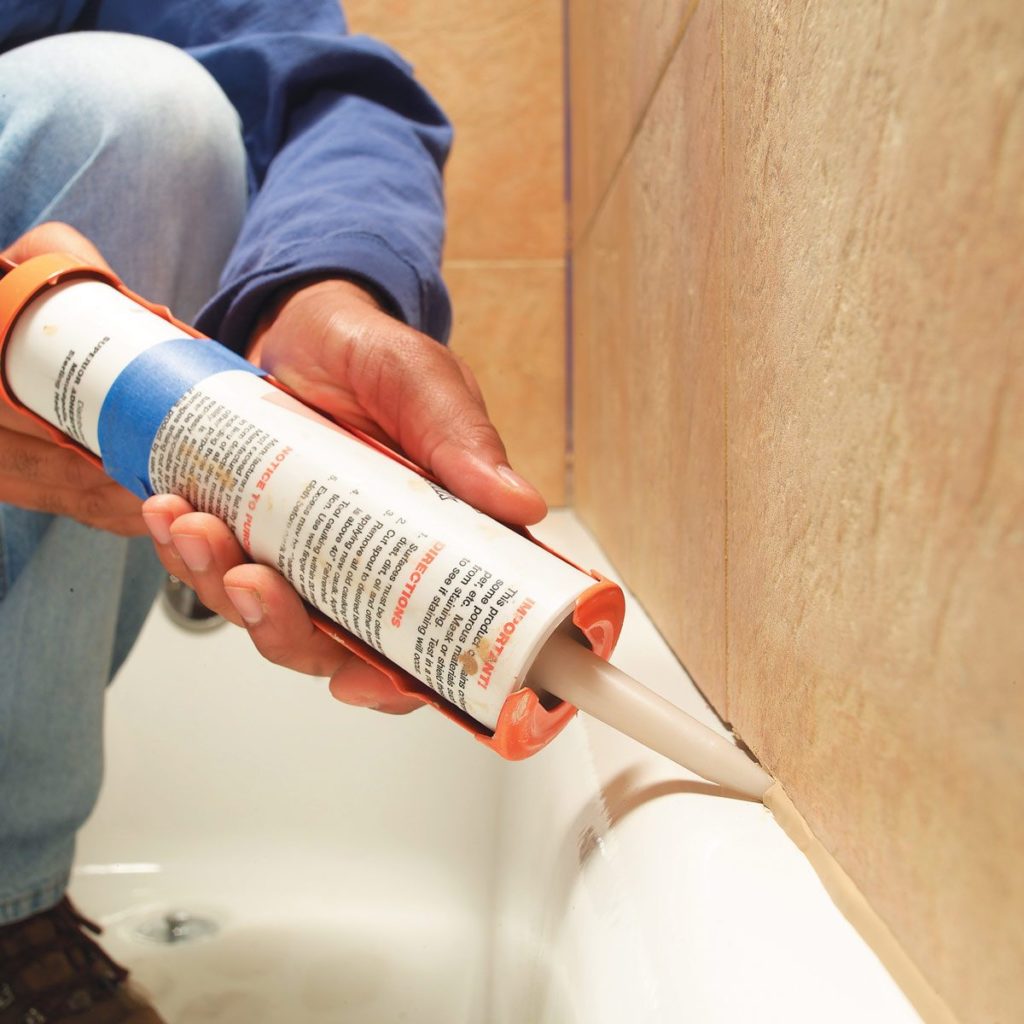
Image URL: https://www.familyhandyman.com/wp-content/uploads/2018/07/FH05MAR_456_07_011.jpg
If there are spaces between the panelings, use caulk and curtail around the windows and doors by utilizing excellent-quality painter’s tape to make sure your windows and doors will not have the paint you are using on the walls. Make sure that you got a paintable caulk. Allow the caulk to dry up while following the directions stated by its manufacturer.
5. Priming
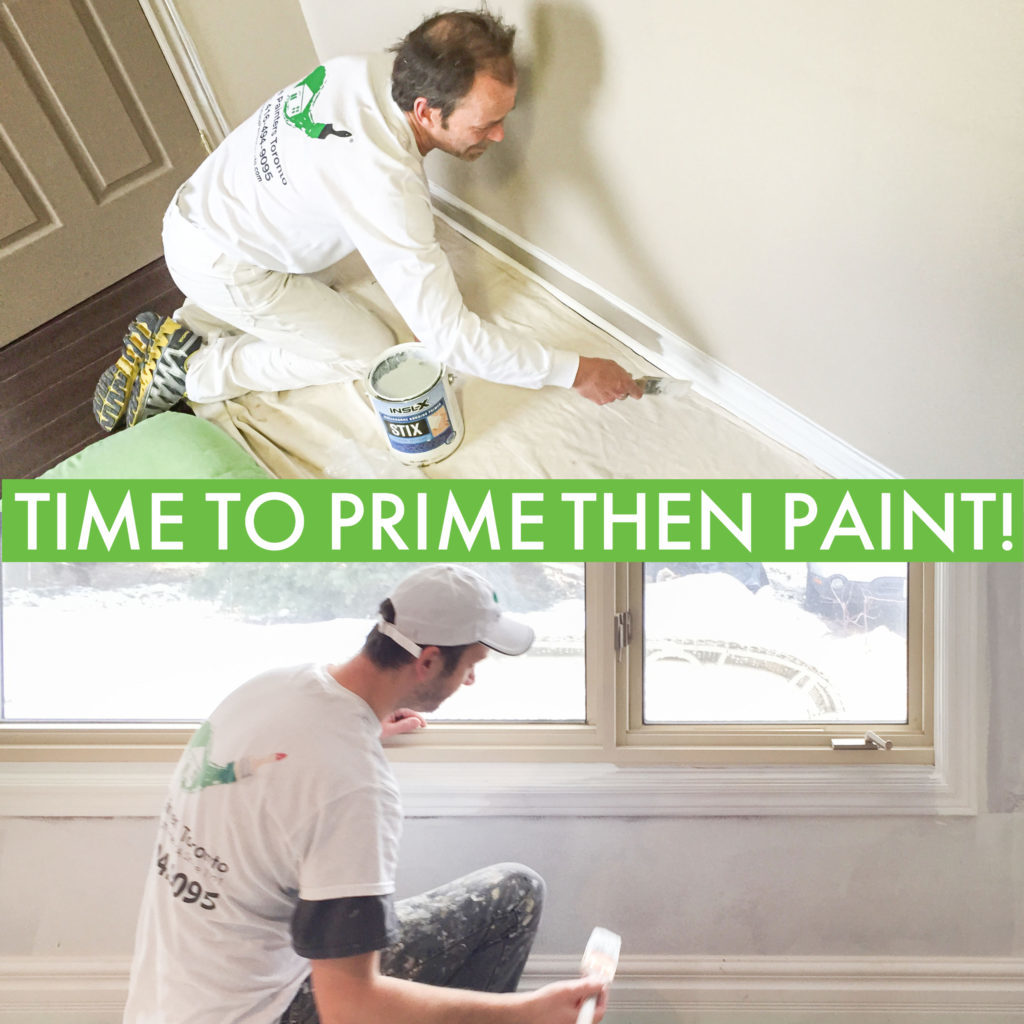
Begin by putting a wispy coat of primer through a sponge roller or a brush. The primer is applied to the surface of the wood. Make sure that the whole surface is covered and that includes the trimming.
If the paneling has grooves, make sure that every groove is properly primed to prevent patches. By getting the best primer, you can get the most desirable outputs.
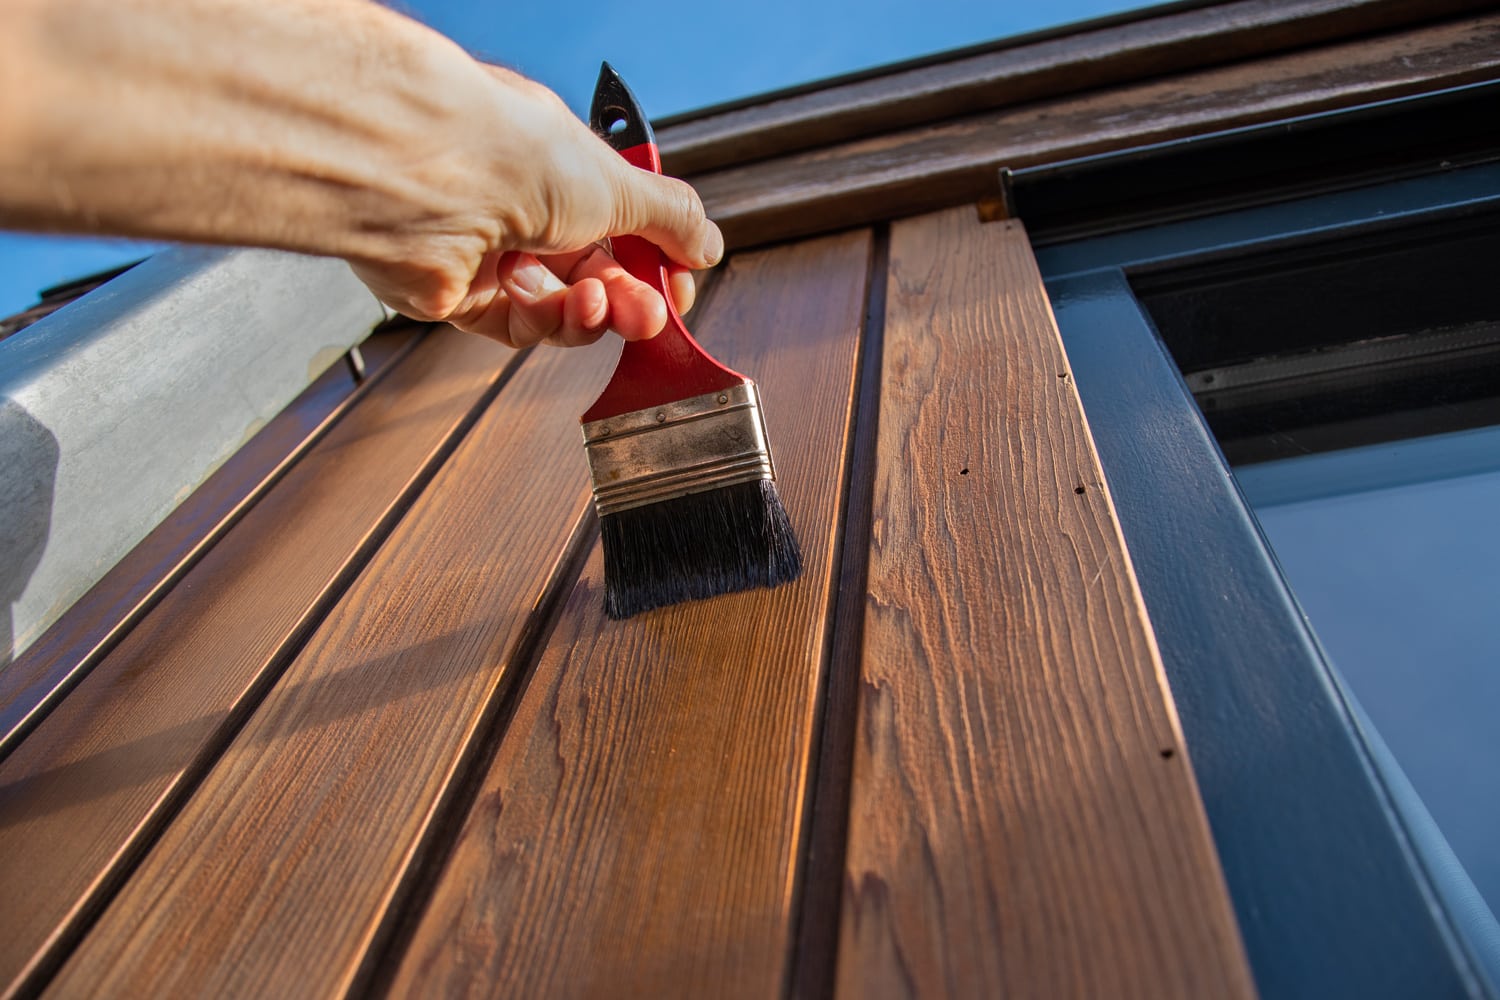
6. Painting the Paneling
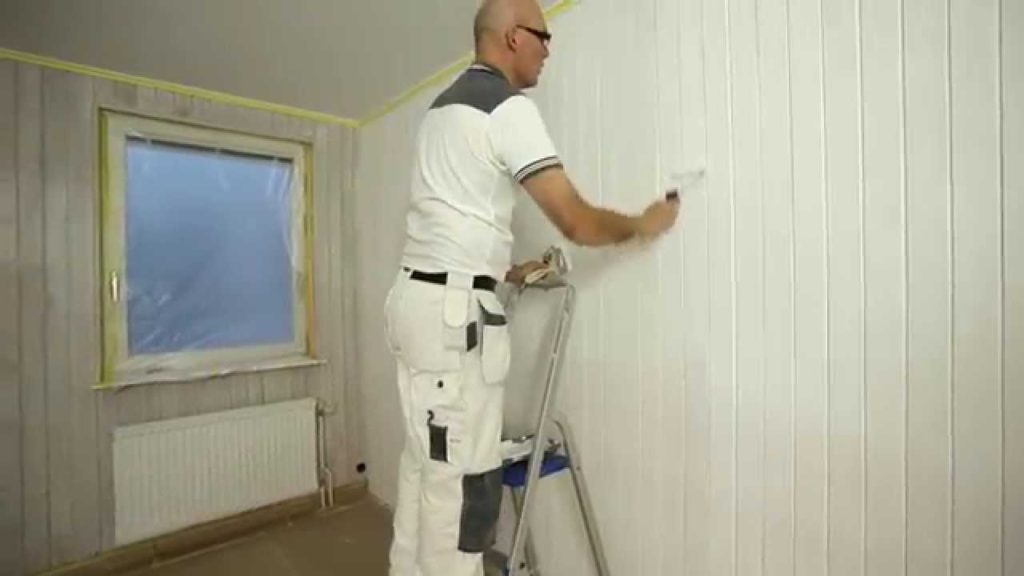
Image URL: https://i.ytimg.com/vi/BM601ZrPTvc/maxresdefault.jpg
Apply the initial coat to the entire surface of the paneling. Work in portions while guaranteeing that the entire cracks are painted. Target to evenly smoothen the flat parts of the paneling to achieve a shiny finish.
Apply the second coat once the initial coat has dried up. When you are done with the application of primer and initial coat, you will see that the walls would appear like they are done but you have to do a second coating to make sure that all surfaces and corners are fully covered.
7. Painting the Trim

Image URL: https://www.maisondepax.com/wp-content/uploads/2020/06/painting-wood-trim-white.jpg
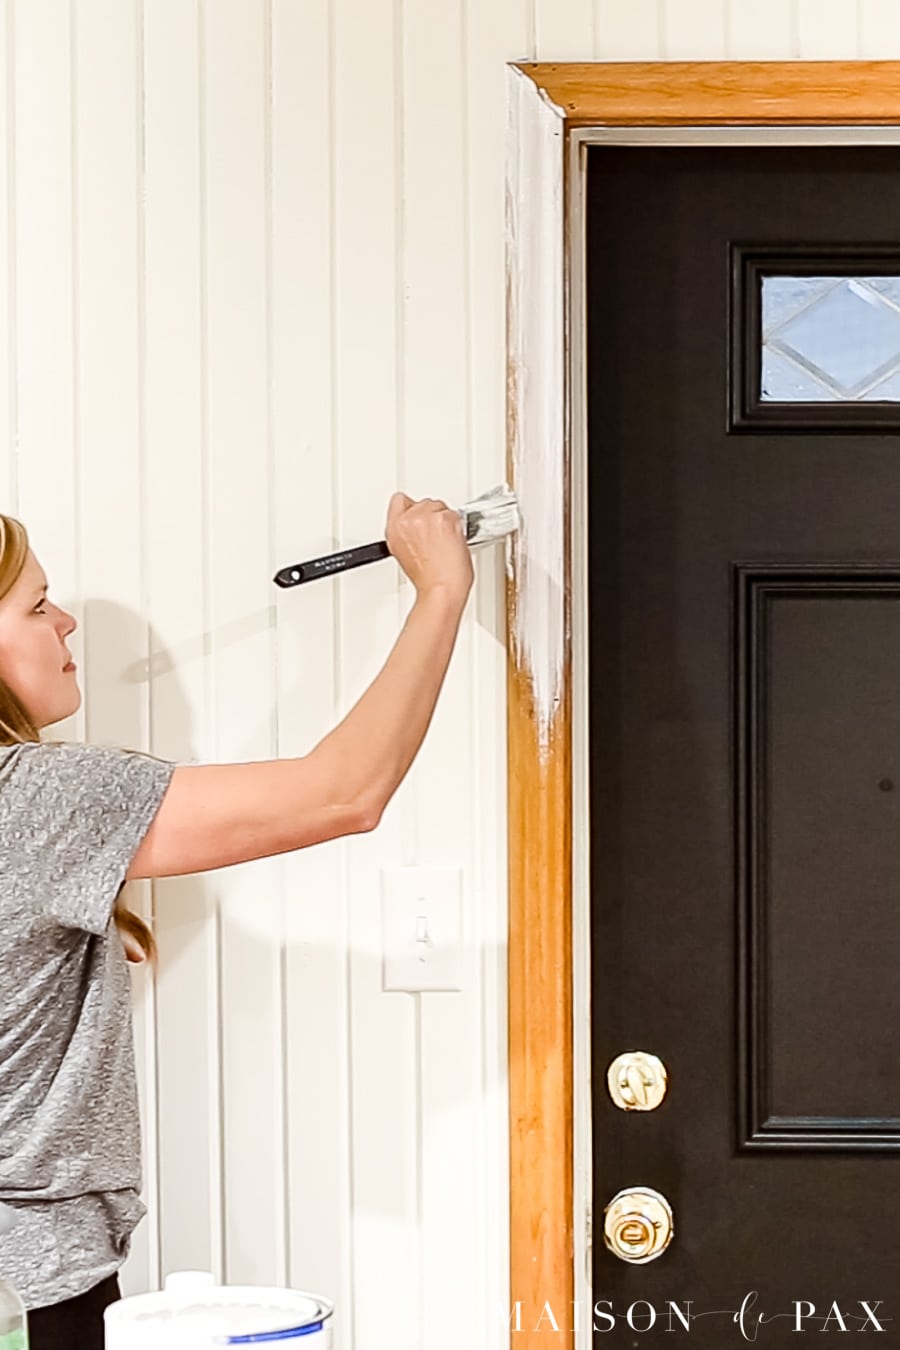
Paint the trim with a brighter finish. Use your choice of shade when painting it to make it distinct from the wall and make a flat surface that can be cleaned easily. When the paint is completely dry, you can then return the furniture to its place and start admiring your home with newly painted paneling.
Conclusion
Learning how to paint paneling without sanding is easy and it can help you save more money since you can do the painting yourself. If you do the above steps properly, you can enhance the look of the paneling and admire your new room. To attain that shiny appearance, you should understand that several things have to be performed properly to achieve that attractive and bright look.
So, do you think you can do the steps to effectively paint your paneling? Well, the steps are quite easy so there should be no reason for you to hesitate.