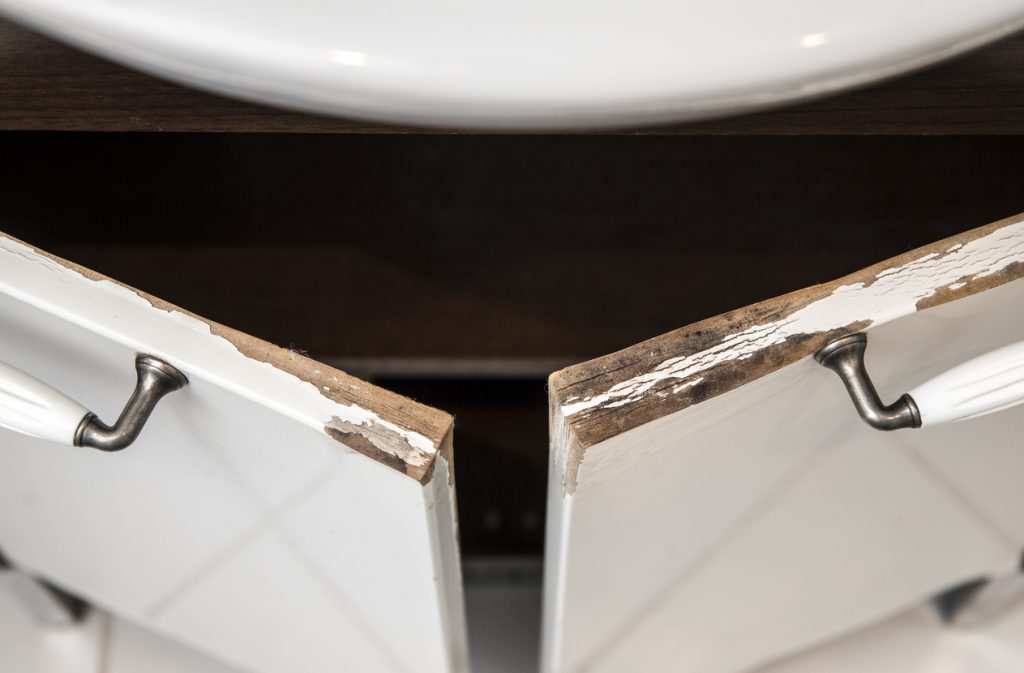
MDF is a common material used in home construction. Although there are quite a lot of options when it comes to building materials, MDF certainly makes a good choice because it is affordable, flexible, and easily worked. However, with the occurrence of floods due to heavy rain or any incidents that bring water damage, MDF boards could suffer several issues.
In this article, you will learn how to repair water-damaged MDF.
What you will Need to Follow this Tutorial?
To repair water damaged MDF, you will need some materials so you can properly execute the repair process:
- Sandpaper
- Wood filler
- Resin glue
- Paint
- Water-resistant sealant
- Primer
Step-by-Step Instructions
Here are the steps on how to repair water damaged MDF:
1. Assess the Damage
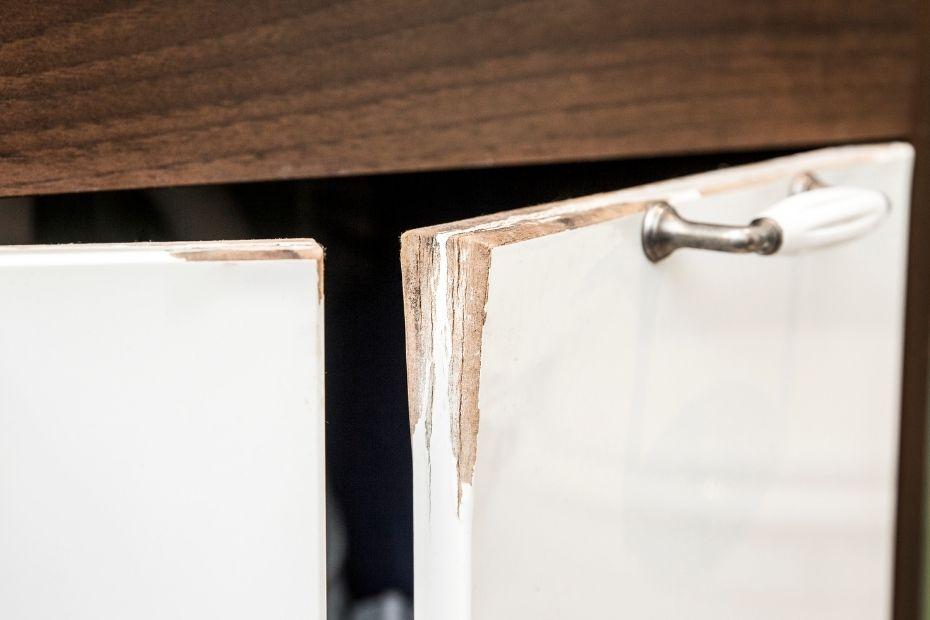
Before anything else, you should check first the extent of damage on your MDF. You wouldn’t want to waste time and effort on something that is not unrepairable. So if you think that the extent of water damage has already covered several sections, you might find it more acceptable to replace them.
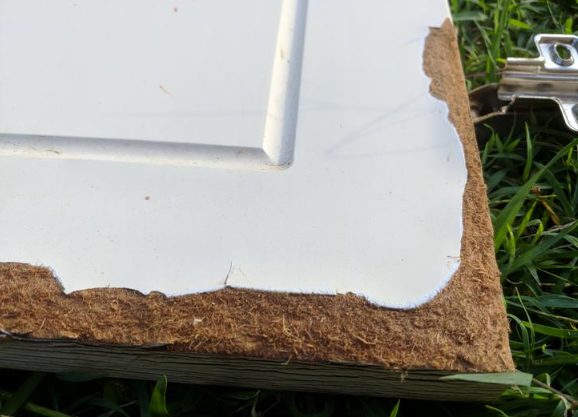
Some of the damages that you need to assess carefully are detached and crumbled MDF particles. If you find out that your MDF is generally affected by this kind of damage, then you might not want to proceed with the repair and replace it rather.
However, if the MDF board only has several swollen parts, then continue repairing it.
2. Dry it out
Before you begin repairing the water-damaged MDF, you should first dry out the material. Otherwise, it will fall apart. It will be risky if you do not dry out the material properly. You do not only welcome the possibility of further ruining it, but you may also worsen contorts and warps as they are fully dry. These scenarios can make the repair impossible.
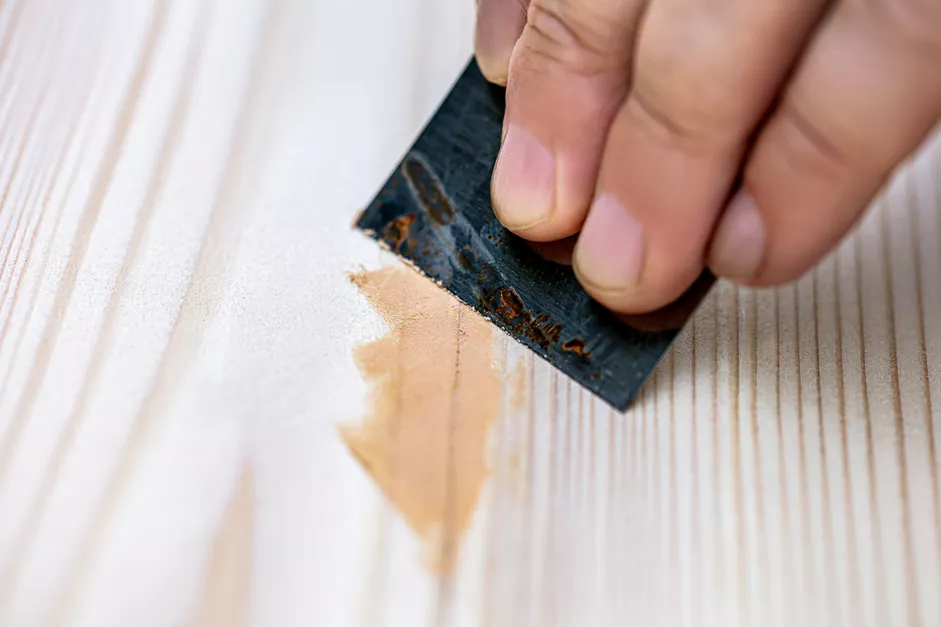
3. Sanding
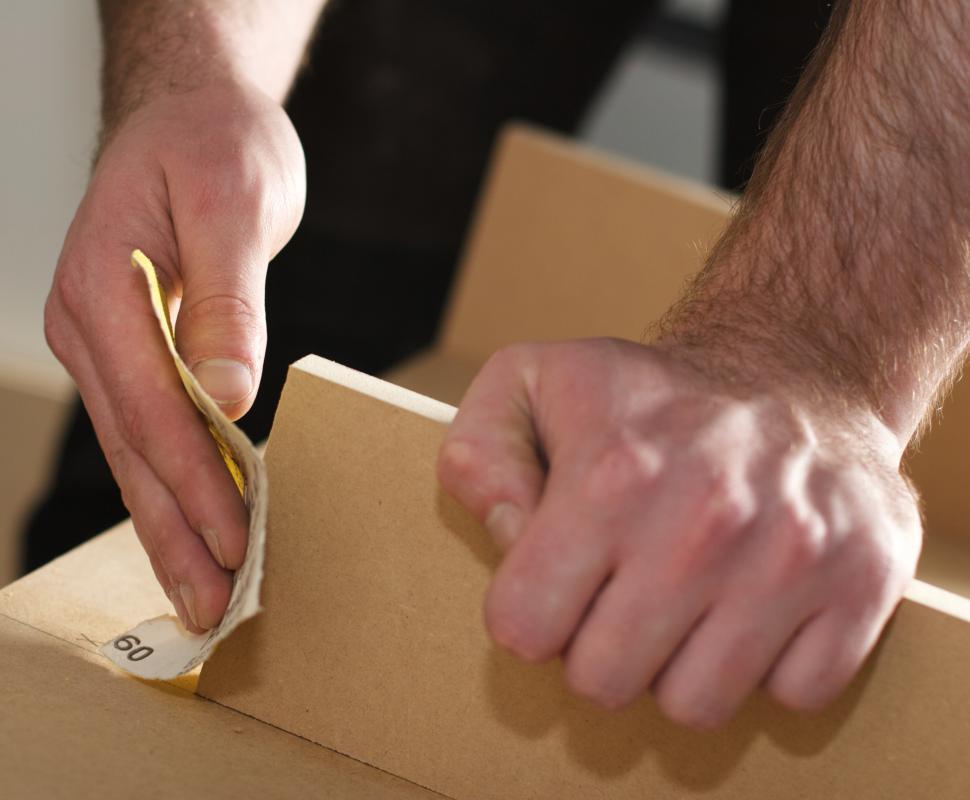
After drying out the MDF properly, you should start sanding.
Earnestly sand the MDF board using 80-grit sandpaper that is bonded to the hand block. You might have to remove the paint if the length of the MDF is damaged. However, you should only sand the affected area if the water damage is consolidated in small sections.
Slither the sandpaper through the length of the affected surface to get rid of the high spots. When the sandpaper would seem to fail to remove the material, consider using another sandpaper.
When doing this step, remember that while you are sanding, you are clearing away the material. Hence, you should be very cautious when you sand and always bear in mind that you cannot undo things you have already done.
Sand carefully. Check your actions. Sand down whenever it is necessary.
4. Fill the cracks with a resin glue
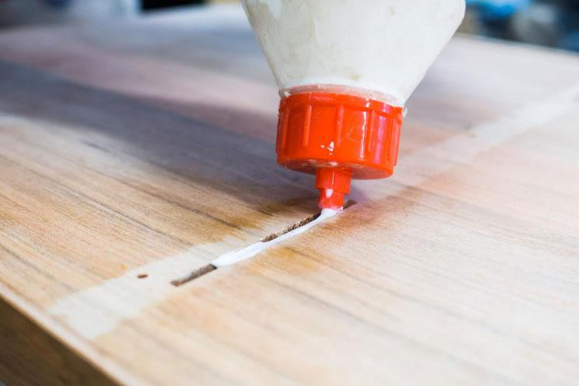
Finally, you have sanded down the MDF and you have smoothened it. However, you might notice that some portions were sanded lower as compared to the other parts. You should then fill in the sections that require filling.
Mix the powdered resin glue with some water. The mixture should be done while following the instructions stated in the package. Use a brush to fill the cracks and small separations with resin glue. Allow it to dry completely overnight.
5. Apply wood filler
Once dried, the resin glue will naturally shrink. That is why you need to use wood filler, too.
Examine the board and fill any seams, pits, or gouges that were not fully covered. Use a putty knife to apply the wood filler. Once the putty has dried, use 100-grit sandpaper to smoothen the molding.
Do not overdo the application of the wood filler since any excess filler will have to be removed the moment it dries out. In case you applied too much wood filler, carefully rub it off before it fully dries. Otherwise, it will be very hard to remove it and you will have more loads to finish afterward.
Remember though that when you repair water-damaged MDF, your objective is not to make it look like its original version nor try to keep its architectural integrity. Hence, do not attempt to recompense with wood filler to meet your initial objectives.
Once the wood filler has fully dried, re-sand it so that it is almost the original shape. Again, remember that you are removing material while you sand, so always pay attention to your work.
As much as possible, try to smoothen things to your best ability and make sure that you flush everything. You may not be able to bring the MDF to its architectural build, but your objective is to make it look close to the original version.
6. Use edging strips
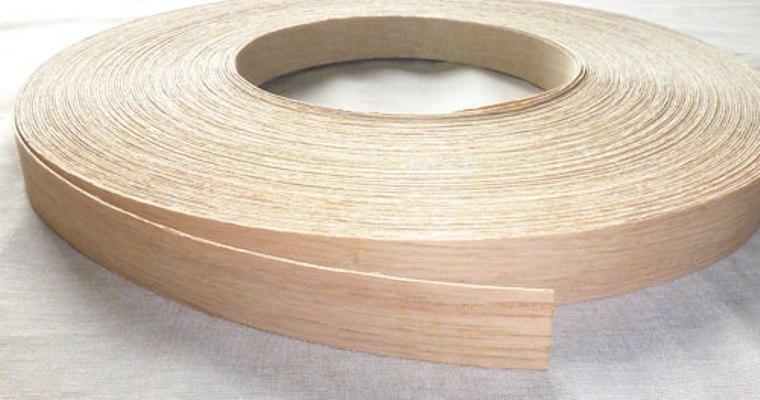
You will use the edging strips to wipe out surface edges. Hence, you may or may not use them depending on the look of the surface.
If one surface was damaged, the use of edging strips can remedy things and will provide a sharper, cleaner look. Apply the edging strips by simply fitting them in place and allowing them to dry. Once dried, clear away the excess. File and sand to achieve a complementing finish.
7. Replicate molding lines

Get 100-grit sandpaper and fold it into three. Hold it like you are handling a knife so you can depict the molding lines. Glide the edge through the existing lines so that you create new lines. Fold the sandpaper through dowels so you can sand hollow curves.
Apply a sealant by using a brush. Then, use water-resistant paint to complement the existing paint. Two coatings would be ideal.
Conclusion
There you have it! These are the steps on how to repair water-damaged MDF? How did you find the tutorial? The steps were simplified, too, so that anyone can easily understand them. You don’t need special skills to carry out this task. All you need is the proper knowledge of how to execute the steps.
Since your MDF is already a part of your home, you should be quick enough to repair it whenever you see the damage. Prepare the materials and start doing the repair process.
Leave a Reply