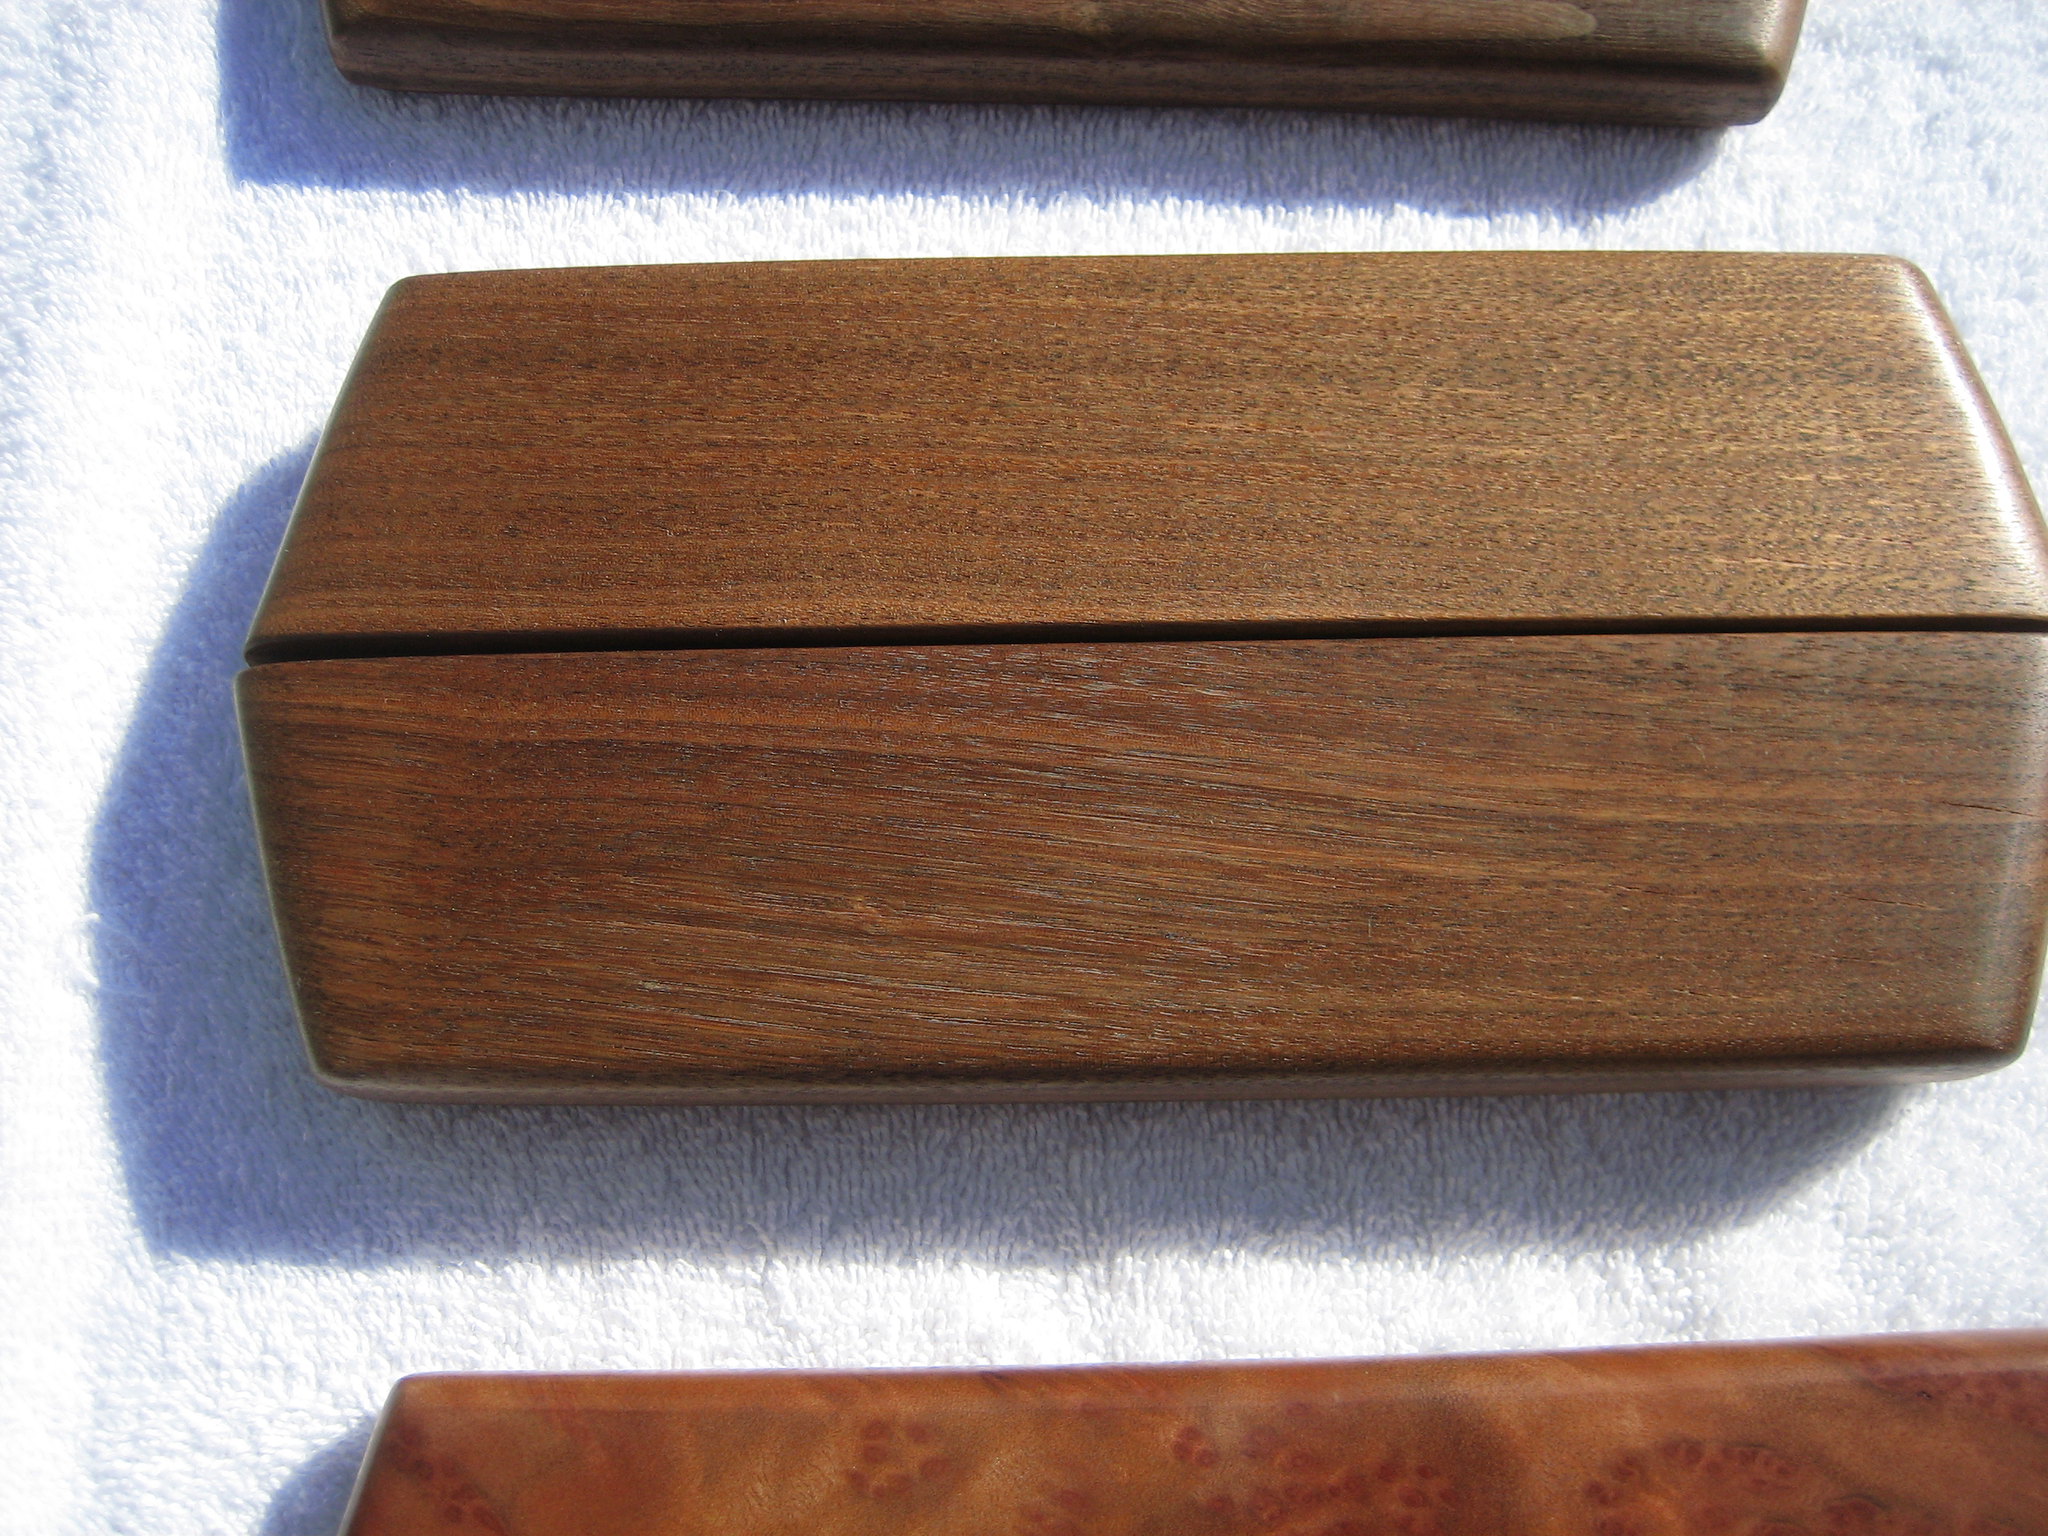
As a natural material, wood is amazingly versatile. There are many things that you can make out of wood. Still, just with other types of materials, wood also has some disadvantages. For one, it ages. It even rots after a long time. Experienced woodworkers, thankfully, knows some tested and proven methods in making wood durable. This can be done by completely stabilizing wood.
Learning how to stabilize wood will allow you, not just to preserve wood, but make the most out of its features. One of the most commonly used methods is stabilizing wood using a thermosetting resin. This guide will tell you how to do that.
What You Need
- Stabilizing resin
- Dried wood
- Vacuum pump
- Vacuum chamber
- Aluminum foil
- Quality furnace thermometer
- Protective gear
Step-by-Step Instructions
Step 1 – Prepare
Before starting the process of stabilizing the wood, it is important to check all your equipment for any signs of dirt and damage. This is very important because the presence of dirt may harm the entire procedure. Also, check the vacuum chamber for damages since this plays an important role when it comes to safety.
All of your tools should be stored in a solid, heat-resistant, and safe place. Make sure to wear safety equipment all the time. Your gear should include long-sleeved clothing, protective gloves, safety goggles, and an apron. If the resin comes in contact with your mucous membranes or skin, rinse the area affected right away using warm soapy water, and seek help right away. It is also recommended to prepare and ensure that all utensils needed for the job are within reach.
Step 2 – Load the Vacuum Chamber
Place the blanks that you need to stabilize ins the vacuum chamber. Make sure that the stabilizing liquid reaches the blanks coming from all sides without any problem. They should not stop the liquid from being absorbed. This can be achieved with the right distance in between.
Weigh the blanks first to make sure that they don’t float up during the process. To achieve this, you can use a huge mesh grid that is weighted with weights. An alternative is an anti-float mat which can easily be screwed into the vacuum tank’s wall.
Fill the resin in. The blanks should be covered with the medium used is stabilizing. During the process, the blanks absorb the resin naturally, with the resin level dropping slightly. This should be taken into consideration. Place enough amount of resin in the vacuum chamber, just enough to cover the blanks to a height of 15mm.
Now, the chamber is closed. The process can start. As the air inside the blanks starts to escape, the medium will also start to boil. Make sure that the resin does not run off and over foam. If you are not sure about this step, allow the air to gradually escape slowly, giving the blanks more time.
If you notice a lot of foaming, you may want to wait for a few more minutes in between each step until the foam has completely dissolved. If there is no more foam, it means that all of the air has already escaped, with the blanks being saturated completely.
After all, the air has escaped completely from the blanks, and they are already absorbed in the resin, this means that the procedure is now complete. This usually takes up to an hour, but could also be longer. Turn the vacuum chamber off, leaving the blanks inside for a while.
Step 3 – Bake and Cure
After the evacuation process is done, remove the blanks, allowing them to drain well. Dab them off completely using kitchen paper. Pour resin coming from the vacuum chamber io an airtight container, storing it in a safe and dry place. It can still be used for the next process.
All tools used for the process, and that have come in contact with the resin need to be washed using warm and soapy water. The blanks can now be wrapped using aluminum foil tightly. The matt side should face outward, while the flossy part needs to snuggle well to the blanks. Use a single piece of aluminum foil for every blank.
Preheat oven to a 71 to 93 degrees Celsius temperature. Once the right temperature is reached, place the blanks in the oven, keeping it there between 60 to 90 minutes. Once this process is complete, remove the blanks using protective gloves. If the foil cannot be removed easily, use a knife or other sharp objects to remove it.
Conclusion
The process of stabilizing helps in strengthening the wood. This means that stabilized wood can be more useful. Learning how to stabilize wood will allow you to use it to the maximum. After the wood is stabilized, you are free to use it for whatever purpose you may have in mind. This is the time you can further explore your creative side. Why not share with us your experience in stabilizing wood? Leave your thoughts in the comments section below. Feel free to share this article too if you like!
Leave a Reply