Liquid Nails is a brand of construction adhesive that can fasten all kinds of materials. There are many types of Liquid Nails products available, each one for a specific type of material. It’s important to learn how to use Liquid Nails so you can prepare your woodworking and construction projects correctly.
What you need
- Liquid Nails – this is a breakthrough multi-purpose adhesive product available in many variants. Decide which one will work best for your project.
- Fuze It Max – this is an all-surface construction adhesive for indoor and outdoor use. This Liquid Nails product offers the strongest bond and long-term strength.
- Fuze It All Surface Adhesive – this was made using Hybrid Technology which allows it to bond with almost any material. It will work in almost all climates and weather.
- Heavy Duty Construction Adhesive – this product offers the best holding power, is waterproof and weatherproof. It can bond with almost all types of construction materials.
- Construction Adhesive with Low VOC- this product can bond a wide variety of construction materials and is very flexible.
- Drywall Advanced with Low VOC – this Liquid Nails product is known as a “fast-grab” adhesive and will prevent nail pops and the use of fasteners.
- Subfloor & Deck Construction Adhesive – this product can treat squeaky flooring, will work even in cold weather, and will bond even frozen and wet wood.
- Interior Projects Construction Adhesive – this product was made for interior use and creates a strong bond on almost all construction materials.
- Interior Projects & Foamboard Adhesive – this formula works in almost all building materials and will never destroy foamboards.
- Paneling & Molding Adhesive – this product is for wooden panels and creates a very durable and instant hold. Most of all, it will never stain, unlike other adhesives.
- Mirror Adhesive – this adhesive is so strong it can bond vertically and will resist steam and heat making it good for bathroom mirror installation.
- Polyurethane Adhesive – this is a weatherproof product that can bond with almost all types of construction materials.
- Fiberglass Reinforced Panel Adhesive – this is a trowel-grade construction adhesive that will never affect foamboards and panels.
- Silicone Premium Universal Sealant – this will prevent mold and mildew attacks as it creates a permanent waterproof bond.
- All-Purpose Adhesive Caulk Plus Silicone – this is an adhesive and caulk product and provides a mildew-resistant bond.
- Window & Door Super Caulk – this product will never peel or crack and will provide all-weather protection for your home.
- Energy-Saving Multi-Purpose Caulk – this product will help seal off moisture, dust, and air. It can be used together with common construction materials.
- Roof Repair – this roof repair product can be used in all weather, dry, cold, hot, or wet. It is twice as strong as common roof fasteners.
- Landscape Block Adhesive – this is used to repair or construct walls and stonework. It keeps stones and bricks from shifting and offers an all-weather bond.
More Liquid Nails products can be used to bind tiles, porcelain, mortar, concrete, acrylic, latex, and many more.
- Caulk gun – this is a device that helps dispense the caulk, hence the name. This is also used to apply Liquid Nails as these products are available in tubes similar to caulk tubes.
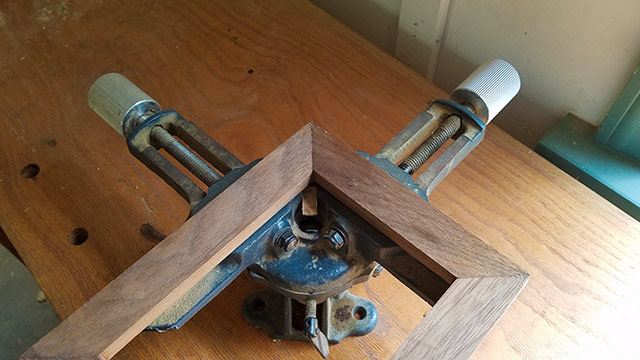
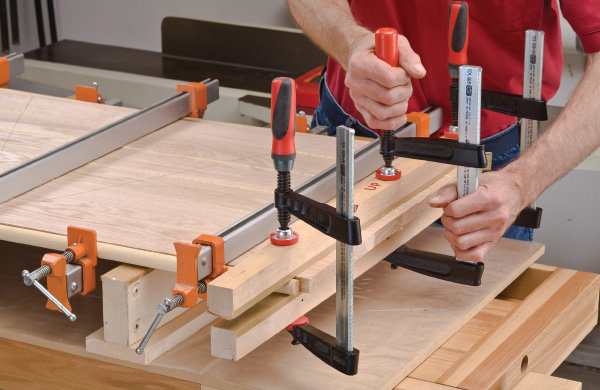
- Clamp or any heavy object – clamps provide ample pressure to help the two materials bind using Liquid Nails. If you don’t have a clamp, you may use heavy objects instead to weigh down on the material you’re trying to bond.
- Utility knife – you need a handy knife to cut the tip of the Liquid Nails tube.
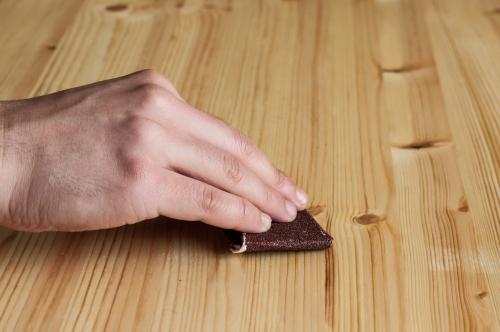
- Sandpaper or steel wool – you need to sand the area you’ll be working on to ensure proper adhesion of Liquid Nails.
- Safety gear – wear safety gear like working gloves, masks, and goggles when working with adhesives. Also, work on your projects in a well-lit and well-ventilated area.
Instructions
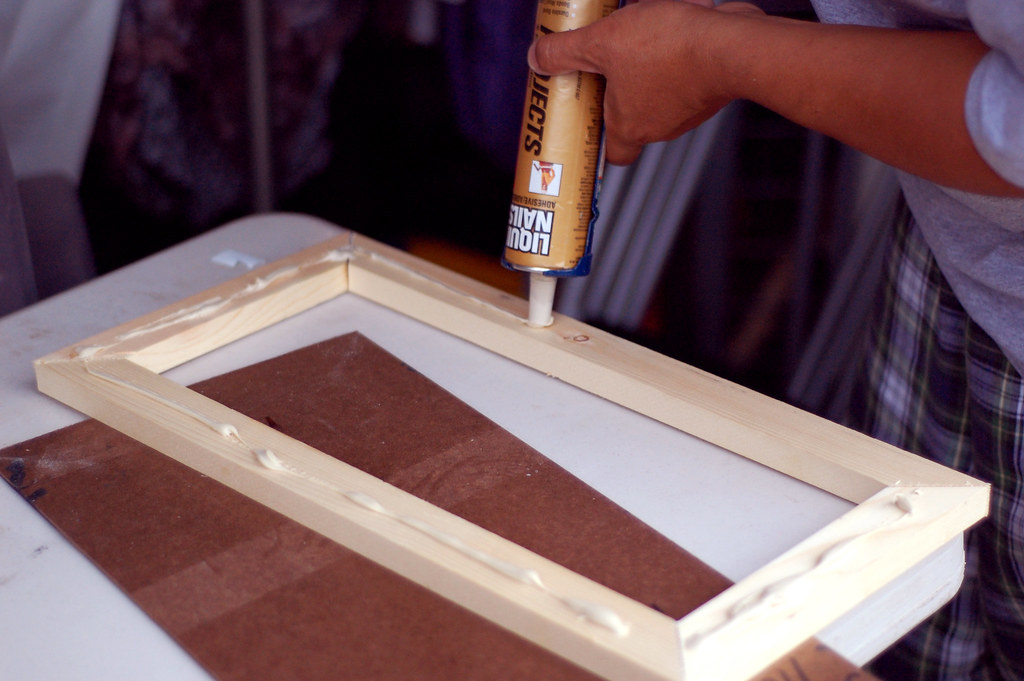
1. Open the Liquid Nails tube and load it in the caulk gun.
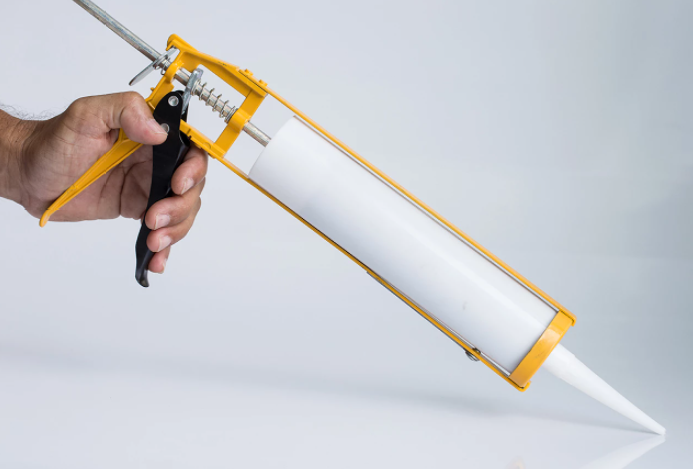
Place the Liquid Nails tube in the caulk gun and remove the tip with a utility knife.
2. Prepare the surface you want to bond
Whether you’re bonding wood, metal, plastic, glass, or rock, make sure that the surface you’re working on is clean, free from oils, grease, and debris, and is even. For instance, you can only bond a flat mirror to a flat cement wall and not a bumpy or uneven wall.
To remove grease and oils, wipe the area with water and dish soap. Rinse it and wipe it dry. Use paper towels to dry the area very well. To remove dust and dirt, wipe the area with a dry cloth. To deal with uneven areas on wood, sand it with fine-grit sandpaper or use steel wool.
3. Apply the Liquid Nails on the surface
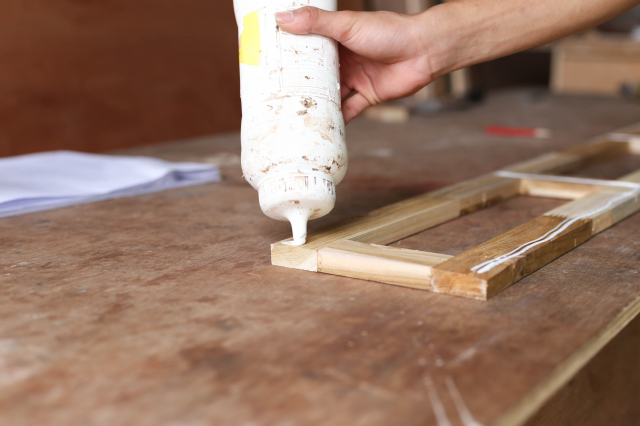
No matter how small or large the area you’re working on, you must go for maximum adhesion. Apply the Liquid Nails product on the surface of the material using a zig-zag pattern. Pull the caulk gun trigger to release a steady stream of Liquid Nails product.
You don’t need to spread the Liquid Nails on the material. Connect the two materials and apply even pressure.
4. Clamp or apply weights
For small items like wood, you may use clamps to hold the two pieces of wood. To bind tiles and other flat materials, apply weights on top. Liquid Nails will only take a day to completely bind so you won’t have to wait too long.
5. Release the weights or clamps
You may remove the weights or clamps after the recommended time. Just like other construction adhesives, Liquid Nails need at least 24 hours to dry and a week to completely cure. Leave the pieces in a well-ventilated area to enhance drying and curing times.
Learning how to use Liquid Nails will help you use this on different applications. Because this product is so versatile, you can use it almost anywhere. But make sure to use the correct Liquid Nails product for your project and read the instructions carefully.
Leave a Reply