Wood filler can help hide imperfections in wood. It can cover up holes, cracks, and breaks so you can apply a fresh coat of paint or sealant to protect the wood from moisture and pests. Let’s find out how to use wood filler for various wood restoration or renovation projects in this tutorial.
What you need to use wood filler
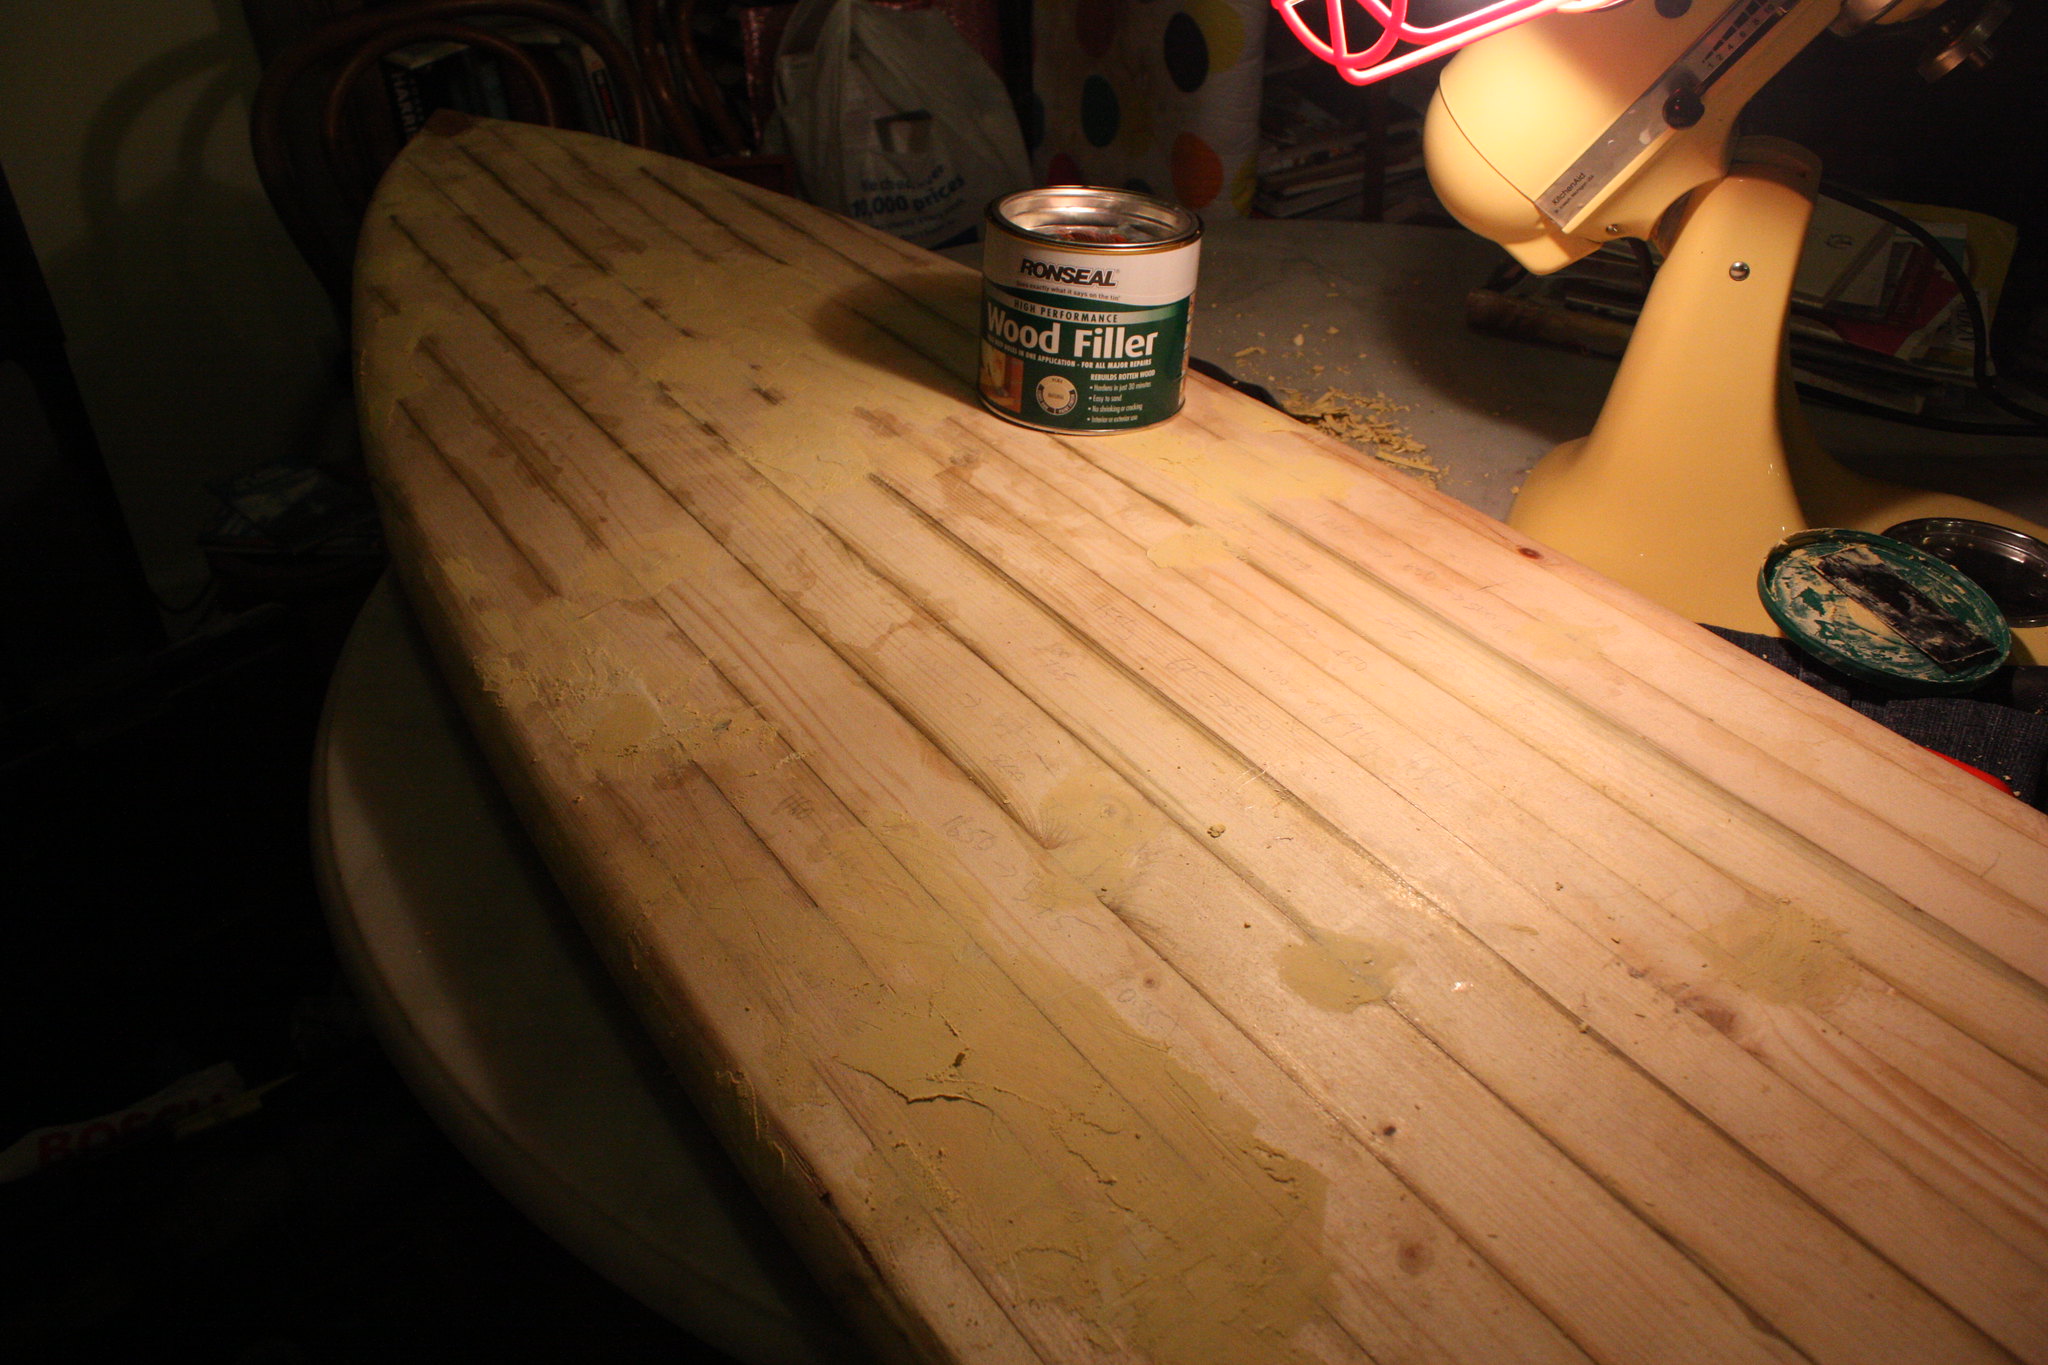
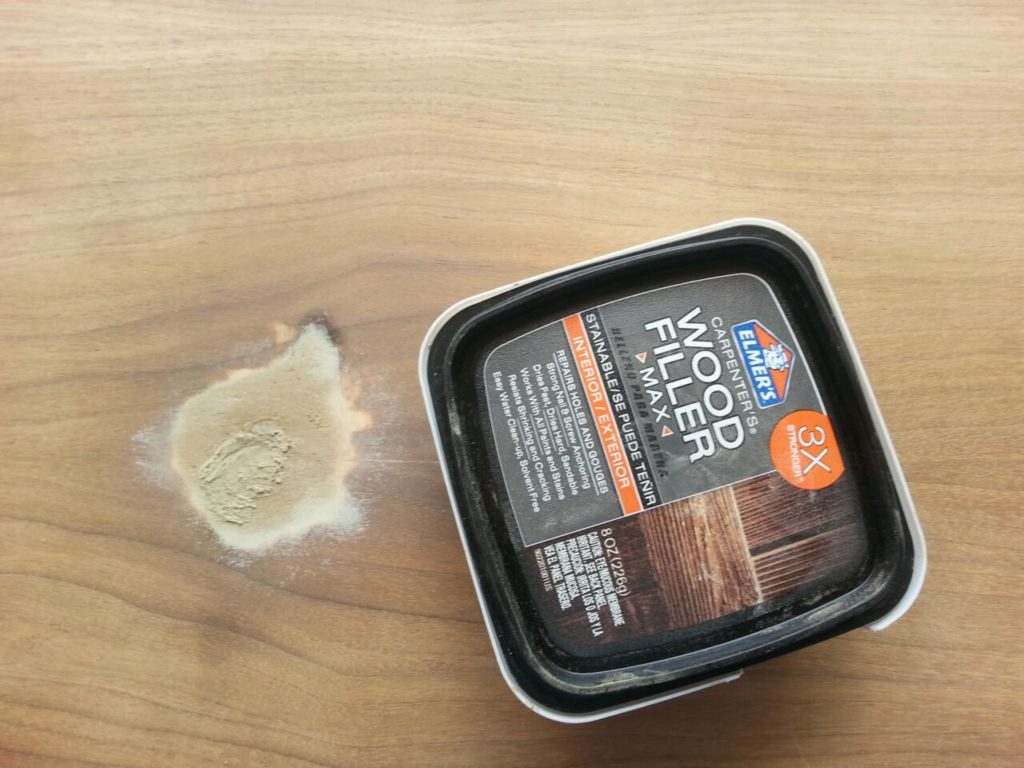
- Wood filler product – there are many types of wood filler products and the most common come in easy to use, one-application tubes. The most important part of selecting the right kind of wood filler is the shade of the filler material. It has to match the color of the wood you’re working on. So, to purchase this product, bring a sample of the wood or take a picture using your smartphone.
- The wood you’ll be working on – wood fillers are best for small to moderate-sized cracks, holes, and breaks on wood. You can use this on any type of wood including wood furniture, flooring, walls, decorative items, and many more.
- Putty knife – you need this tool to apply wood filler. With some ready-to-use wood filler products, the container has a pointed tip so you can directly place it inside the hole, gap, or break in wood. But you still need a putty knife to spread the filler on the surface.
- Sandpaper – you need fine-grit sandpaper to prepare the wood you’re working on.
- Wood bits, toothpicks, matchsticks – you need these small bits of wood as filler material in case the hole or break in wood is too deep or too large.
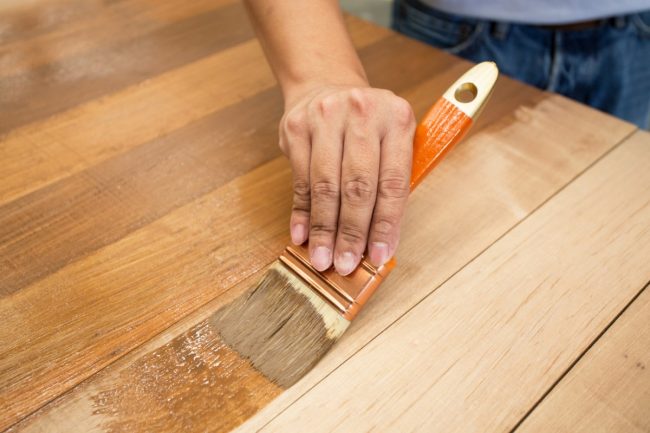
- Wood paint or stain – use wood paint or stain to finish your work. Allow wood fillers to completely dry before applying paint or stain, otherwise, you will only ruin your work.
- Paintbrushes or paint roller- you need these to apply paint or stain over your finished work.
- Safety gear – you must wear masks, goggles, or gloves while working with adhesives and fillers. You should always work in a well-lit and well-ventilated area. Ventilation will help dry wood filler materials better.
Instructions
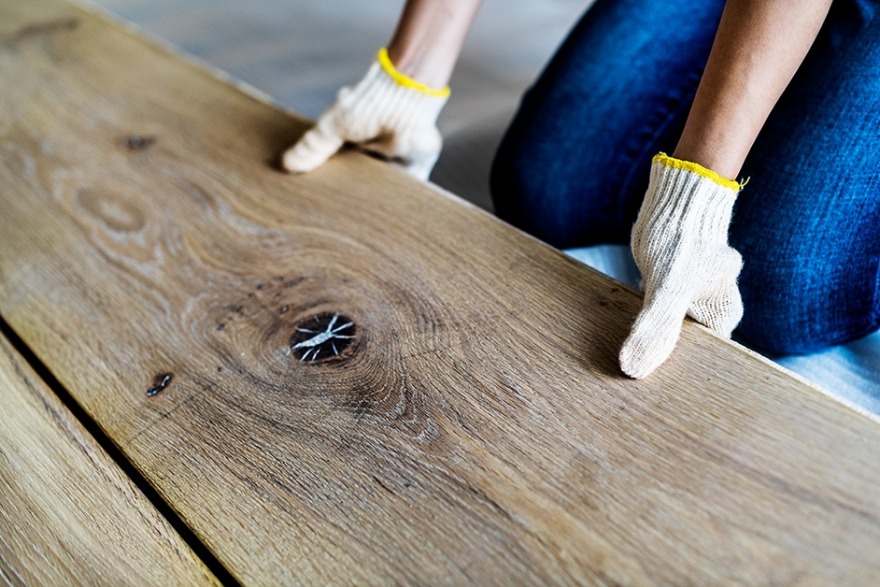
1. Examine the wood you’ll be working on.
Take a good look at the wood you want to repair. Check the holes, gaps, or breaks. Use the tip of the putty knife to remove any trapped dirt, grime, or dust inside the hole or gap you want to fix. Also, check the wood for boring pests, water damage, moisture, and rotting wood. Wood fillers are only good for holes and cracks and can’t repair water-damaged or rotting wood.
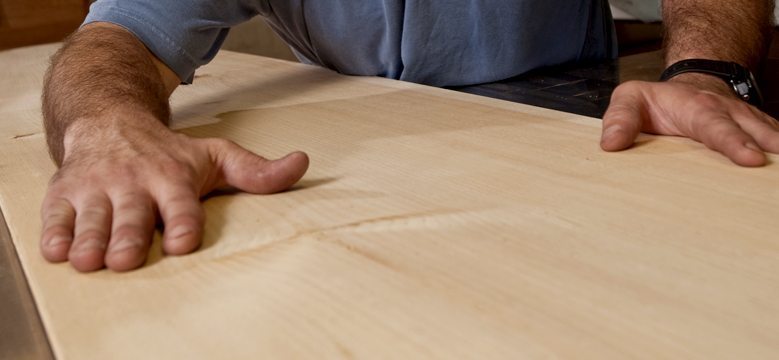
2. Prepare the wood
You should prepare wood very well before applying wood filler. Sand the area and make sure there are no debris, dirt, and oils in the area you’re working on. Also, check the depth of the hole or crack and assess if you still need to use wood bits, wood inserts, or toothpicks.
3. You may need to insert wood bits, toothpicks, or matchsticks
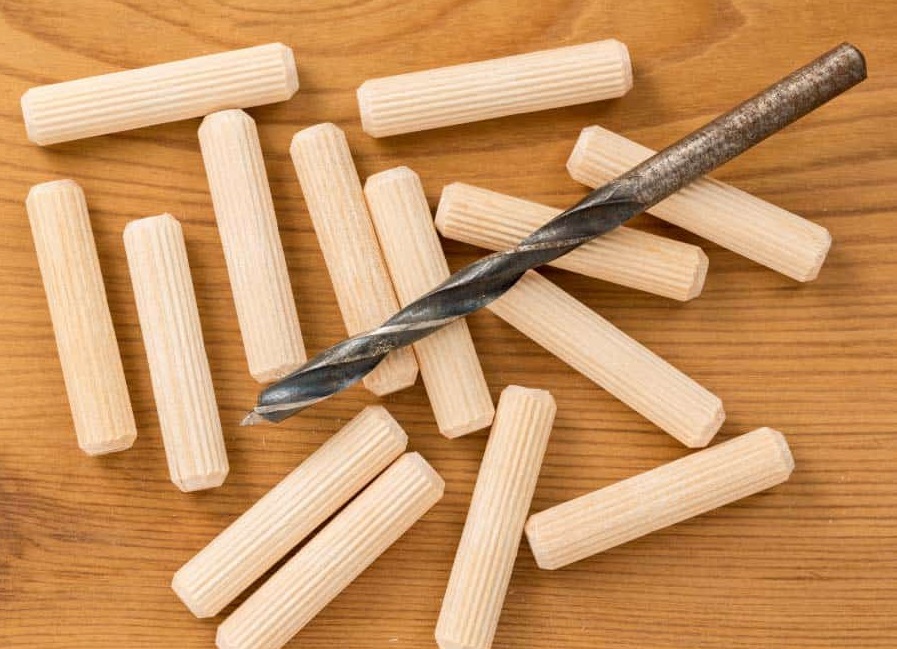
If you find that the hole is too deep or large to use wood filler alone, insert some wood bits in it. Take bits of wood, cut toothpicks into small pieces, or use wood inserts. Place these inside the hole, pack these tightly using the tip of your putty knife.
In some cases, sawdust is used mixed with wood glue. This will help bind the wooden bits together and cover the deep hole or crack.
4. Apply the wood filler
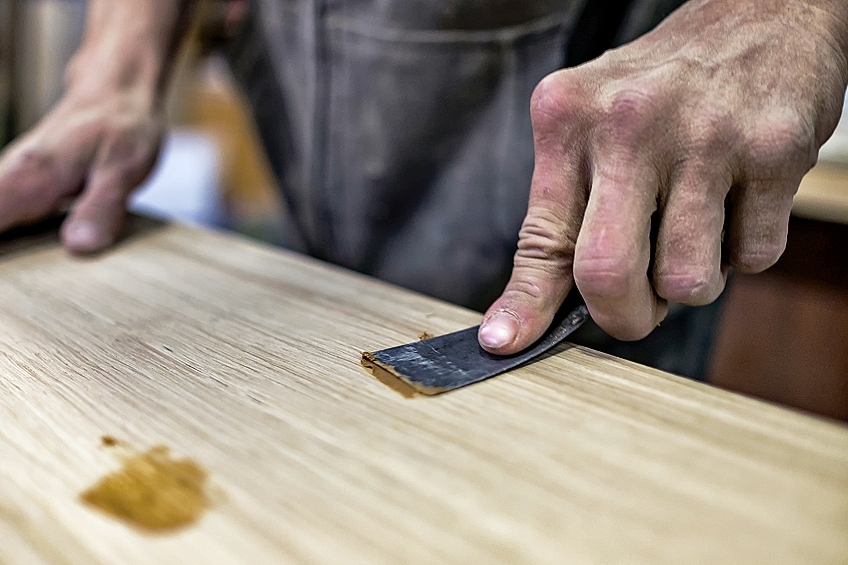
You may now add the wood filler. If your wood filler has a narrow opening then point the tip towards the hole or crack. You may also squeeze a small amount on a sheet of paper and use your putty knife to apply it inside the hole.
Use the knife to spread the wood filler material over the hole. Make the repairs as even as possible so this would be hardly noticeable once you finish your project.
5. Let the wood filler dry
Shallow repairs can take 2 hours to dry but deeper holes and cracks can take longer. We also recommend adding wood filler a layer at a time for deep holes. For this technique, you don’t need to use wood bits. Place a small amount of wood filler and let this dry for 2 hours before adding another small amount. The time it takes to complete your project will depend on how deep the hole or crack is.
Proper ventilation and the right room temperature can help make wood fillers dry faster. You must open doors and windows to allow fresh air in. Use a small fan to gently blow air towards your project. And if you’re working in a damp area, use a space heater and a dehumidifier to improve drying times.
6. You may now finish your project
Once wood fillers dry, it’s impossible to sand it or do anything with it. So you must make sure that the area is level with no bumps or gaps before it dries.
After the project has completely dried, you may apply paint or sealant to finish your project. Use a paintbrush or paint roller to apply paint. Apply primer first and wait for this to dry. Apply the topcoat next.
You may also opt to seal wood using a good sealant or lacquer. This can also help hide imperfections and fixes. Apply sealant or lacquer using a paintbrush or a clean cloth. Apply one layer and let this dry completely before adding another layer. Add more coats to hide the wood filler patch especially when the area is too big or very noticeable.
Remember, wood fillers are useful for small to moderately large gaps, holes, and cracks. In most cases, you may need to use epoxy resin or wood putty to fix imperfections on wood. There are new wood filler products in the market and although these are used the same way, instructions may vary including the drying time for the product. Now that you have an idea of how to use wood filler products, you may now repair wood imperfections confidently and with utmost care.
Leave a Reply