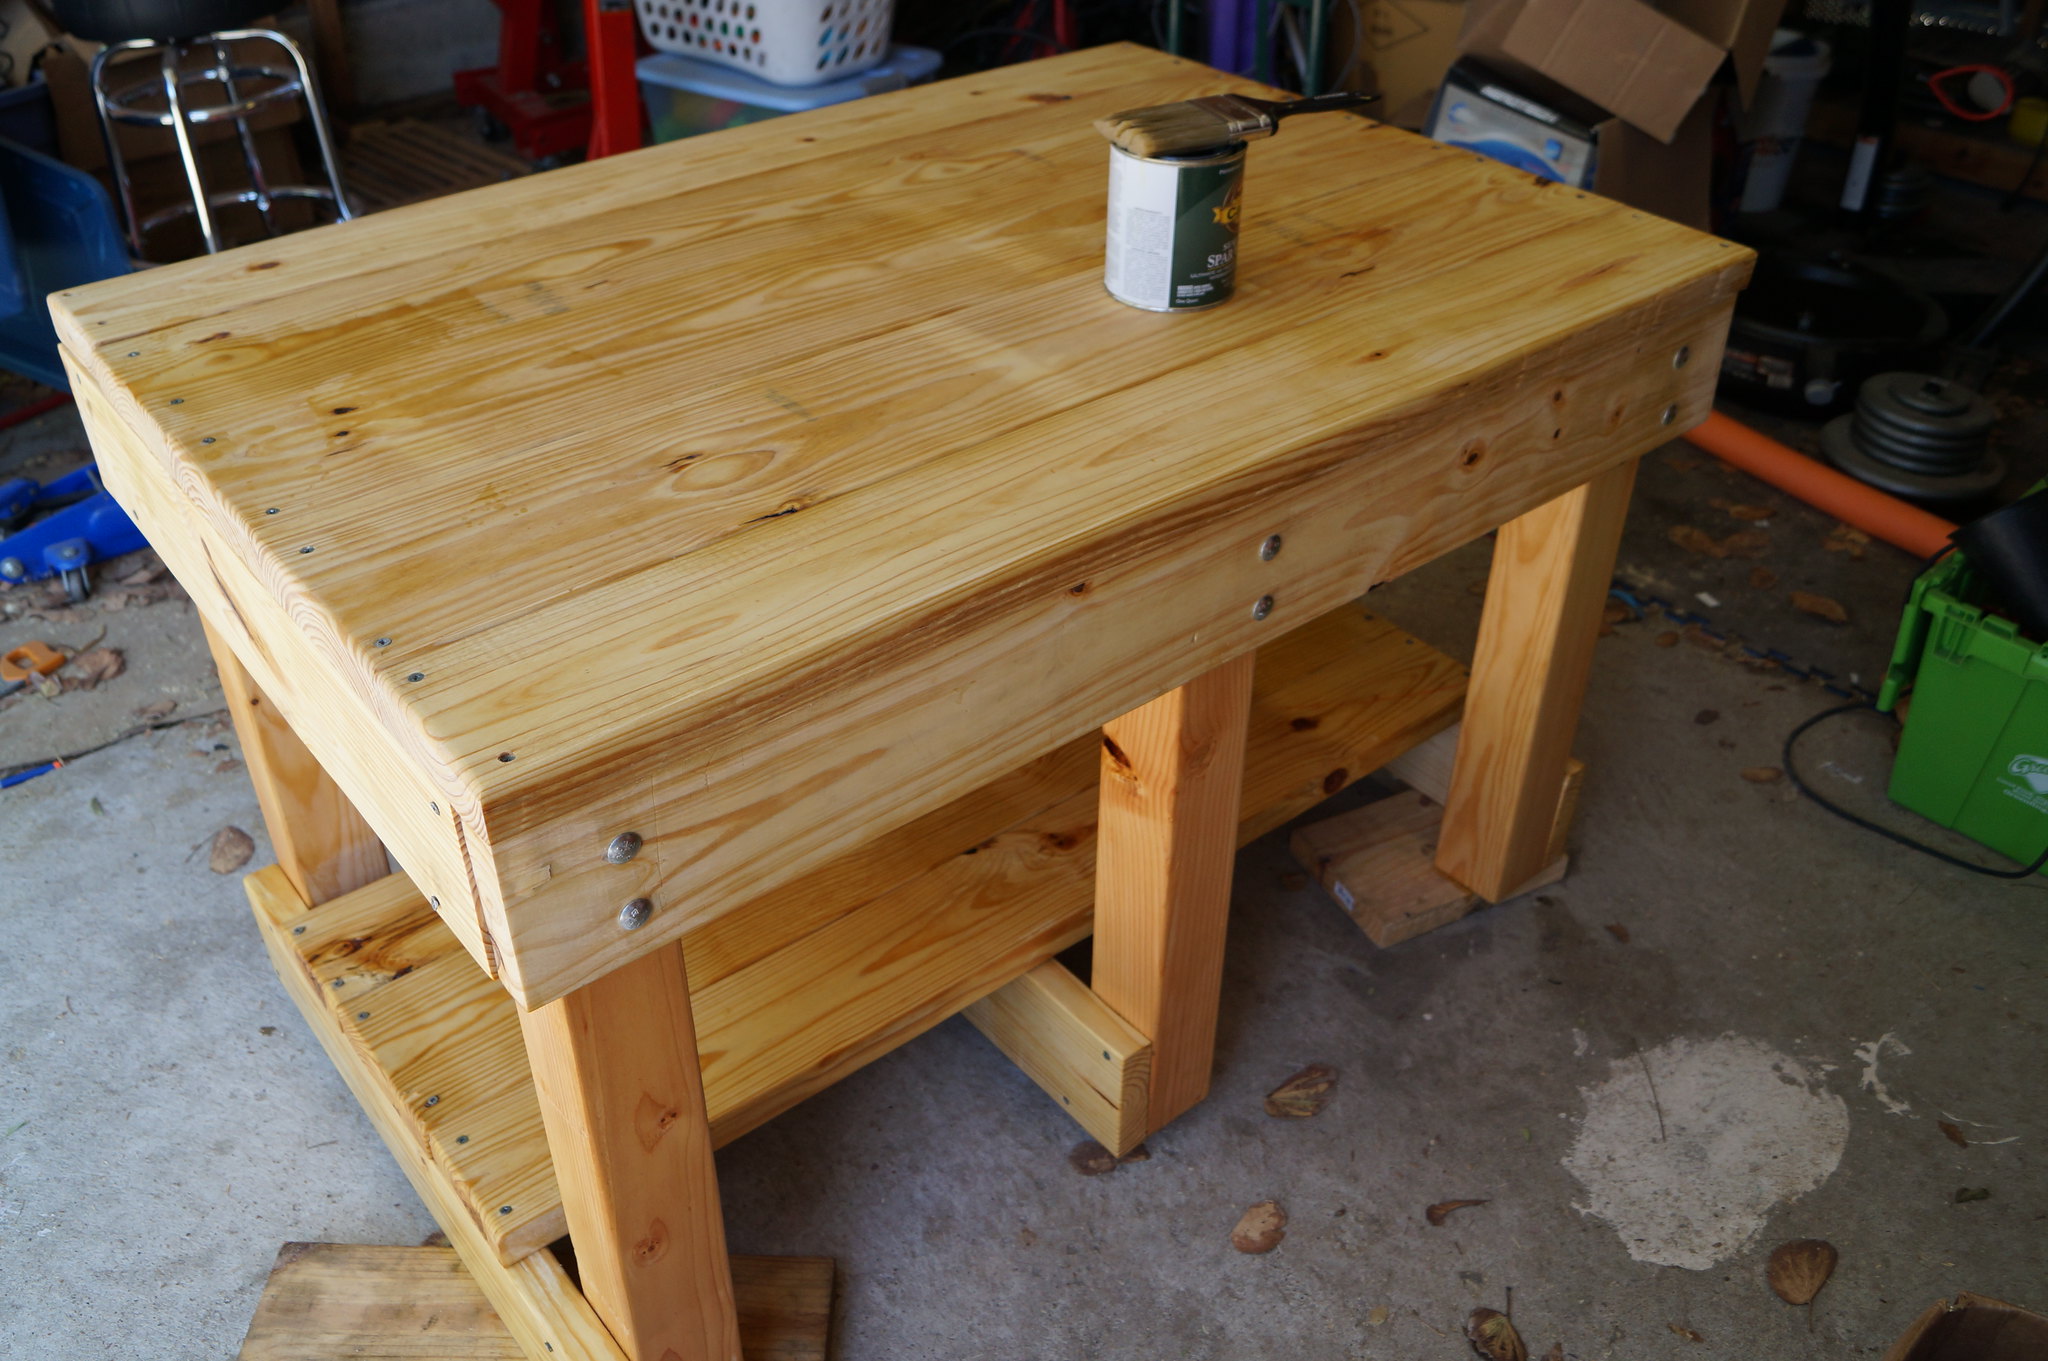
Learning how to varnish wood does not just preserve the life of wood, but also helps in protecting it against immediate stains and scratches. As a bonus, varnish also enhances the beauty of wood furniture, bringing out its color and grain. There are options on tinted varnish that can change the color of the wood. If you are planning to varnish your wooden furniture but do not know where to start, this article will give you some tips and guides to accomplish this task.
What You Need
- Varnish
- Measuring and paint mixing cup
- Paint stirrer
- Paint thinner
- Rubber gloves
- Natural bristle paintbrush
- Respirator mask
Step-by-Step Instructions
Step 1 – Use New Varnish
Note that this is very important. Varnish that has sat unused for some time (even years) in your shed may already contain some lumps which could compromise the quality of the final results. If the varnish has not been used for just a short period, you may still test its quality by coating it first on a wooden scrap piece.
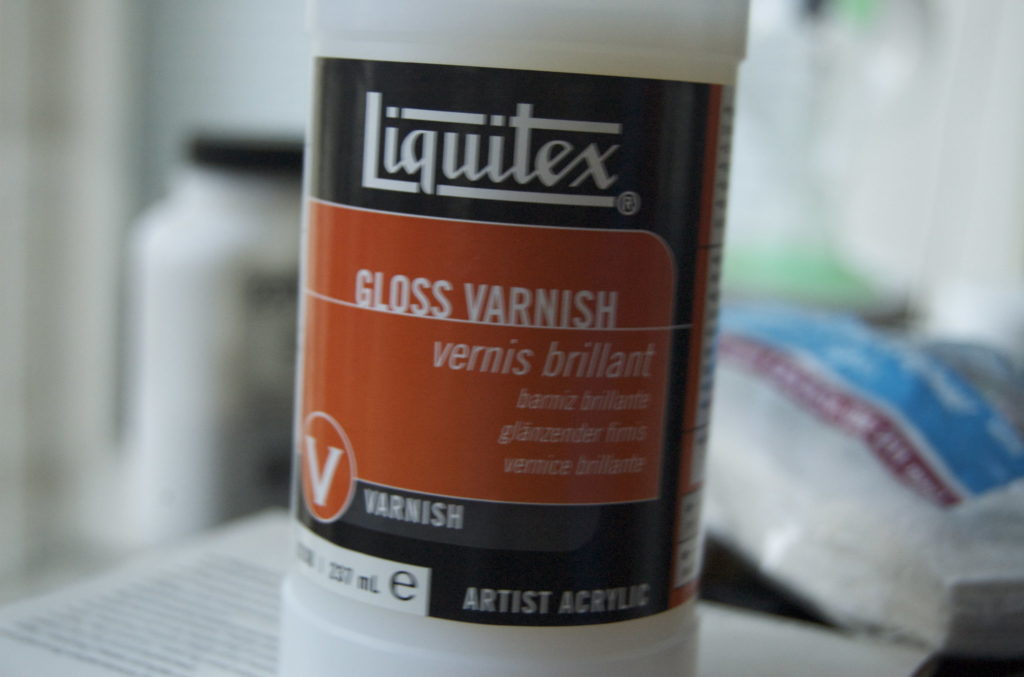
When it comes to selecting varnish, note that there are different types currently available. This includes the following:
- Oil-Based
Oil-based options are usually durable. They usually come in the form of polyurethane varnishes. They need to be combined with a paint thinner. Note that they release strong fumes which is why they should be used in an area with good ventilation. The brushes that are ideal for this type of varnish should also be well cleaned to make them last longer.
- Spray
They are very easy to use since they do not need brushes. They should be used in an area with good ventilation since they create strong fumes. Some report being nauseous or lightheaded while using spray-on varnishes in an enclosed space.
- Water-Based and Acrylic
They produce minimal odor and may be combined only with water. They dry faster than the other types, though they are not as durable. The brushes that will be used with these varnishes may be cleaned with only water and soap.
Step 2 – Prepare Your Brush
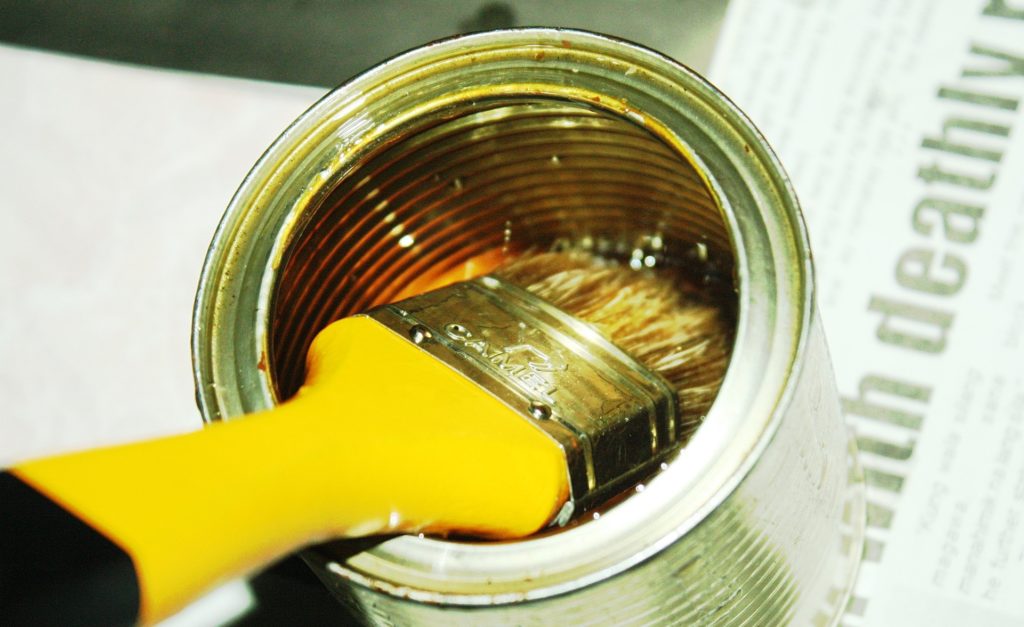
Aside from the varnish, note that the type of paintbrush used is very important. It may be best to invest in a quality one, perhaps choosing a natural bristle paintbrush that is thick at the heel. This means that the bristle area that is opposite to the tip of the brush should be thick. Also, you may not want to use a brush with bristles that shake loose when clenched firmly.
Step 3 – Stir Varnish Thoroughly
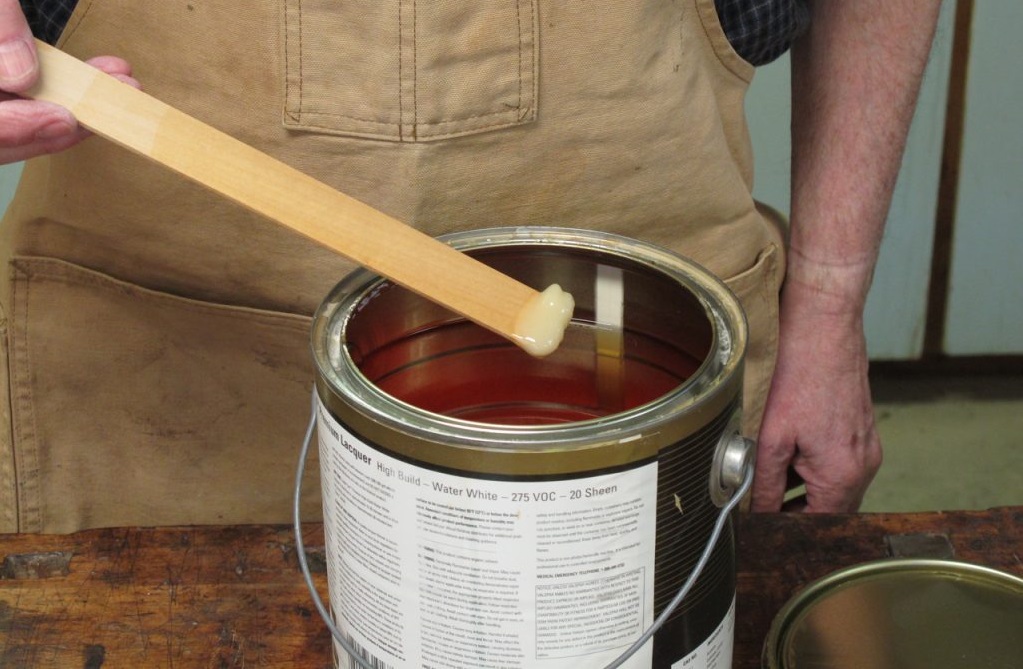
Thoroughly stir the varnish using a clean stirring stick. However, do it slowly. The speed should just be enough to prevent the formation of air bubbles. Try avoiding shaking the can while in transport. Pour just the right amount of varnish that you will use for your first coat into a plastic container. It is best to use one that has marks on the side for volume measurements.
Step 4 – Add a Thinning Agent
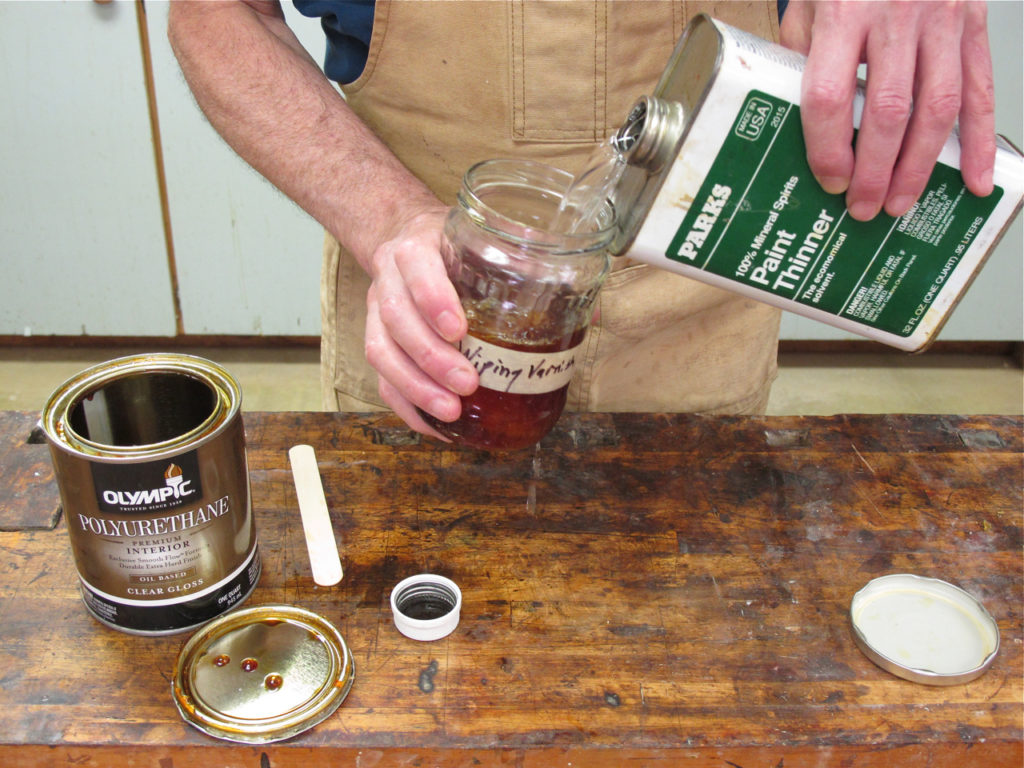
The next step is to add a thinning agent to your varnish in the mixing cup. Gum turpentine is the best option for this. Allow the varnish to dry slowly, as the thinner counteracts the surface imperfections effectively. These imperfections include bubbles and streaks. The amount of thinner to be applied depends on the use. If the varnish is applied as the first coating, it is recommended to make a mixture that contains 20 to 25% thinner. The next coats may contain about 5 to 10% thinner.
Step 5 – Apply Correctly
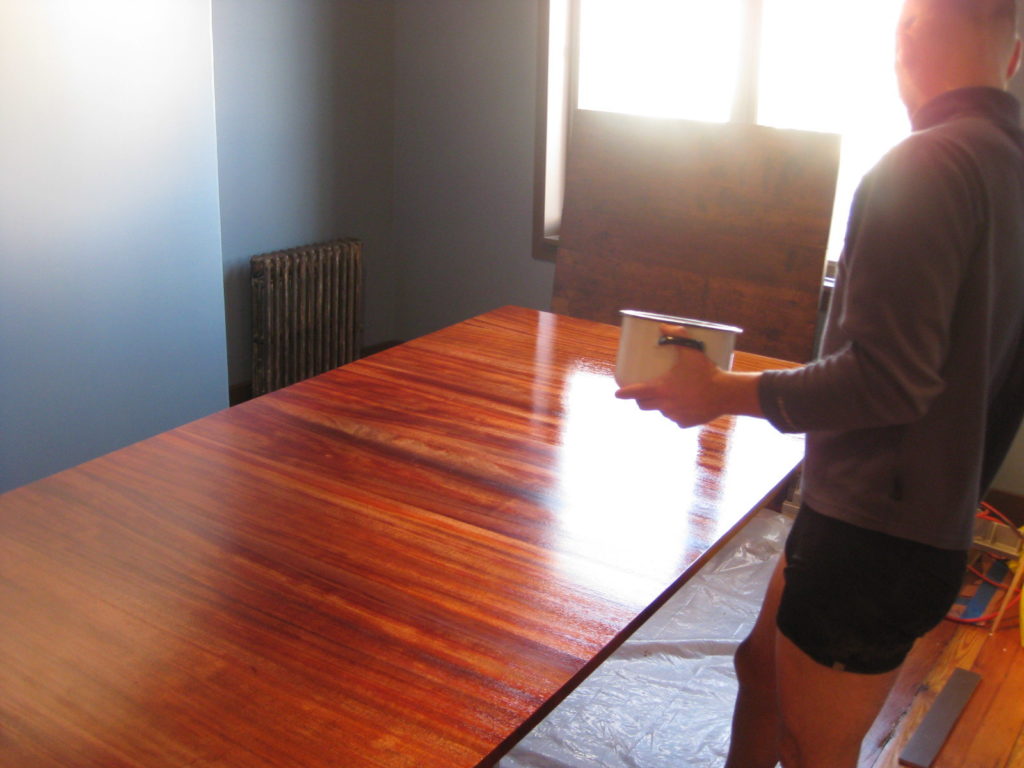
When applying varnish, it is recommended to use a light touch, with just the tip of the brush bending. You can begin from the upper left corner of the wood surface that you are working on, varnishing a small area, and brushing in the direction of the grain. Avoid brushing in a back-and-forth motion. Next, move to the next area. Continue doing this process until you achieve a complete coat.
While you are still waiting for the varnish to dry, don’t forget to tip off. This involves tipping the paintbrush over your piece to smoothen out any lingering bubbles or remaining streaks. The tipping stroke should be going in the same direction as your stroke of application, which is, to the direction of the grain.
Conclusion
No doubt, the varnish is the best friend of wood. With a coating of varnish, wood becomes protected and easier to clean. It is also more resistant to dirt, water, and grease. With the different color options to choose from, you can change the look of your furniture, making it look new.
By learning how to varnish wood the right way, you can accomplish the task most conveniently and effectively possible. Share with us your experience in this type of project. Leave your thoughts in the comments section below. Share this article if you like!
Leave a Reply