One of the few satisfying hobbies is wood carving. It’s quiet and intricate, you can do it anywhere. If you’re looking for a new hobby, check out this guide on wood carving for beginners. We’ll focus on the basics of wood carving and some easy projects you can do even with simple tools.
Wood carving styles guide
Wood carving has many forms which are according to the cutting technique and the tools you’ll be using for the project. These styles overlap therefore you can master two or three techniques at one time.
Relief wood carving
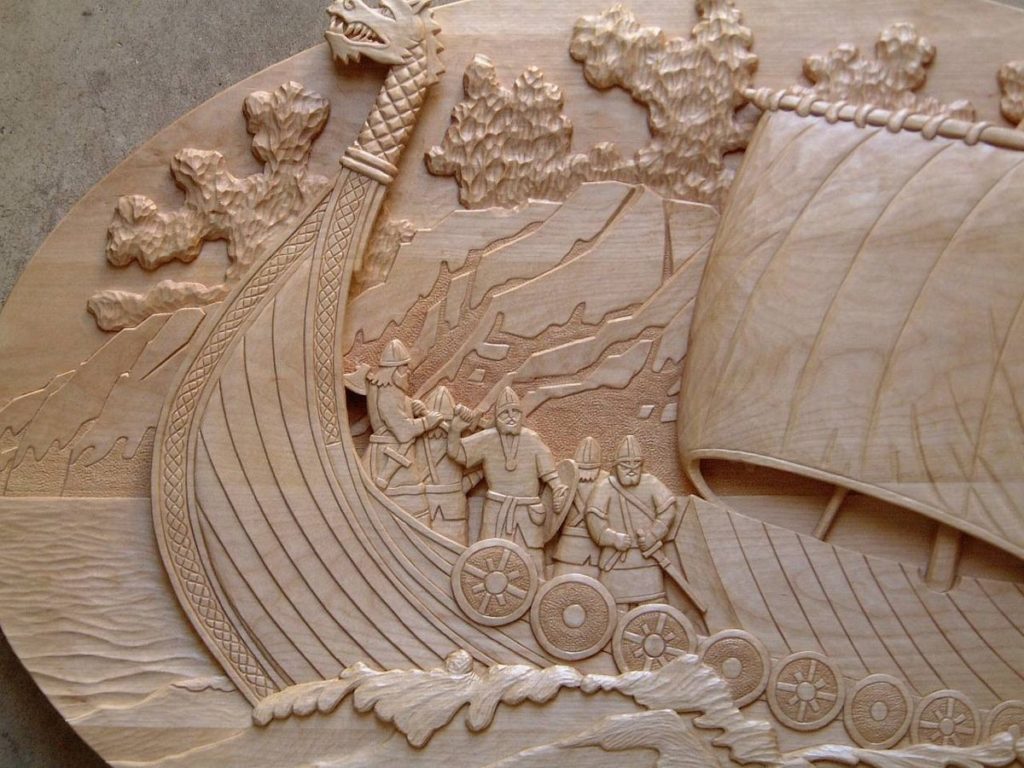
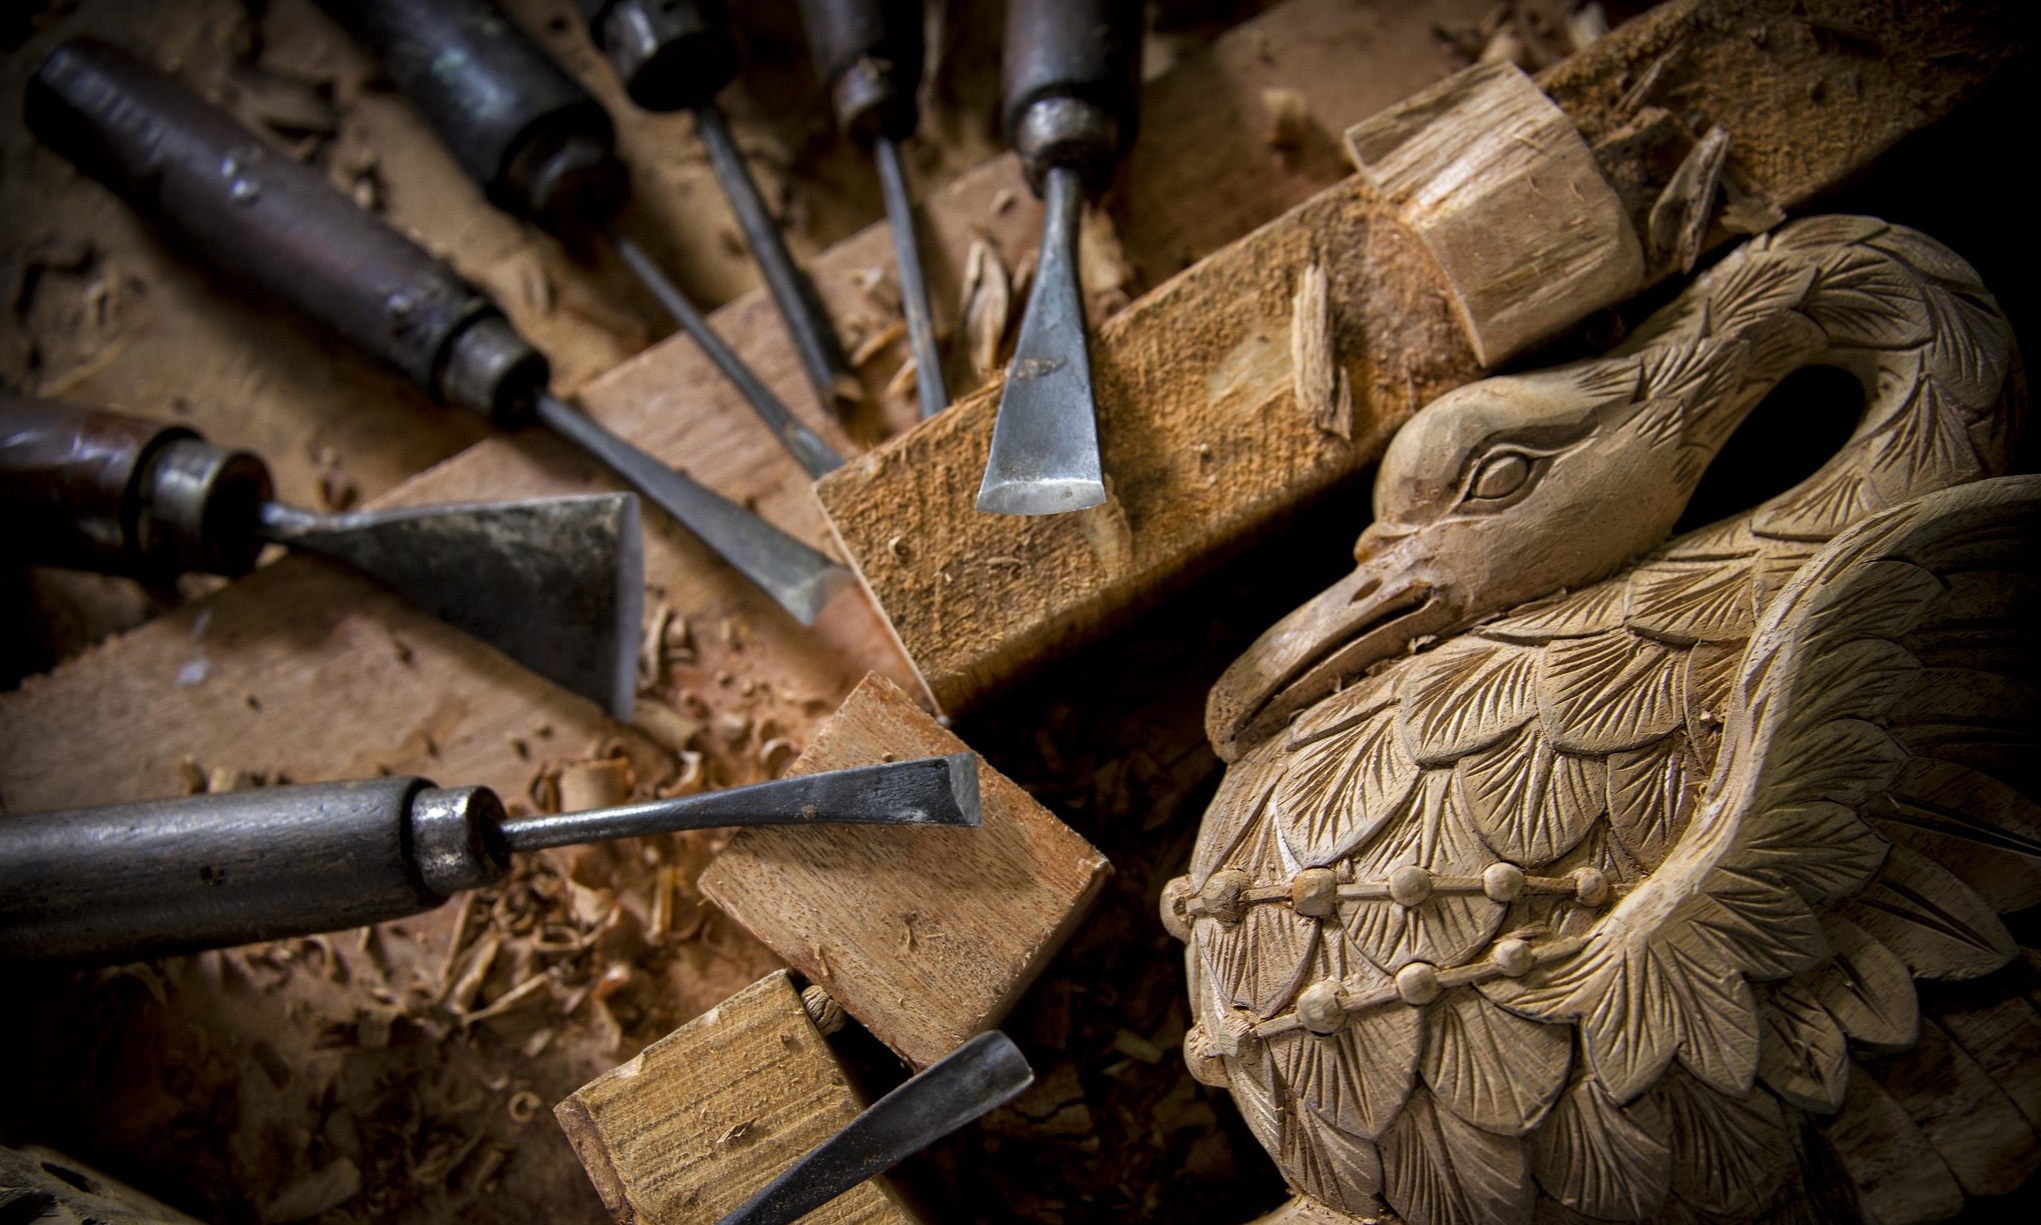
In relief carving, you can make designs or intricate sculptures in wood using V or U-shaped carving tools. A mallet is used to hammer these tools and to remove large blocks of wood. Relief carving is the technique for making customized designs, signage, and sculptures out of larger and denser pieces of wood. It is also useful in carving organic patterns and designs on the surface of wood or in stand-alone wood.
Knife wood carving
Another name for knife carving is whittling. This uses only a straight knife or a hook knife to cut small or miniature pieces. Whittling is used to carve out wooden spoons, ladles, and other wooden utensils.
Chip carving
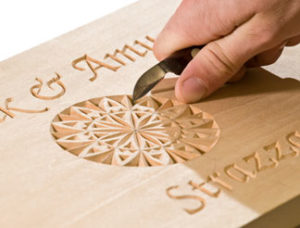
Another wood carving method is chip carving which is all about removing chips of wood from a flat wooden piece. You use very sharp knives or chisels in chip carving.
The wood carving tool guide
Yes, you can start wood carving with a small knife and a piece of wood. But to make intricate, quality pieces, you must invest in quality wood carving tools like chisels, gouges, knives, and handy power tools. Here are some of the basic tools that should be part of your arsenal:
Gouges and chisels
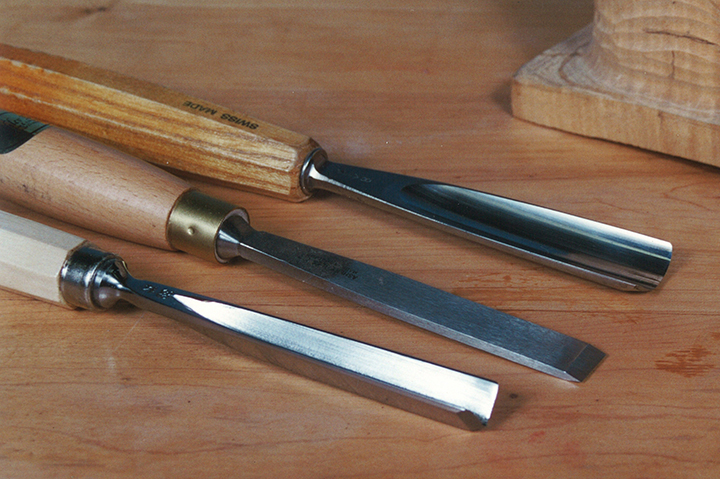
Wood carving gouges and chisels are available in palm type and mallet type. The palm type does not need another tool like a mallet to work. You simply push the tool through the wood to make different cuts and marks. Meanwhile, mallet gouges and chisels require a mallet to drive through the wood.
Palm gauges require no mallets or tools to use. These are short and thus let you work in great detail and ultimate control. Always keep your palm gouges sharp and use them only on the right piece of wood. If you’re new to wood carving, we recommend using basswood as these are softer and easier to learn different carving techniques.
Knives
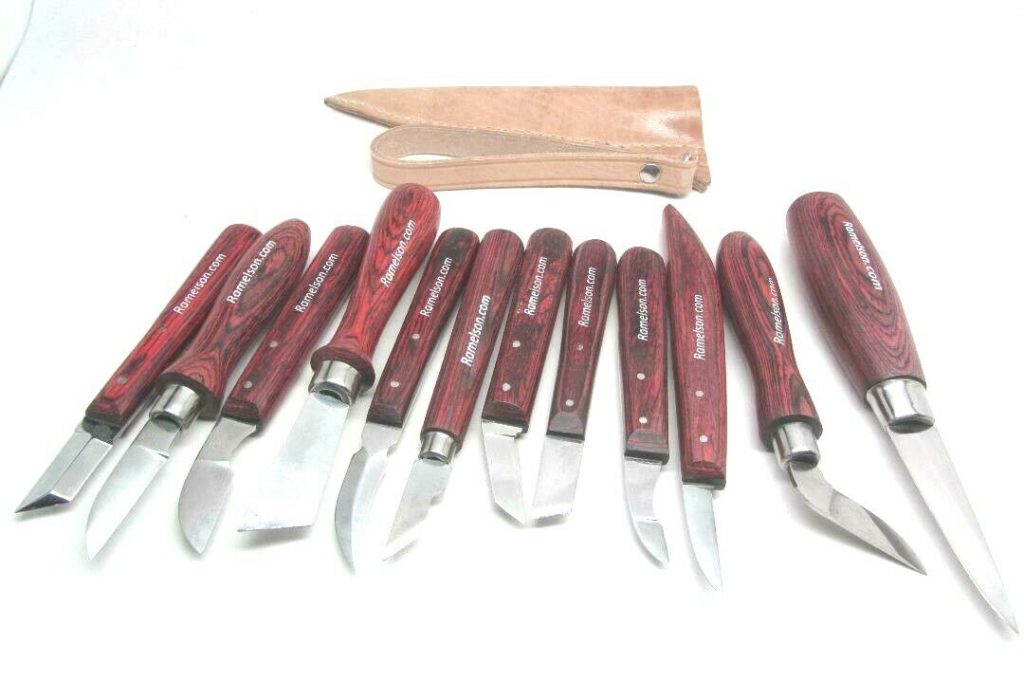
If you want to refine your project or to shape wood rather than to make different designs, you must use carving knives. These knives come with curved blades or straight blades. Straight wood carving blades will shape the handle of wooden utensils like spoons and ladles. A curved carving blade will shape the inside part of a spoon or ladle.
Power tools
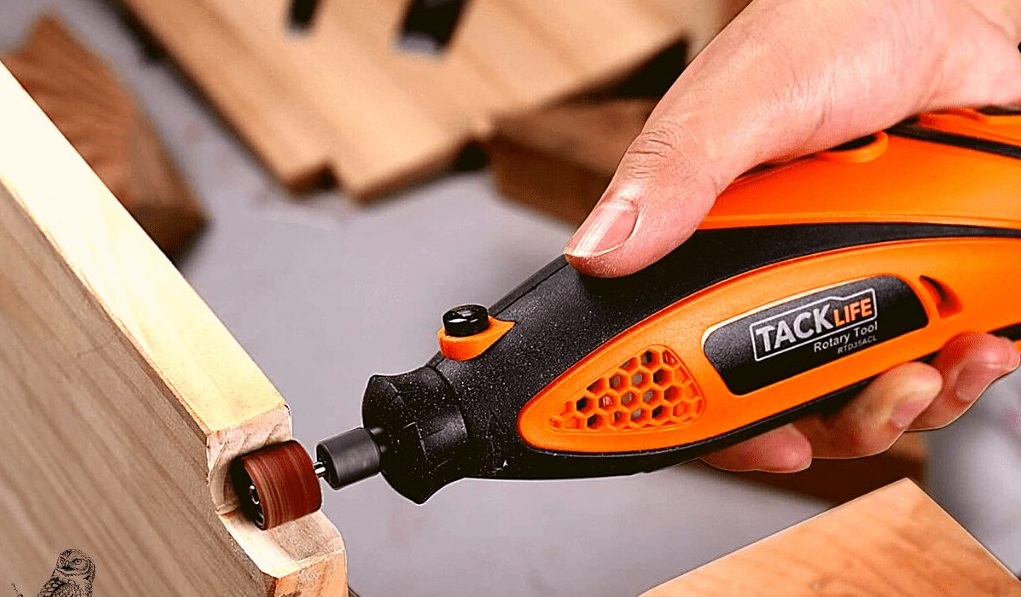
There are many types of wood carving power tools but the most popular is the Dremel rotary tool. A Dremel is great for power carving and comes with many bit sets. With a Dremel rotary tool, you can make very intricate cuts and detailed patterns.
Meanwhile, wood carving discs are used to remove huge chunks of wood or to carve out larger pieces such as discs, chairs, and stools. One such tool is the Arbortech turbo plane which can quickly and efficiently move large pieces of wood.
Guide for the best type of wood for carving
Yes, you can carve on any type of wood but it’s best to concentrate on easy to find, good quality, and durable hardwoods instead. The most common wood for carving is butternut, fruitwoods, and walnut.
As we mentioned earlier, go for basswood and other soft woods especially when you’re still a beginner. Once you’re able to work with different designs and use different tools, you can explore other types of hardwoods.
Some basic wood carving projects for beginners
Here are some easy wood carving projects that will work best for beginners.
Carving leaves
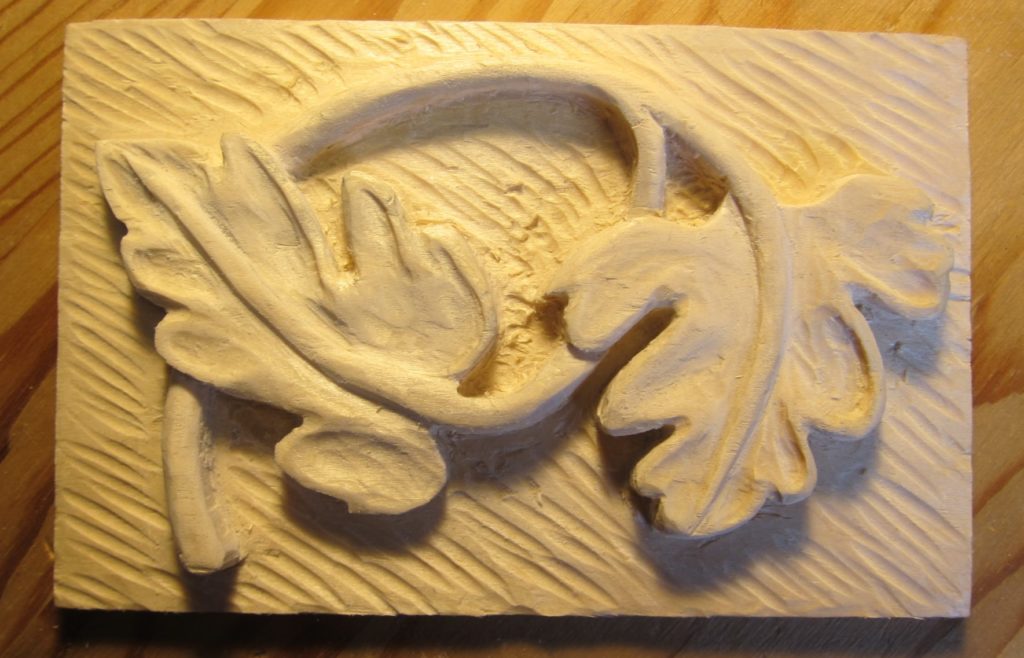
This is a very easy project done on flat wood. Find a flat piece such as walnut, oak, and maple, and use a pencil to draw your designs. A leaf is the most common starter design as the leaf blade pattern helps you get used to using palm gouges and small sharp knives.
Glide your gouges through the wood to carve the stems and branches of plants and finally, the leaves. Use a sharp knife to remove chips of wood, piece by piece. Use this carving as a centerpiece for a cabinet, headboard, chair, or bookshelf.
Carving out signs
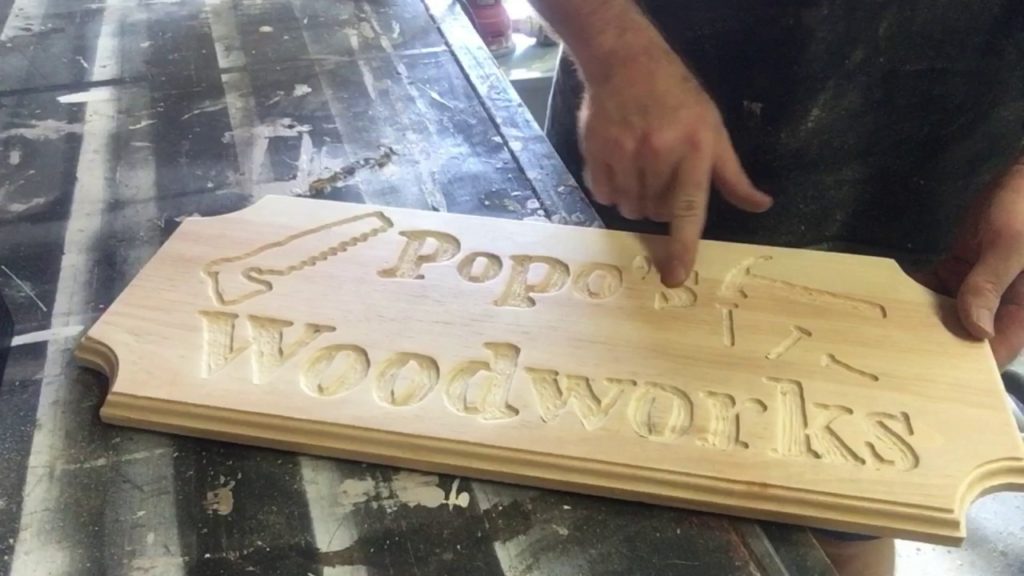
Signs are fun and interesting to do but take a lot of patience and hard work. You must first draw on paper a sign or a design you want to carve. Carefully consider every curve and every line to show off the lovely patterns.
It’s great to start with bold letters and slowly venture out to cursive letters. Cursive letters let you experiment with different styles and will also let you add more patterns like flowers, leaves, animals, and shapes in your sign.
You need a sharp knife to make intricate details and gouges to remove large chunks of wood. A power carving tool like a Dremel rotary tool will also work wonders.
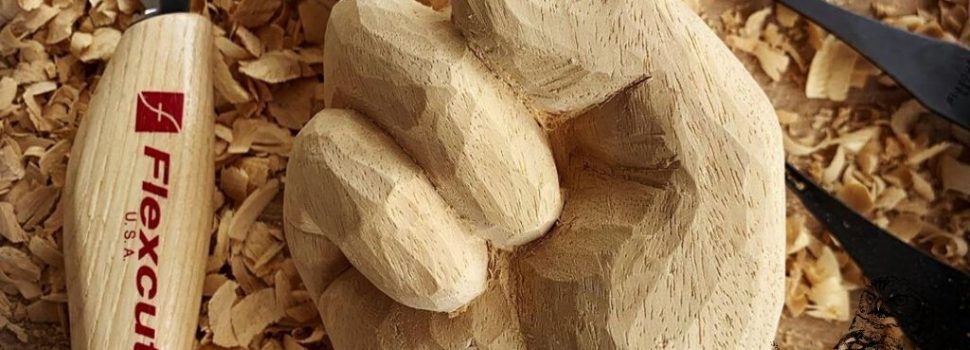
Carving small animals
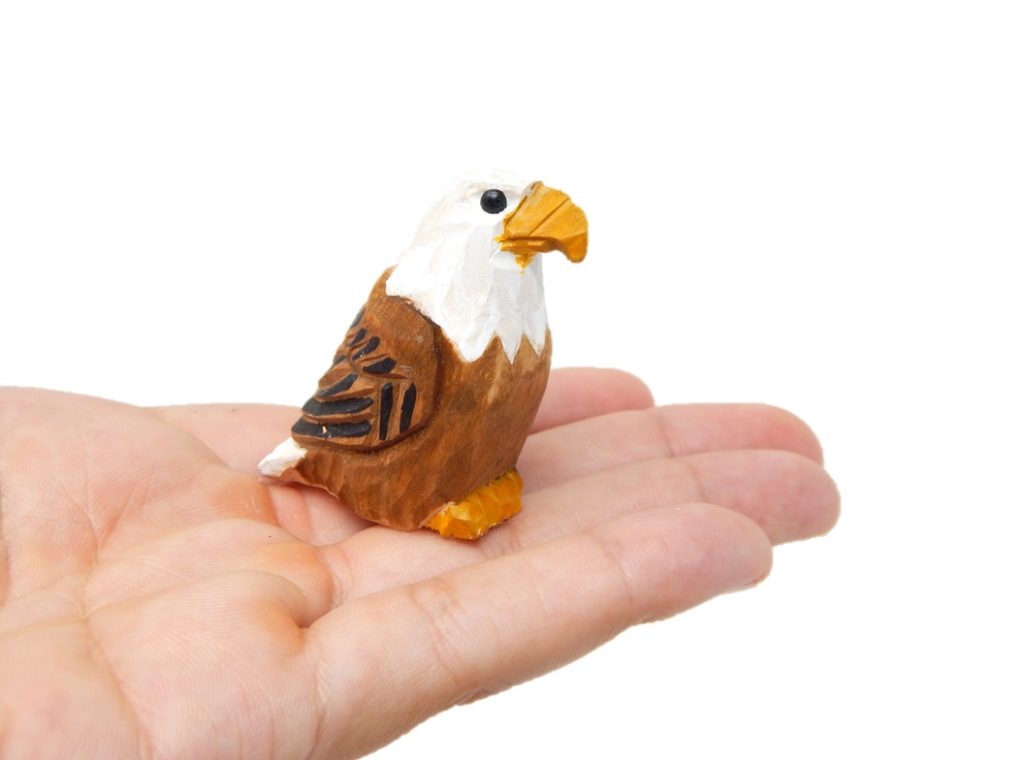
Whittling is taking a small piece of wood and slowly transforming it into different shapes and bits. The most popular are carvings of small animals like birds, cats, and fishes as these have basic bodies and head shapes.
Start by picking out a good soft wood to whittle and then draw your pattern on the wood. Paint your whittling project or just let it remain plain but add eyes, a mouth, and some unique patterns.
Wood carving for beginners is all about mastering different wood carving tools and techniques. Most woodcarvers learn by experience so we recommend taking one project after another to sharpen your skills. Also, invest in good quality wood carving tools to get the most out of every project.
Leave a Reply