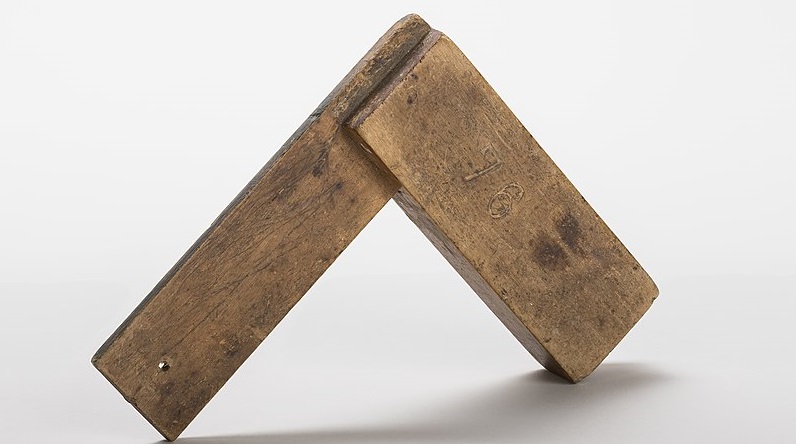
Creating wood joints is often viewed as among the techniques that are most basic in woodworking, whether you are a professional, or an amateur. You need to master this in order to accomplish more advanced projects. Various projects may also come with a variety of requirements. This means that it is really wise to learn different ways of fabricating and creating wood joints. One of them is learning how to join two pieces of wood at 90 degrees. Check this article to find out.
What You Need
- Saw
- Miter box
- Nails or screws
- Wood glue
- Hammer or screwdriver (depending on the type of fastener selected)
Step-by-Step Instructions
Step 1: Understanding the Basic
You will get a miter joint as two end pieces are being cut at a specific angle and joined together. This combination is common in picture frame corners, as well as the upper corners that can be found in doorway cases.
This miter joint can even become more aesthetically appealing compared with a basic butt joint because the end grain for both wood pieces is not visible as that of a butt joint. One disadvantage of a miter joint, on the other hand, is that they are not that strong because they do not feature interlocking features, usually depending on wood glue in order to hold them together.
Before starting, there are also some tricks and tips that you may want to take into consideration:
- One of the most important things that need to be taken into consideration when it comes to handling miter joints is cutting accurate angles. This will make sure that the contact between both pieces is good enough. If needed, you may even use a file right after cutting in order to ensure that the surfaces fit even better.
- Since the glue will be used on the end grain of the wooden pieces, which is porous, you may need more glue than when you are gluing the side grains.
- Make sure to do some testing on scrap wood before you actually work on the main piece for working.
Step 2: Determine the Miter Angle
In order to start learning how to join two pieces of wood at 90 degrees, it is important to determine the miter angle. This can be done by measuring the change of complete angle, dividing it into two. In a 90-degree change, for example, you will get an exact 45 degrees output.
Step 3: Measure the Starting Points
Measuring the starting points involve keeping track of the specific side, determining which side is inside, and which one is outside. Make sure to do your measurements as accurately as possible.
Step 4: Line Up the Saw
At this point, it is recommended to line up the saw at the right angle, lining them up on the wood. They should also be placed upside down when possible. As you cut wood similar to the style of a picture frame, make sure to put the flat style on the surface for cutting.
Step 5: Clamp the Wooden Piece in Place
The next thing to do is to clamp the wooden piece right in place, starting the saw and lowering it into the wood. Make sure that you do not apply too much pressure. Simply allow the saw to do the cutting. After completing this part, you can then raise the saw, waiting for the movement to stop. If a handsaw is what you find convenient to use, a miter box can be used in order to achieve a precise cut.
Step 6: Join the Pieces Together
Now that you have completed the previous steps, it is time for you to join together the wood pieces, applying glue towards the angles, fitting them right together. You may want to use clamps in order to hold these wooden pieces right in place. After gluing, you can also use screws or nails in order to secure the joint even further.
There is also an alternative for this step. You may want to drill dowel holes, using dowels. This will provide better support, making the joint even stronger. You can drill the hole, and covering the hole using wood glue, joining the wooden pieces together. Make sure that the pieces are clamped for about a day. This process will secure that the glue is given enough time to set firmly.
Conclusion
If you are creating something or a temporary structure that will not be visible from plain view, a butt joint may be one of the best options when learning how to join two pieces of wood at 90 degrees. All you need to do is to connect an edge of a board towards the face of another. Of course, there are also other ways to make the output look more pleasing aesthetically, a milter joint is a good choice. Even though it may need more time, it will be worth it. If this article has helped you out, feel free to share. You may also leave your thoughts in the comments section below.
