Some may scorn the idea of painting treated lumber, thinking that this is something that is not safe. However, reality dictates that it is possible to do so. However, there are things that you need to know. For example, in order to achieve a great-looking and long-lasting finish, it is very important to assess the moisture content of lumber first, then ensure that the right paint and primer is also selected. To help you out in this process, this article will provide information on everything that you need to know regarding the process of painting treated wood and lumber.
Clean Up Debris and Dirt
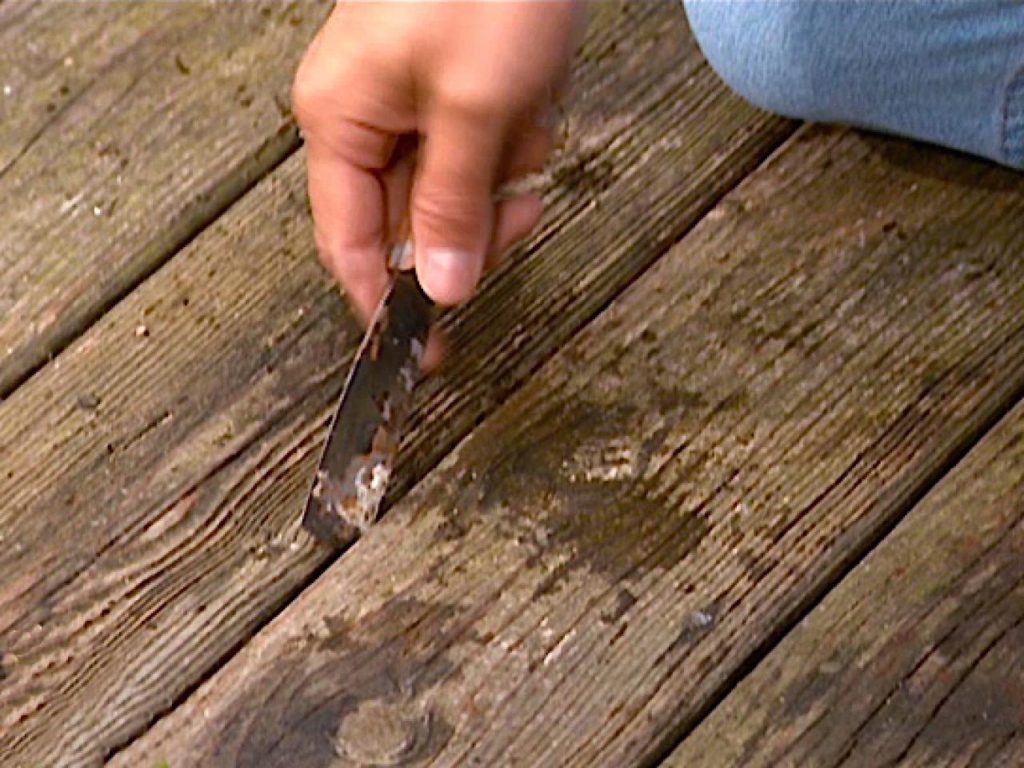
Image Source: https://www.diynetwork.com/how-to/outdoors/patios-and-decks/how-to-clean-and-seal-a-deck
If you are planning to take this route, the very first thing that you need to do is to clean up the lumber that you will be painting. Remove debris and dirt that is on the lumber. This can be done by washing it thoroughly with water and soap, making sure that you scrub every wood inch using a rag. Make sure to rinse the soap thoroughly, drying it afterward using a dry, clean rag.
Do a Deeper Cleaning
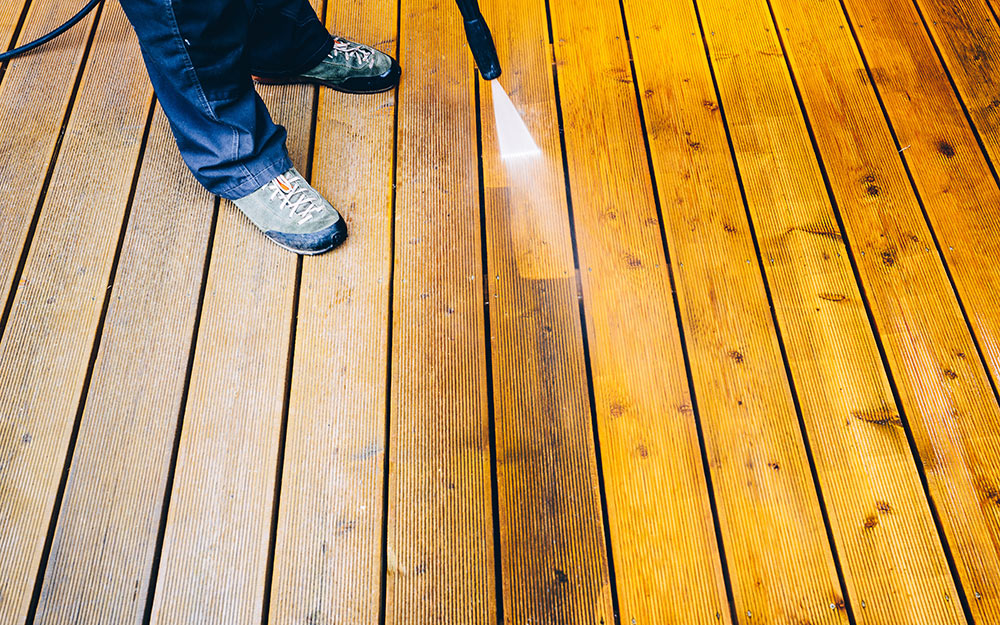
Image Source: https://www.homedepot.com/c/ah/how-to-stain-pressure-treated-wood/9ba683603be9fa5395fab9014d4485af
If you observe that the lumber that you are planning to paint is not in its best shape, or requires a deeper clean, it is recommended to use a commercial wood cleaning solution, along with a power washer to thoroughly do the cleaning task. This type of cleaning process is very effective when cleaning treated lumber that may have been sitting there for quite some time, or is showing some signs of wood damage.
Assess and Dry Moisture Content
After cleaning up the lumber, the next step that you need to do is to make sure that the treated lumber is completely dried. For this specific type of lumber, this could take a long period of time, reaching up to a number of weeks. If you observe that the lumber feels and looks dry, you can do a test to see what will happen if you drop water in it. If you notice that the water forms into beads, then it means that the lumber is not yet completely dried off. If you notice that the water is already absorbed into the lumber, now you are prepared for printing.
Priming and Curing
After checking on the wood and observing that is already dry, painting the process is ready to go. Begin by using a primer, rolling, spraying, or brushing on the surface. It is recommended to use latex primer for this as well.
After making sure that the lumber is already covered with the right primer, allow some time to cure well. Note that every primer may require a different length of time to properly cure, which is why it is recommended to read the instructions on the label carefully, allowing the primer to properly cure.
Time for Curing
Since the primer may take a longer period of time to cure properly, make sure that you allow the lumber to cure in an environment that is clean, making sure that it will not have unnecessary contact with dust or dirt in the air. If the workspace or area is a place where you usually complete several projects, it is recommended to put them off first until the project that you are completing is finished. You may also want to cover the area for protection. If you begin your process in the same room, the debris may accidentally get into the primer as it is still drying off.
Staining the Lumber
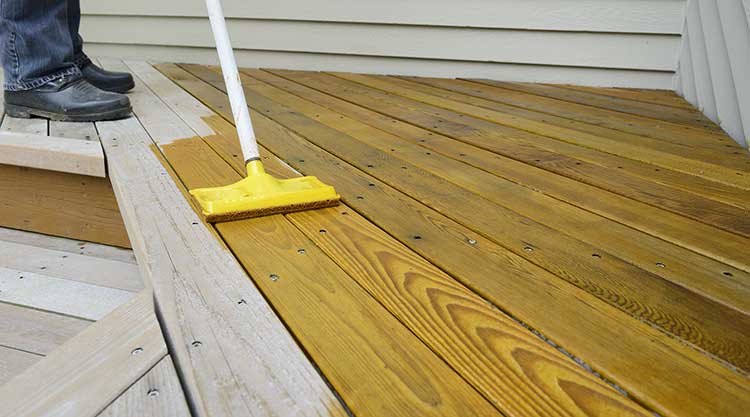
Image Source: https://www.yellawood.com/resources/product-education/sealing-painting-staining-pressure-treated-wood/
Aside from painting, staining may also be done in order to alter the color of the lumber. This process absorbs deep into the wood and is often very easy to apply. Still, the stain will not go into the imperfections or cracks in the paint in the same way that paint would. With staining, the number of color options is not as many.
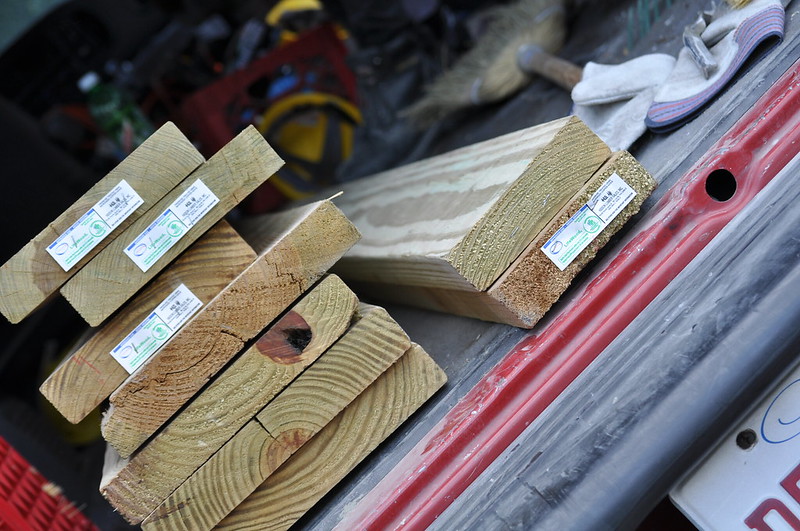
Painting treated lumber
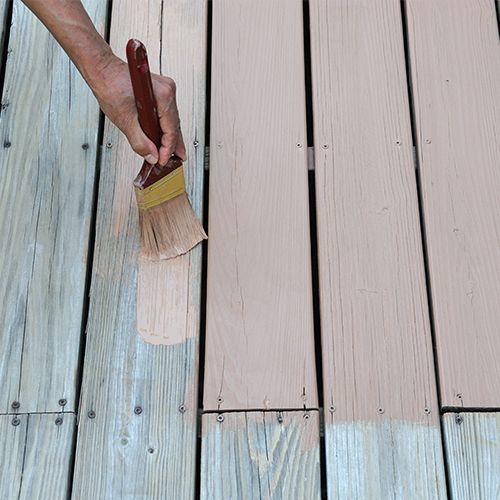
Image Source: https://thecraftsmanblog.com/can-you-paint-pressure-treated-wood/
Painting treated lumber will no doubt provide lumber with new, vibrant life and color. With the use of paint, there are several options on color, making a huge difference in the overall appearance of lumber. This also provides you the option to use colors that are brighter, in contrast to stains which are available with brown shades.
Paint also goes into the imperfections and cracks in the lumber, creating a smoother overall appearance of lumber. This is something that is not accomplished by the stain. However, note that this method will consume more time to properly finish, and do not soak and absorb into the lumber as a stain does.
Conclusion
The process of painting treated lumber is very effective, not just in improving the appearance of lumber, but also in providing protection to the lumber against fungus growth and rot. The lumber is exposed and soaked into a container with chemicals, using high pressure to make sure that the chemicals penetrate deeply. Once treated lumber is painted, you can have wood that features enhanced durability, rot resistance, and insect resistance.