Can you stain treated lumber? Yes, of course! In fact, doing so brings the most out of your lumber. Treated lumber is both reliable and convenient, perfect for both indoor and outdoor use. By staining treated lumber, you can enhance the output without compromising anything. With just a little bit of stain, and knowledge on how to do so, you will be able to come up with a beautiful finished project.
What You Need
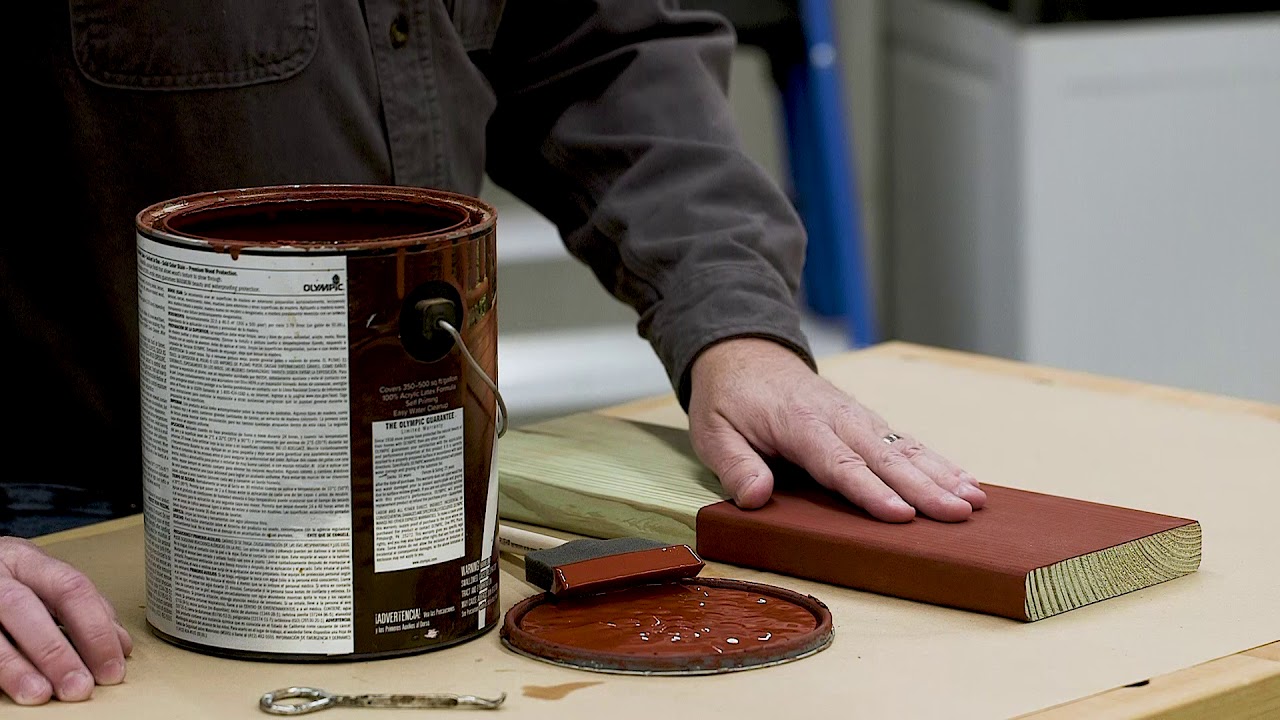
- Wood stain
- Paintbrush
- Pressure washer
- Paint stirrer
- Deck cleaner
Step-by-Step Instructions
Step 1 – Choose the Right Stain

As a general rule of thumb, any kind of stain that is manufactured for exterior use will work well in staining treated lumber. Even though you can easily find latex stains and oil-based ones, man prefer the latter for staining treated lumber. This is because oil-based lumber soaks completely into the wood, thus creating that barrier that protects from water penetration.
Also, latex stains tend to be more opaque, similar to paints, thus hiding the grain pattern of the wood. This may not be an ideal option, if you are a DIYer. While you may paint treated lumber, you may only come up with a very different feel and look than when you stain it. Some stain manufactures formulate products that are designed specifically for use on treated lumber.
Step 2 – Prepare the Surface for Staining

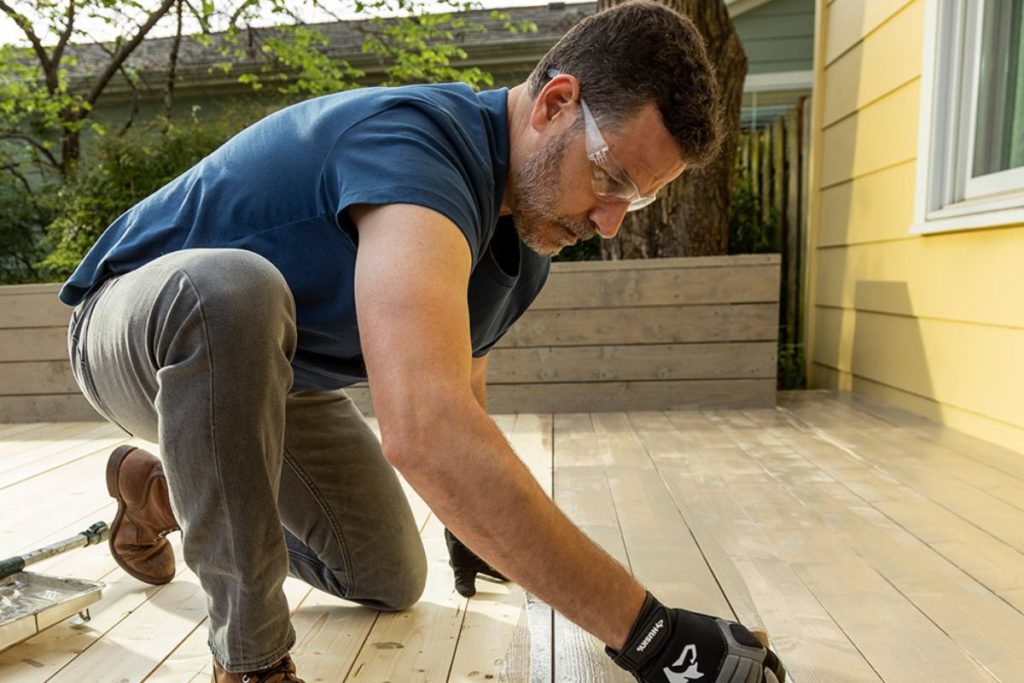
Before staining treated lumber, make sure to clean everything first. This includes not just the actual lumber, but getting the area cleaned first. One of the simplest ways to clean new wood is by knocking loose any residue or dirt with a pressure washer.
Things can be different when dealing with older wood. There are extra steps that you may need to take so as to get rid of stains, as well as the build-up of grime. You can drop by your local hardware and choose a wood cleaner that is especially made for cleaning fences, decks and other wooden structures. Make sure to follow the instructions on the product label accordingly to achieve thorough cleaning.
It is vital to be patient while waiting until the treated lumber is dried completely before applying stain since the chemicals used in treating wood leave extra moisture residue behind. The times for drying may range from just a few weeks to a few months. This highly depends on some factors including climate and weather.
Step 3 – Test the Wood’s Moisture Level

Once the wood is completely dry, there are some tested ways to test the wood’s moisture level. One is the bead test, done by dripping a small amount of water on your lumber. If you notice that the water forms beads, this means that the wood retains certain moisture.
On the other hand, you can also press a nail to the wood. This is another way to test its wetness and moisture level. If the water is absorbed around the nail as it is pressed to the wood, then it means to say that more drying is required.
Step 4 – Select the Best Time for Your Project
To identify the best time to complete your project, you may want to check the weather forecast first. This will make sure that you will not have to stop because of unexpected rain. Note that applying stains may require 24 to 48 hours to dry which means that you need to make sure that the skies are clear and free from rain.
Step 5 – Prepare Your Selected Lumber for Staining
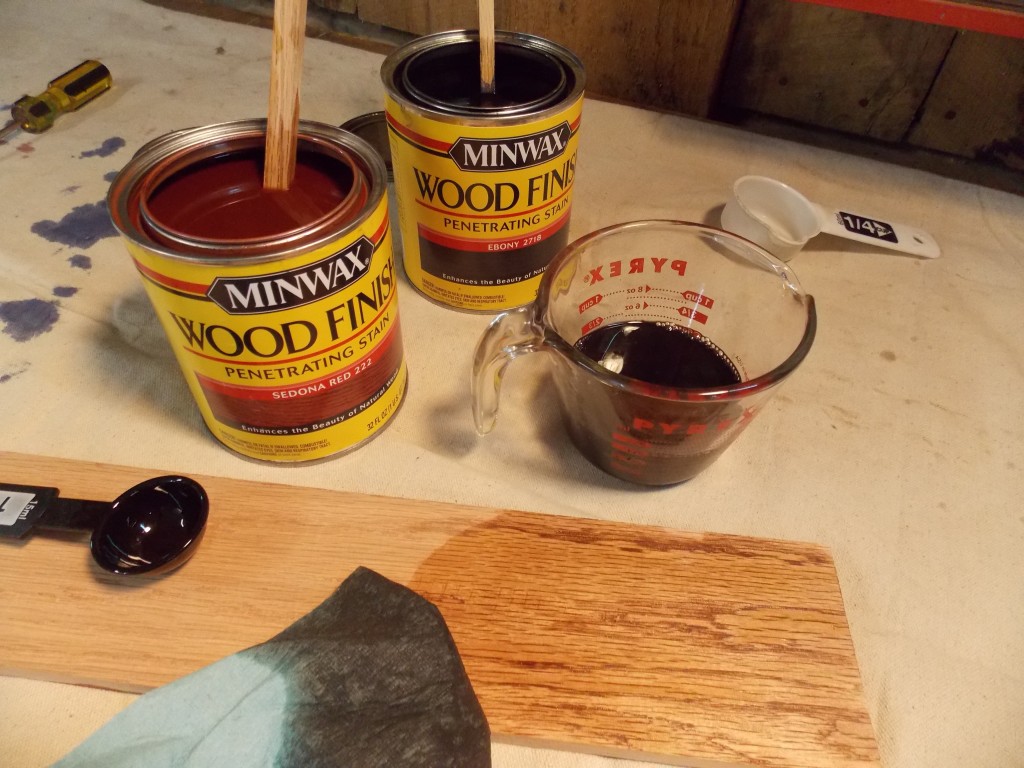
The next step requires mixing the stain thoroughly. This may be done at the hardware store at your time of purchase. However, if you prefer doing it by yourself, you can shake the stain well at home. Regardless of your option, make sure to continue stirring the stain constantly to achieve the best application possible.
Step 6 – Test the Stain
Yes, rushing to finish the project fast and complete can be very tempting. However, it is always recommended to test the stain first in a spot that is inconspicuous. Choose a specific area to brush the stain on. Give some time for it to dry before continuing with the other areas. This will serve as a test patch that can help make sure that you will be satisfied with the output later on.
Doing a test patch will also provide the needed confirmation that the stain will be applied properly without any problems at all, such as wetness that should have been noticed and resolved earlier on.
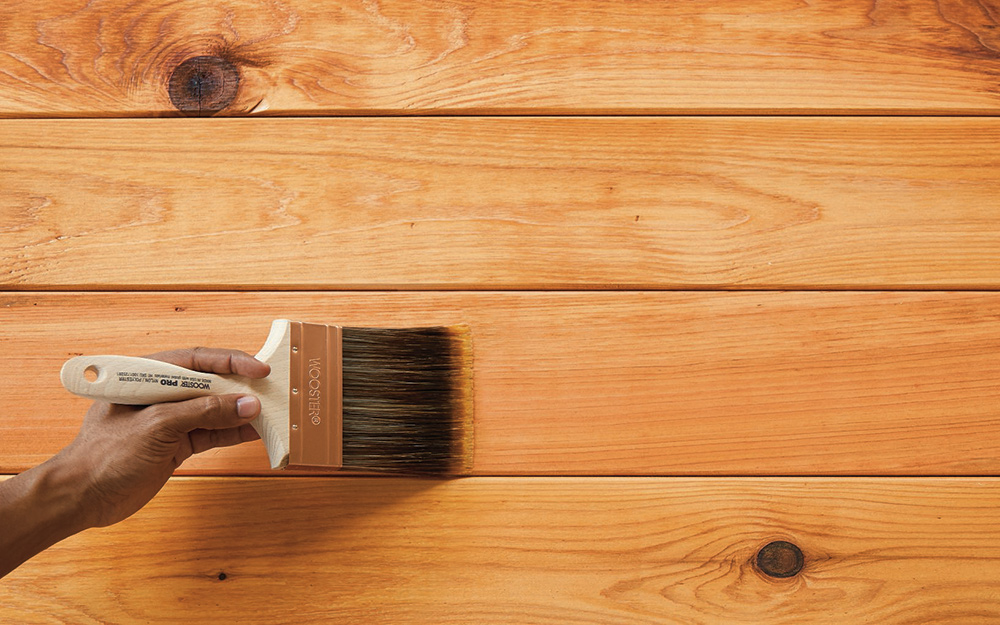
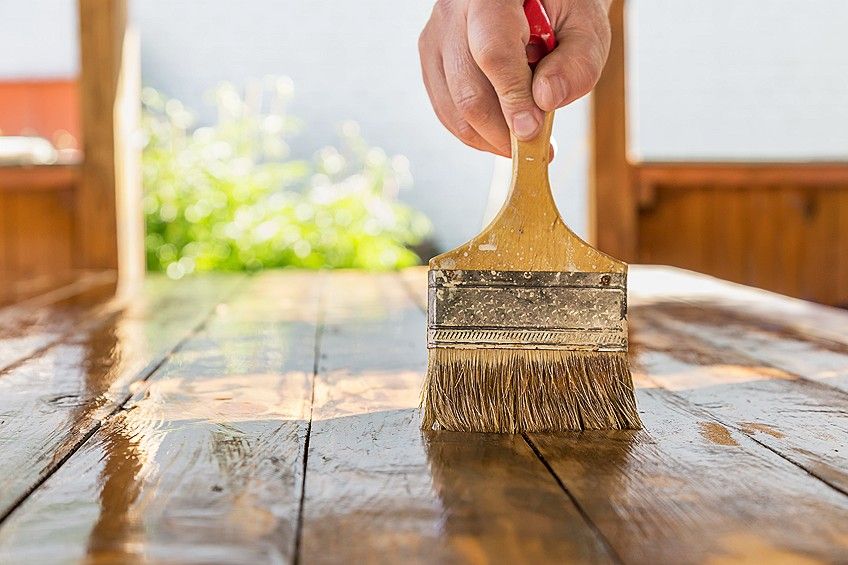
Step 7 – Apply a Coat of Stain
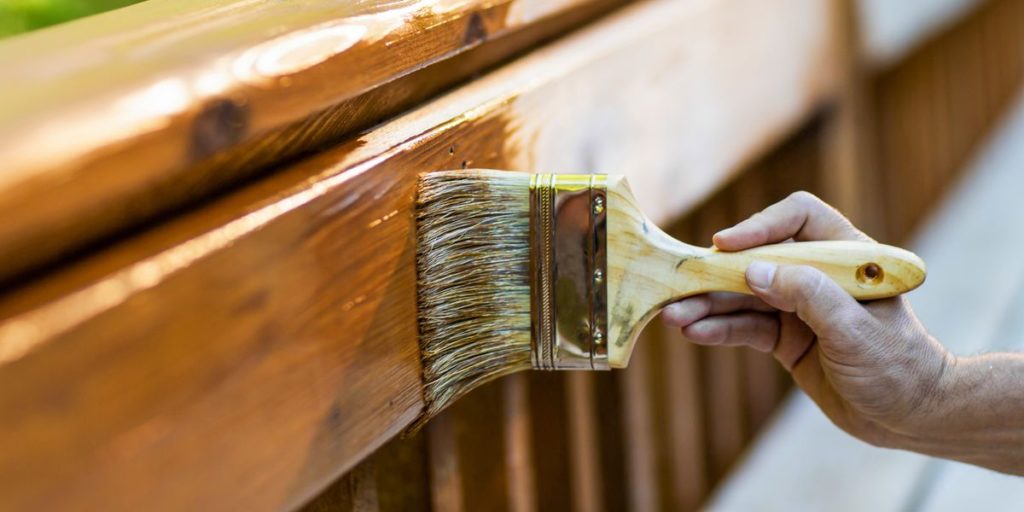
At this point, if all looks good, you can continue the process with the rest of the treated lumber. As you continue to apply stain to the lumber, remember that doing repeat brush strokes may only cost you extra, and can even result to color variation.
When working on vertical surfaces, such as a fence, you may want to start from the top. This will make sure that you can handle runs or drips while working your way down. Note that any exposed ends on the wood may require extra staining because of more absorption.
Step 8 – Some Reminders
When staining treated lumber, there are certain considerations that you need to keep in mind. For one, as much as you want to complete the task fast, but since you are dealing with treated lumber, it is very important to be patient, waiting until the lumber has dried up.
For the stain to be more effective, it has to absorb into the wood. This only happens if the lumber is dry enough for the stain to penetrate on. Since most treated lumber purchased from home improvement stores is still wet from previous treatment, you may need to wait some more for drying.
Conclusion
Can you stain treated lumber? Yes! By following the instructions mentioned above, you will be able to stain a fence or deck made out of treated lumber. This enhances the beauty of the structure, while giving the needed protection against damage and decay. This allows you to spice up your landscape, or any space. Simply follow the instructions mentioned above and enjoy the process! Share your thoughts in the comments section below! Share this with friends as well!
Leave a Reply