These days, MDF (medium-density fiberboard) has gained popularity because of its different uses. There are a number of benefits for using this material – affordability, accessibility, and versatility, among others. However, one of the downsides of using MDF is that when you attempt to drive or drill screws on the edges, it splits. In this article, let us consider the answer to the question – how do you drill into MDF without spitting.
What You Need
- Good quality MDF with good density
- Drill bit
- Screws
- Hammer
Step-by-step Instructions
Step-1: Choose Good Quality MDF with Good Density
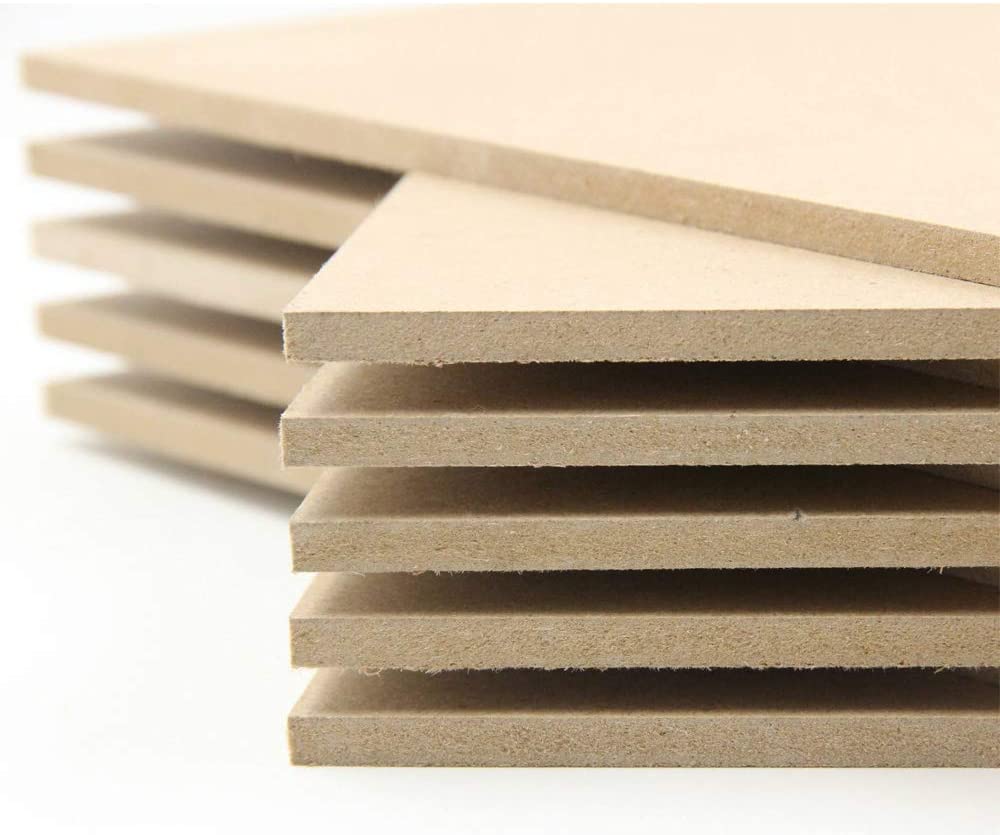
MDF is available in most stores. They also come in various density types depending on their manufacturer. Most MDFs, however, come with a density of 0.022-0.029 lb./in3 or 600-800 kg/m3. Cheaper MDF usually feature lower density, which means that the compaction performed during the process of manufacturing is less. They are generally more challenging to work with because of the tendency of spitting easily when drilled.
As such, it is highly recommended to get higher MDF grade. This will make drilling into MDF without spitting easier. It is also valuable due to its strength in holding screws for a longer period of time.
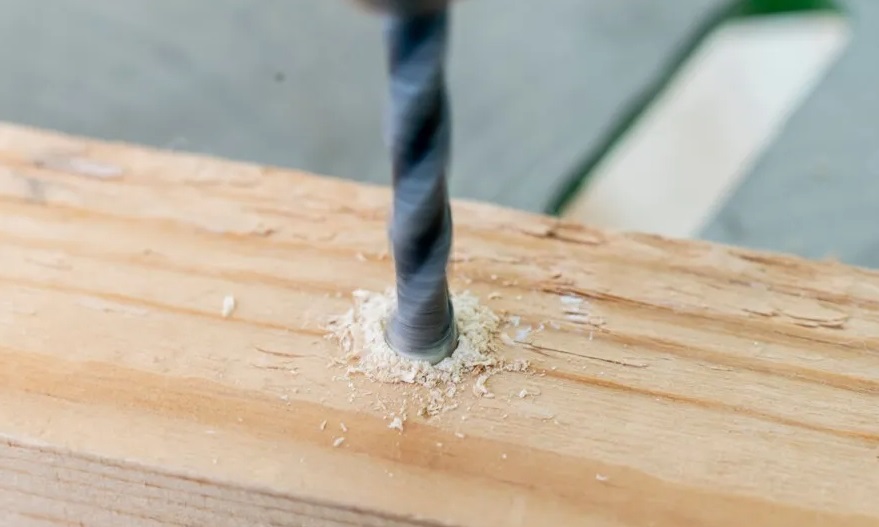
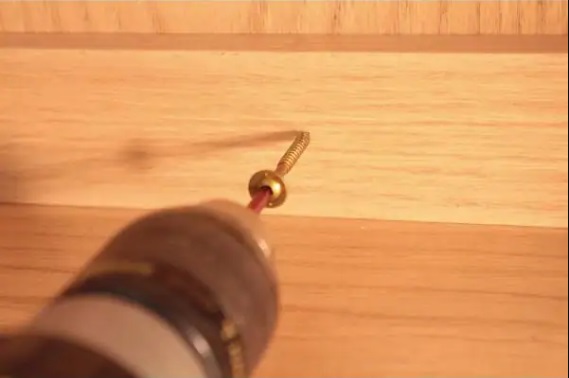
Step-2: Pre-Drill the Right Size of Pilot Hole
It is always recommended to pre-drill the screw holes all the time when dealing with MDF. This is a common mistake of beginners, which usually results to spitting. A pilot hole that is used for suiting the screw is the best thing to do.
In line with this, make sure to choose the right type of screws that you plan to use, and choose a drill bit that is of the same size of the screw shank. Hold the screw and the drill bit to the light to ensure that you have secured the right size. Make sure that the hole is not overly big, since this will only make the threads not biting into the board. You may want to try this first on a scrap.
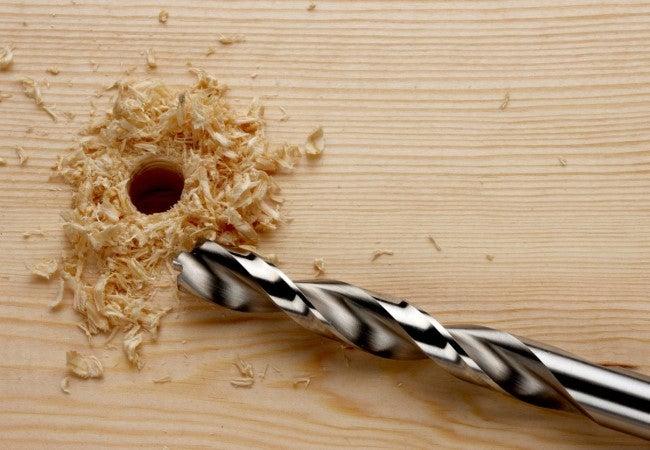
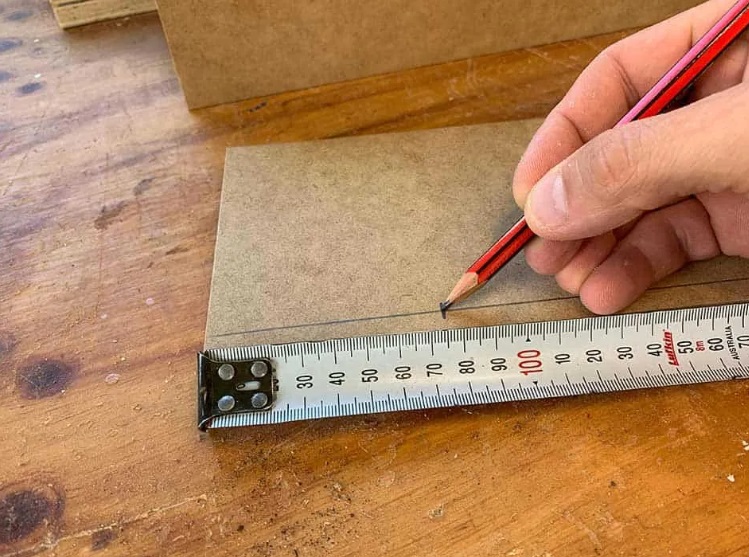
Step-3: Make Sure that the Pilot Hole Has a Deeper Length than the Screw
Note that a pilot hole is only useful when drilled to meet the screw length protruding in the MDF. One common mistake that is done by beginners is drilling pilot holes that are just partial to the screw length. This is not actually helpful since the screw part that is remaining may only result to the spitting of the MDF.
Step-4: It is Recommended to Use a Clearance Hole
The use of a clearance hole may not be the same with that of a pilot hole, but it does what is expected of it, providing clearance to the screw shank in the main surface that you are drilling through.
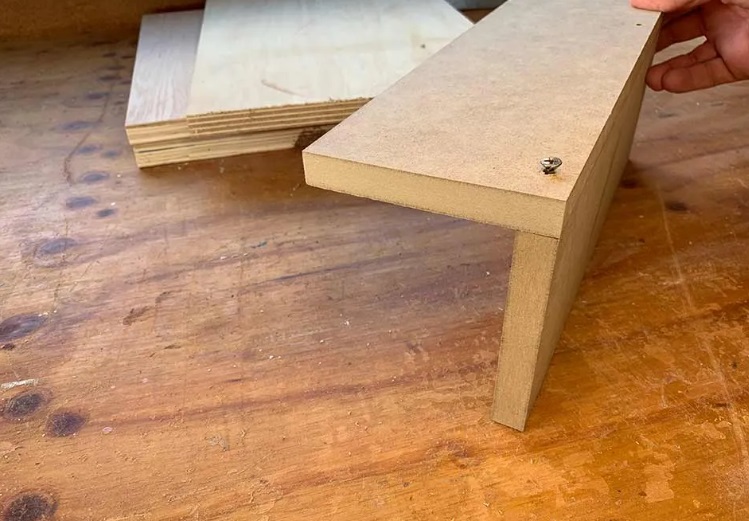
A clearance hole, when tightened down, is effective in offering relief for the screw. This will thus make sure that the MDF will not split as you drill into it. In general, you will be drilling into the surface of an MDF piece right into the edge of a different MDF piece. To achieve the best results, make sure to use high quality dust collectors when dealing with MDF.
Clearance holes also give enough room to align your joints after screwing them together. With the use of a hammer, a gentle tap will perfectly line the joints up. This step may not be necessary if you use a pilot hole into the primary piece.
Step-5: Make Good Use of a Countersink Bit
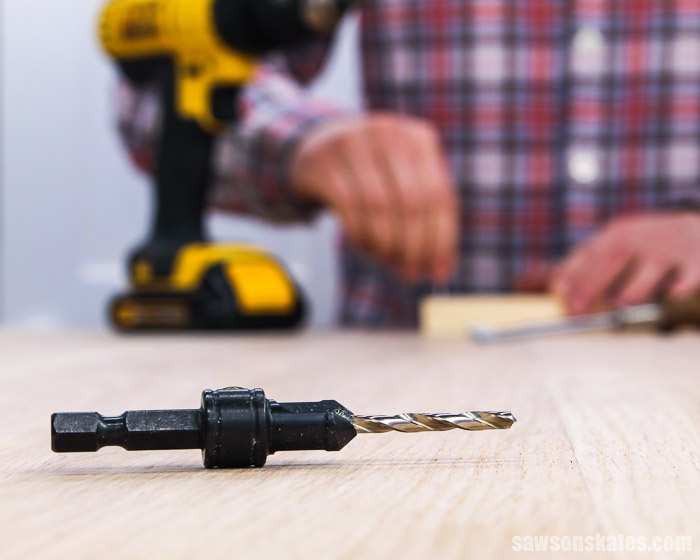
Even though this suggestion may not be as important as the process of drilling of a pilot hole, it can significantly enhance the chances of achieving a quality finish. The use of a countersink bit offers relief to the seat in which the head of screw will go into. This will make sure that the head does not force the fibers of the MDF apart as you tight the screw down.
This is especially vital when working on drilling towards the MDF edges. A countersink bit also achieves a professional and nice look, as it also helps in achieving a neat hole if you need to fill the screw heads.
To achieve this, it is recommended to drill pilot holes in a deeper length than that of the screw. This will help avoid spitting even though you may have accidentally driven your screw too deep.
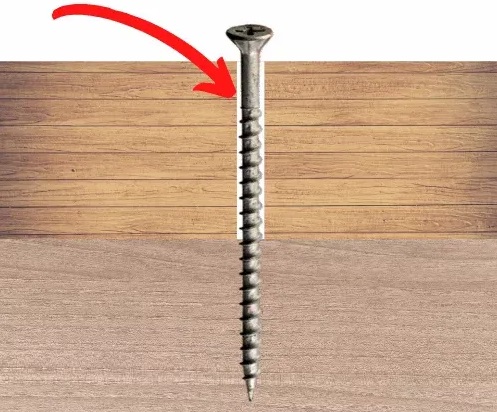
Step-6:Keep the Screws 3 Inches (or 75mm) from the Edges of the MDF
The fibers of the MDF have the tendency to become weaker towards the board ends, as they are not supported. When drilling into MDF, it is important to keep the screws 3 inches or 75mm from the edges of the board. This will significantly decrease the possibility of spitting.
This can be used on any wood that you are interested in screwing together. Make sure to keep the screws in from the edges in order to prevent spitting. This will also do wonders on the final look of the project.
Step-7: Avoid Over-Tightening the Screws
Since MDF is manufactured using pressed wood fibers, it is expected that it is not as strong towards the ends unlike that of a real wood. Because of this, it is important to tighten the screws just enough, but avoid overtightening them. The latter will result to the screw threads possibly pulling into the MDF, stripping the screw hole out.
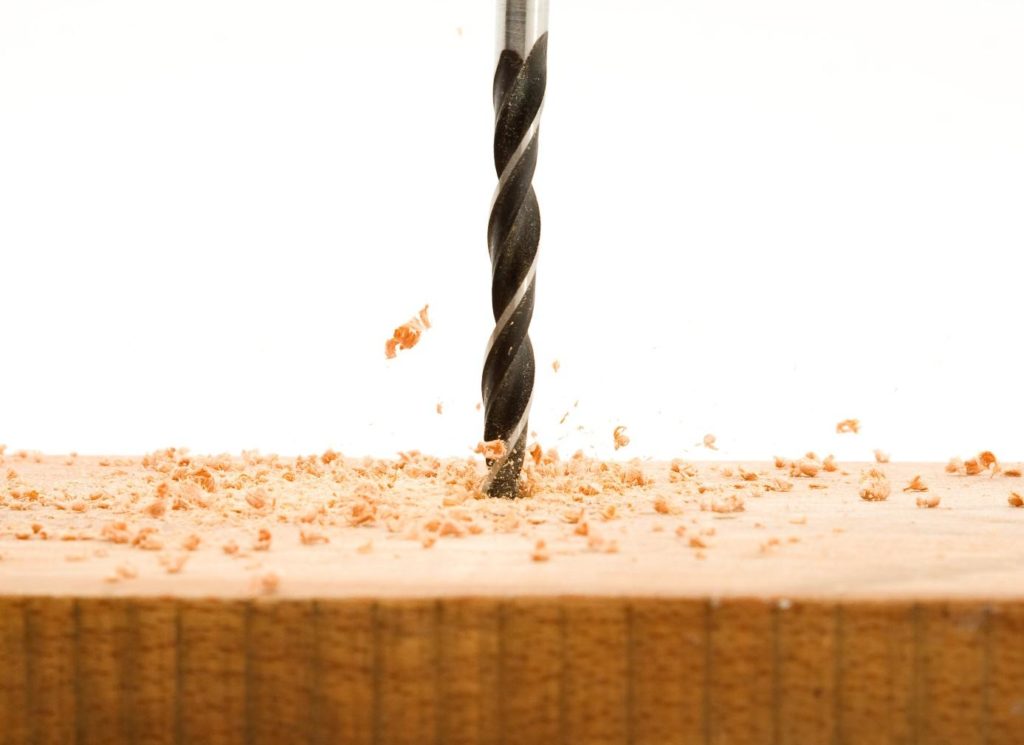
Step-8: Drill Into the Middle of the MDF Edge
If it is possible for you to drive the screw into the middle of the MDF edge, the chances of possibly spitting will be less. In case the screw is unintentionally drilled into the wrong spot, the wood fibers may not be enough to support the screw near the outer edge.
Conclusion
While the process of drilling into MDF is quite challenging, it is not impossible. How do you drill into MDF without spitting? Simply follow the steps mentioned above. MDF is a sought-after material because of its different uses. Among the steps mentioned earlier, the best way to drill into MDF without spitting is by creating a pilot hole. The other steps mentioned above prove as supplement methods which will help you accomplish your goal of drilling into MDF without spitting.
Leave a Reply