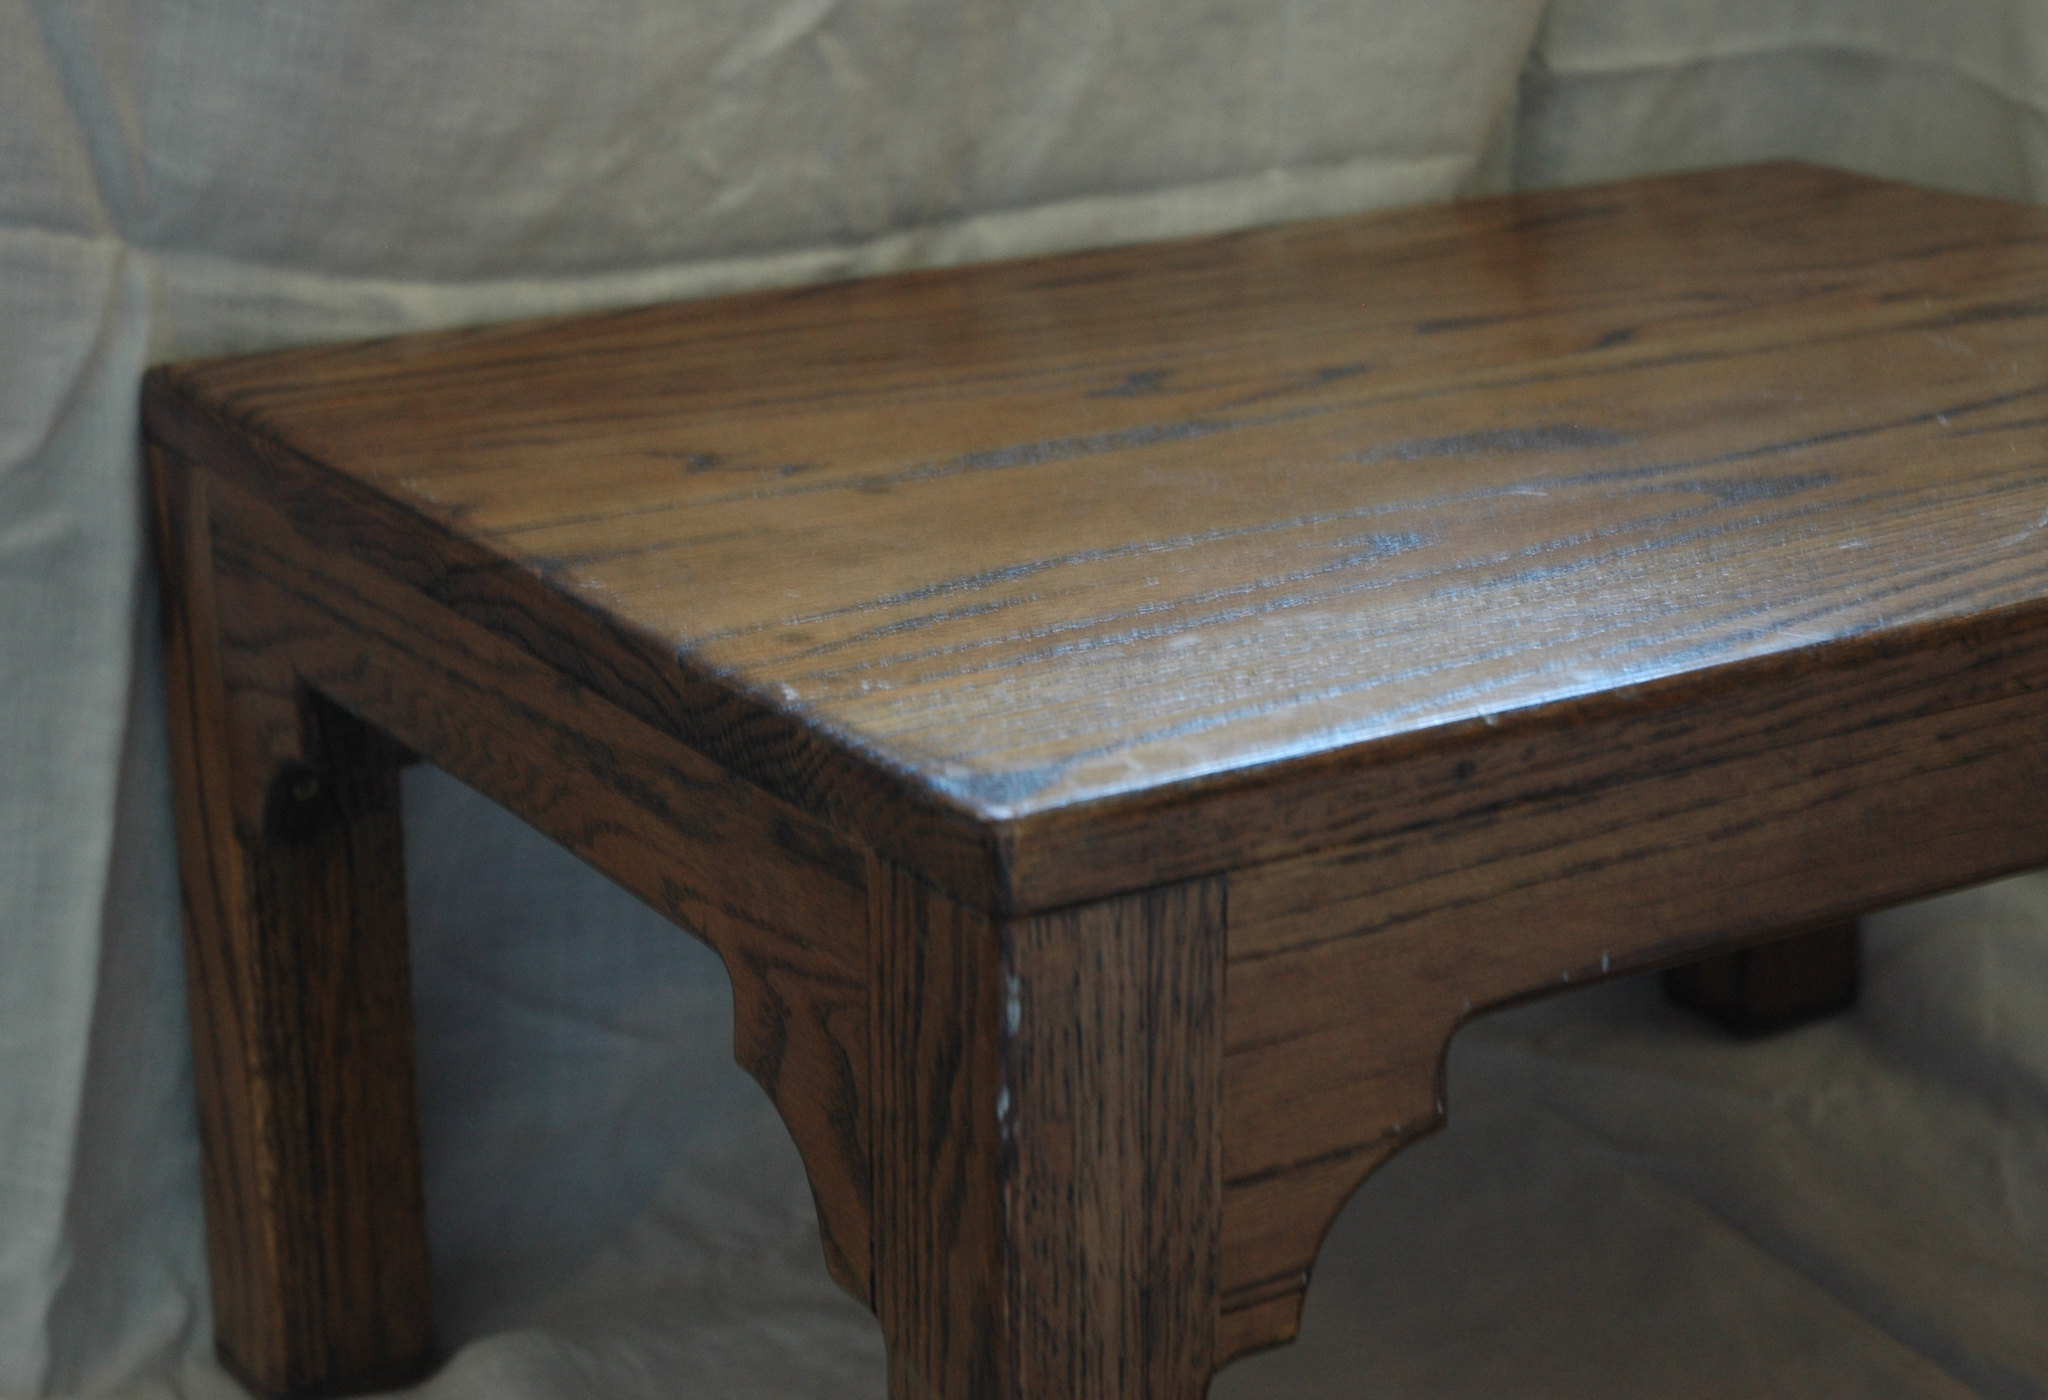
Are you an antique lover but don’t have the budget to buy an antique item? Well, you can actually fix your wooden furniture to make it look antique. You cannot buy the character of your furniture, but at least there are some ways to fake its character using paint and stain. But how to antique wood with paint and stain?
Antiquing wood with paint and stain is quite simple. This article will feature a tutorial that will help you achieve your desired look for your wooden furniture. Read on to know the things you need and the steps you have to perform.
What Do You Need to Follow this Tutorial?
Before you follow this tutorial, you need to prepare the following things:
- Tools and Supplies
You need to get ready with your tools and supplies before you start the tutorial. It can give you the advantage of fast sanding if you use a power sander. Otherwise, get ready with 150- and a 220-grit sanding block. Prepare a painter’s tape and clean rag, too.
Obviously, you should be ready with your coloring agent. This article suggests using walnut oil and matte-finish paint. You can find other wood stains if you want to. Milk paint and chalk paint can also give the same shine. But we opt not to use it to get away with the wax finish.
Step-by-Step Instructions
Step #1 Prepare your Wooden Furniture

The first step is to prepare your wooden furniture. To do this, take off all hardware that is placed in the furniture. Cover the parts of the furniture that you do not like to include in your painting. Use a painter’s tape.
Thoroughly get rid of any grime or dust in the furniture. See to it that your wooden furniture has fully dried before proceeding to the next step.
Step #2 Sand the Current Finish

Use a 150-grit sanding block and gently sand the whole surface of the furniture. Your goal is just to clear away the shine from the wood. This will help your paint to stick well.
Then, get the sanding block to fully detach the currently painted finish in sections that will be inclined to excessive wear, such as the high points and edges. Your objective is to penetrate down the wood’s raw surface to make sure your coloring agent will breeze in. You may want to use a power sander if you want to quicken the process.
Step #3 Paint the Wood

After finishing the initial sanding, apply a dark paint or wood stain to low areas and parts where your wood is exposed. We will use walnut oil for this tutorial. If you will opt to use dark paint, consider diluting it with a certain amount of water. Your coloring agent is best applied with a rag, but make sure your rag is clean. Remove any excess.
Do not be annoyed if you find the coloring agent running over into the encompassing paint. The succeeding layer of your painting will wrap this.
Step #4 Apply your Main Color

Apply a thin coat of your chosen paint into the entire surface of the furniture. The thinner you keep the paint’s layer, the more manageable the following steps can be. For this tutorial, we will apply matte-finish paint. This paint can work well if you do not like to apply a primer. Milk paint or chalk paint offers the same shine, however, these paints may require a wax finish to seal.
The key here is to keep your hand light. You will achieve a better result in antiquing wood if you keep your hand lighter. Thick paint coats could make it more difficult to sand and obtain the result you wish to see. Allow the initial coating to completely dry for 24 hours. Once it has fully dried, proceed to the following step.
Step #5 Apply Second Coating

Your second paint coating will make sure that the entire excess coloring agent has been covered completely and is not bleeding through. This will make your output appear more natural.
Moreover, if your furniture is unpainted, you may want to find a different shade for the second coating. This will show more layers once you distress your wood. You should apply your second coat in a thin layer, too. Let it dry.
Step #6 Sand and Buff

With the 150-grit sanding block, brush down the wood’s edges to make the dark parts peek through. Begin slowly and assess the distressed appearance now and then. Do not sand excessively. Then, lightly sand with a 220-grit sanding block to pull out a bit more of your paint’s top layer close to the edges.
Soak your rag in your coloring agent then buff the edges. Wipe any excess. Lastly, sand the whole piece very gently with a 220-grit sanding block.
Conclusion
These are the steps on how to antique wood with paint and stain. These are easy-to-follow steps so you do not have to worry if your level of expertise isn’t that high. Whether you are new to this task, you can finish this project successfully if you only follow the instructions well.
Antiquing your wooden furniture is one way of creating a character for your home and the furniture, itself. Surely, after you perform this tutorial, a lot of people would inquire about the steps you have done.

Leave a Reply