
Building your rack can turn out to be a less expensive option than purchasing a ready-to-use one at retail price. Learning how to build a wine rack out of your skills will allow you to experience the fun and satisfaction of making a project with your two hands while saving money at the same time. Enjoy these simple DIY plans and search for the best design that will fit your storage needs, and start building right away!
What You Need
- Plywood
- ¾-inch plywood
- 1-1/2” wood screws
- Tape measure
- Nail gun
- Power miter saw
Step-by-Step Instructions
Step 1 – Take the Needed Measurements
For the measurements, you would need to measure the height and width of the area where you want to place the rack.
Step 2 – Create Face Frame
This step can be achieved using a table saw, cutting poplar to a thickness of 1-1/2 inches. Cut the pieces depending on the measurements. Create a pocket jig that will serve to secure the pieces of face frames together.
Step 3 – Start Building the Body
Cut four (4) plywood pieces, with the same measurement of the face frame, while reducing the body size overall by 1/8 inch. With wood glue and a clamp, secure together the pieces, and screwing them in place. With a pocket jig, connect the face frame pieces to the body.
Step 4 – Construct the Shelves
For this step, you can use a wine bottle base, starting from the center outwards, creating openings on a 1×4 piece of poplar. With a hole saw, drill out holes using a slightly bigger size than the wine bottle base. Repeat the same procedure, this time, using the wine bottle neck in marking the 1×4 size poplar board. A smaller bit can then be used to drill holes. Repeat procedure.
Afterward, cut the boards in half with the use of a table saw. Using a ½-inch round-over bit, rout the edges of the shelf openings.
Step 5 – Assemble Pieces Together
To connect the shelves, drive wood screws into the unit sides, and through the shelves. The shelves must be spaced evenly, with the back a bit higher than the front. Nail a thin plywood piece to the back of the unit. Stain or paint the unit. With wood screws, mount the wine rack to the wall studs.
Step 6 – Explore Other DIY Plans
Here are some other DIY wine rack plans that you can consider for your next project.
- Shanty 2 Chick DIY Wine Rack

This wine rack is made mostly out of old items that can be found at home, turning them into beautiful and functional pieces. This wine rack is both stylish and cute and can be achieved by using just a few basic materials.
- Cumbria Estate Winery

This wine rack is ideal to give as a gift, whether to someone, or yourself. It can beautify any space and can prove to be a good conversation starter too. This rack features a rustic look, with steps that need to be followed very easy even for beginners.
- Wine Bottle and Stemware Rack
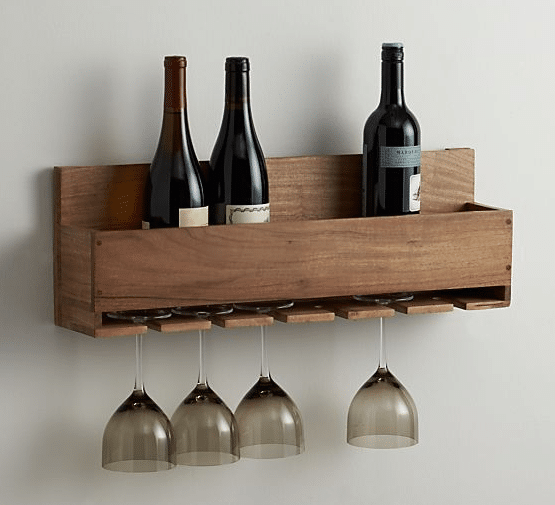
What makes this DIY plan interesting is that it does not just serve as a wine rack. It also doubles as a wine glass holder. While it may not be designed for storing a lot of bottles, but it can serve well as décor. It can no doubt add an elegant touch to any interior. The step-by-step instructions for this wine rack are pretty easy to follow.
- Modern Standing Wine Rack
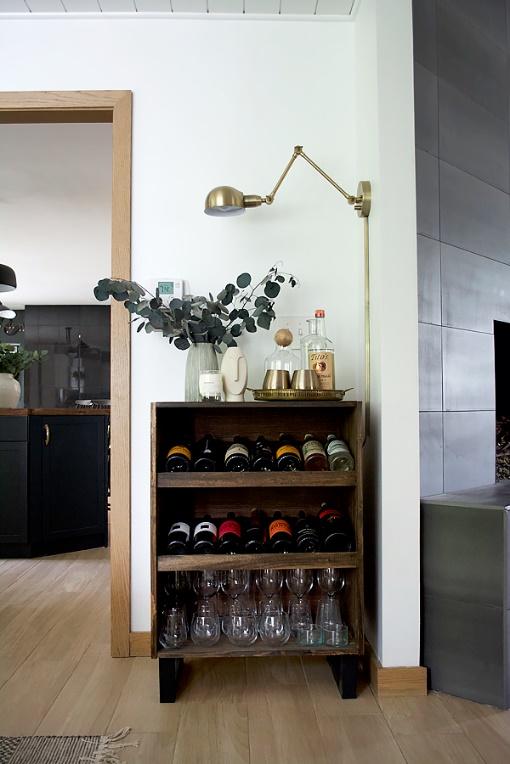
Even though basic wine racks can be functional and simple, the modern standing variation can allow you to make something that also looks fantastic aside from just being a winding rack. This free-standing rack will certainly add spice to any room while serving as a head-turner to your guests as well.
- Built-In Wine Rack

One look and you will be able to say that this wine rack is oozing with style and elegance. It does not cost a fortune, and it is a DIY project that can keep you busy for about two days. It can also make good use of some empty space that you have at home, making it a worthy addition to your upcoming projects.
Conclusion
Wine racks are not just designed for their purpose of use, but they are also stylish and attractive, adding flavor to your space. Whether you are a beginner or a professional, knowing how to build a wine rack is a good way to explore your creativity.
The plans mentioned above can guide you on your next project. We hope that you enjoyed these simple DIY plans. These can also serve as inspiration for your next DIY attempt. If you have thoughts to share, leave them in the comments section below, or share this article if you like!

Leave a Reply