If you are using a circular saw and you are doing lots of cuts as well as prefer to utilized specialized blades, then you might want to consider learning the steps on how to change the circular saw blade. Moreover, you need to perform the task easily and quickly.
The manner of changing the blade will mostly depend on the kind of circular saw you are using. However, this article features the basic steps on how you can change the blade of the circular saw. This tutorial wouldn’t take a while and should let you finish the task smoothly. Read on to start learning the steps.
What Do You Need to Follow this Tutorial?
Before you perform the steps on this tutorial, make sure you equip yourself with the following:
- Safety Gear
You must always secure your safety when changing the blade of your circular saw. To perform the changing of the blade without inflicting danger to yourself, you have to wear a pair of gloves. Find thick gloves for this task. Regardless of your expertise in using a circular saw, you should never consider changing the blades of your tool with just your hands. You do not want to end up cutting your hands after before of your too much confidence and negligence.
- Tools and Supplies
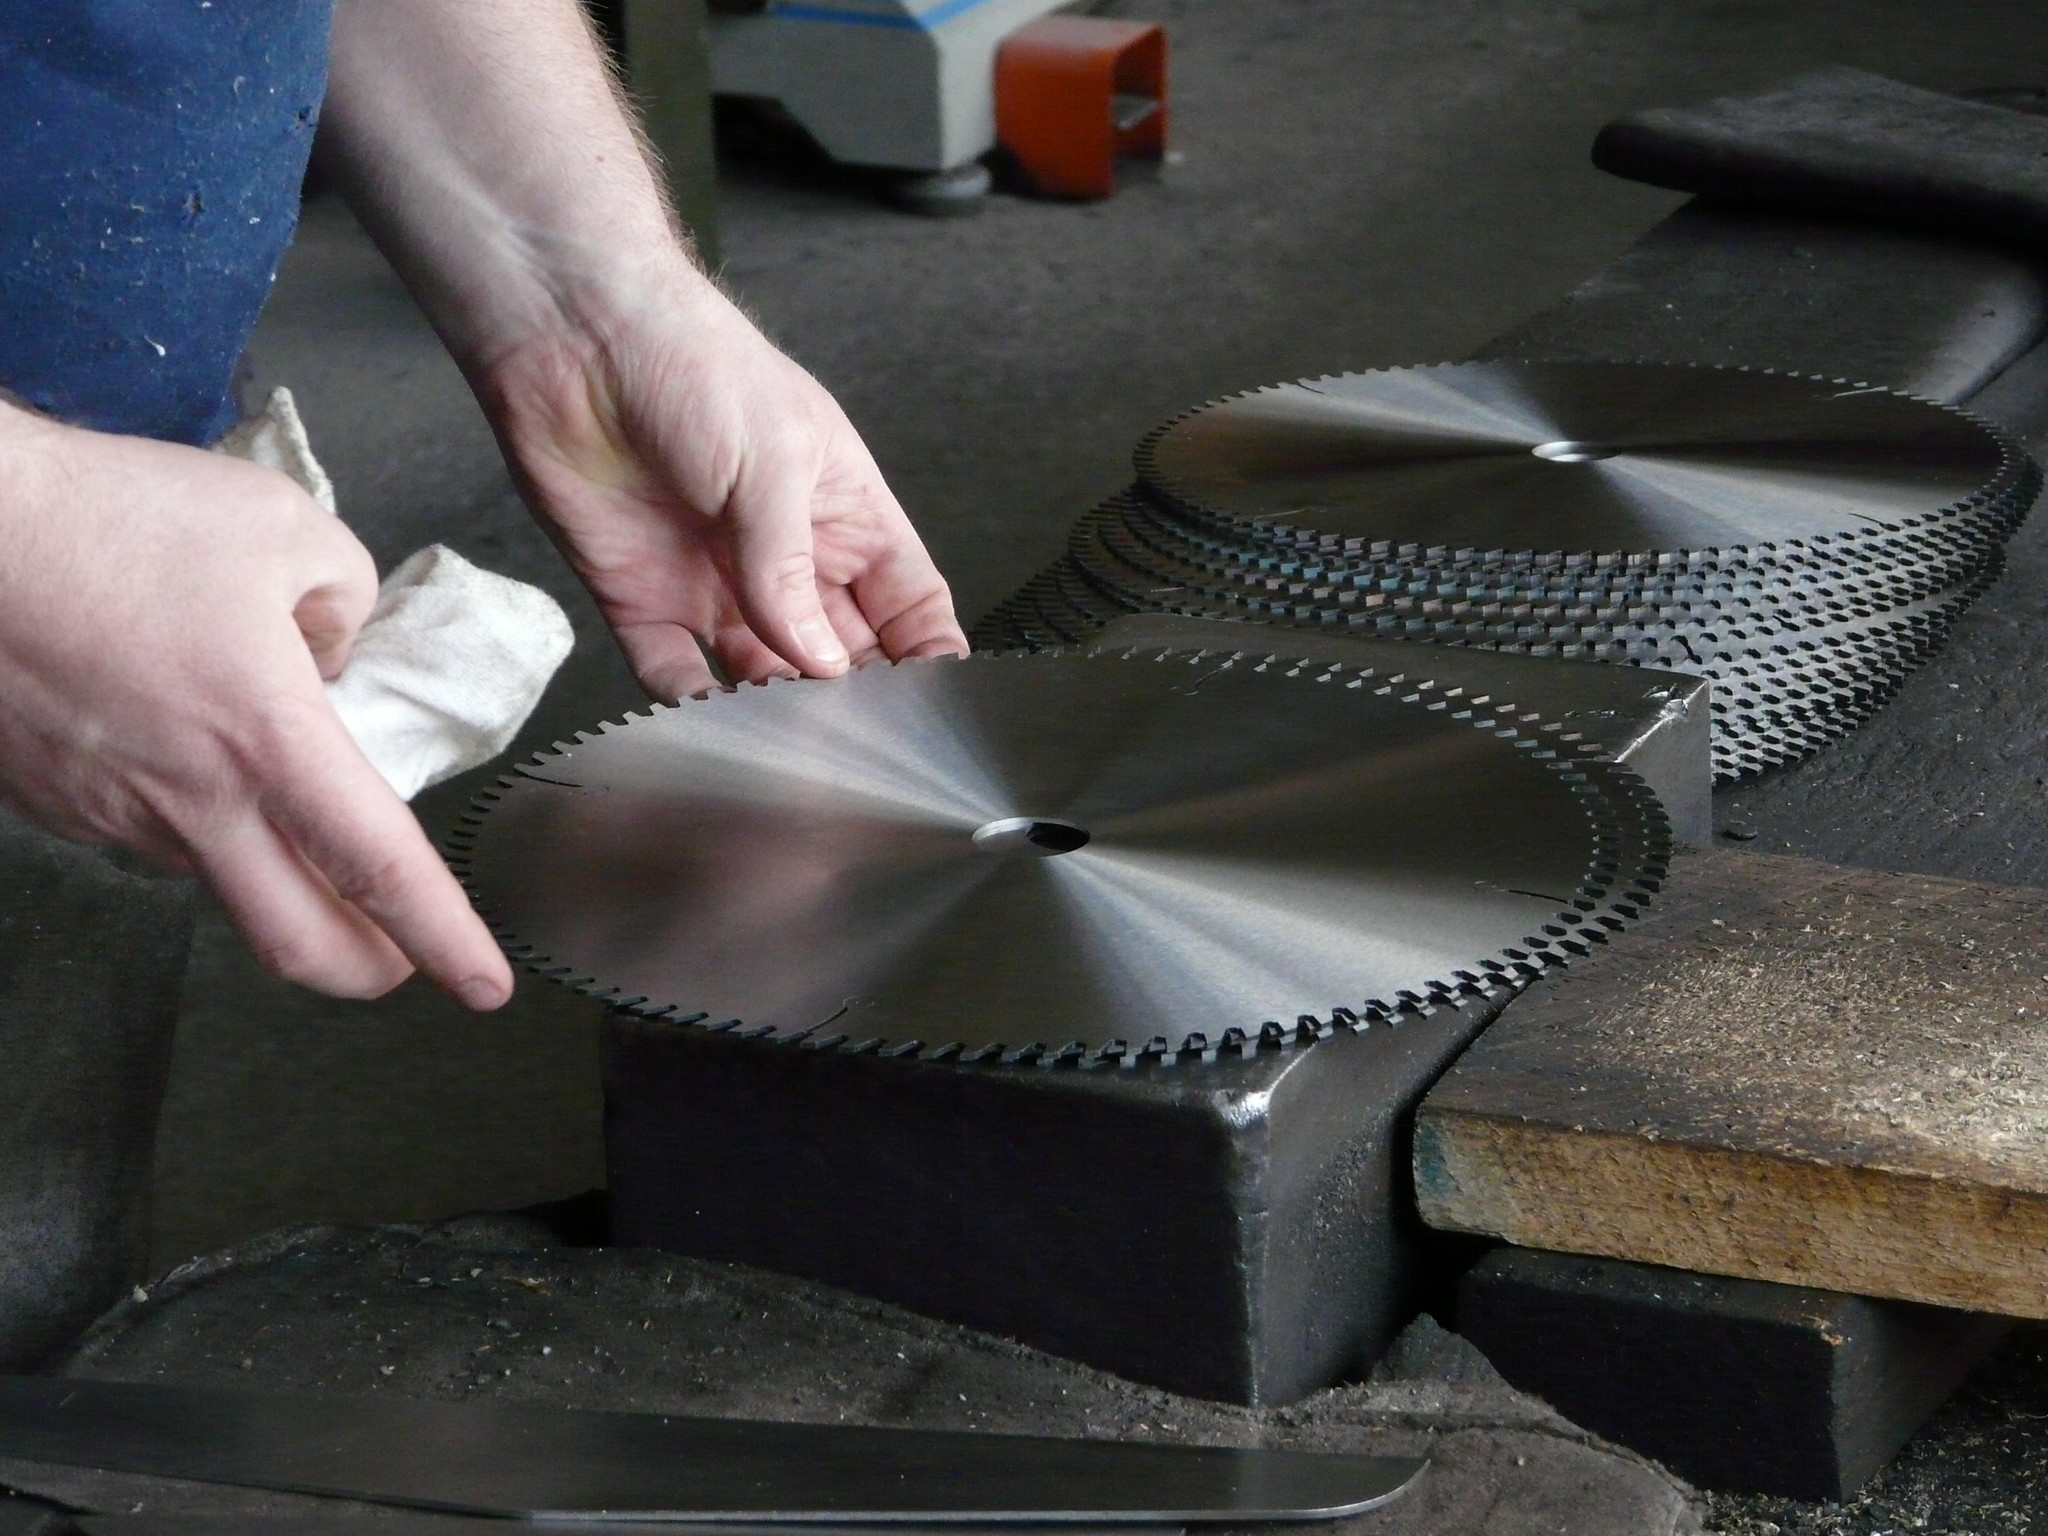
Changing the blade of your circular saw does not demand a lot of tools and supplies. To follow this tutorial, you have to be ready with your new blade. Make sure that the new blade comes in the right size. You should also prepare your locking pliers and 5mm Allen wrench.
These are affordable tools, though. It will be a good thing if you have these tools and supplies already available at home. However, should you need to buy them from a store, these should not cost you a lot.
Step-by-Step Instructions
Step #1 Turn Off the Circular Saw
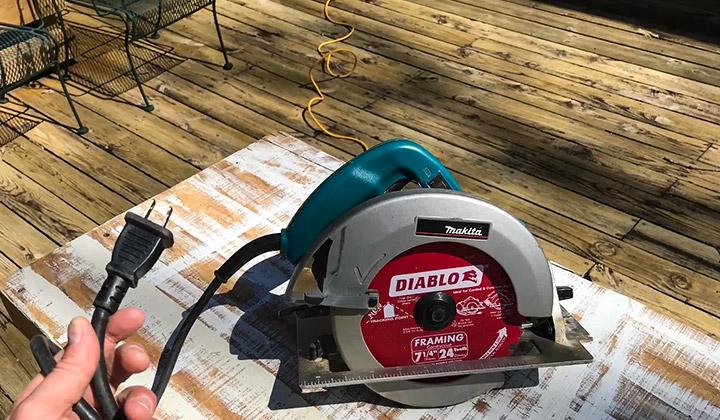
If you are using a regular circular saw, the first thing that you should do is to turn off the power. However, if you are using a cordless type, make sure to detach the battery first. This is a very crucial step as you do not like to unintentionally heat your blade while you are administering it while performing the change. Furthermore, keeping your circular saw powered while you are changing the blade can put you as well as the people around you in danger.
Always see to it that your blade is appropriate to your circular saw. The blade should come in the right size. For instance, if you have a 10-inch circular saw, you should not use a 7 ¼” blade on it.
Step #2 Remove the Blade Guard
Lay the circular saw on a safe surface. Then, pull back or detach the blade guard to expose the blade. The blade guard is described as the twisted metal or plastic that wraps the circular saw’s blade. Simply move the blade guard up to get an entry to the blade. If your tool features an arbor lock, then you must switch it on now.
The arbor is the part of the saw where the blade rests on. Locking it can keep the nut stable while you are working to loosen it to expose the blade. However, if your circular saw has no arbor lock, you must pin down the blade through a wooden surface to keep it fixed for the following step.
Step #3 Fix the Blade
Before proceeding to the next step, you should fix the blade first. Your blade may spin around if you do not secure it while you are trying to untighten the bolt.
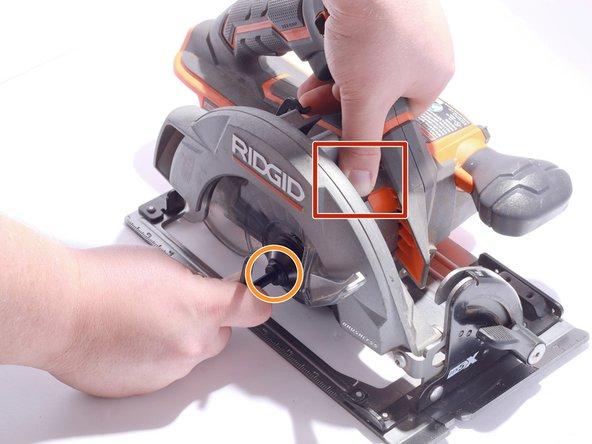
See whether your circular saw has a “spindle lock button” feature. This is a black button and is commonly situated close to the blade guard. The spindle lock button would keep the blade from rotating while you are untightening the bolt. However, if your circular saw does not possess this feature, you can get vice-grips or locking pliers to firmly hold the blade in place.
Step #4 Detach the Bolt and Slip Off the Blade

Most of the circular saws have a wrench that lets you untighten the bolt that secures the blade. However, don’t worry if you do not have the wrench as loosening the bolt is quite easy. Simply look for a wrench that suits the bolt. Oftentimes, a 5mm Allen wrench is used to detach the bolt.
Loosening the bolt with the wrench will not require a lot of force. After loosening it, keep it in a safe place. Then, proceed in removing the washer.
Taking out the bolt as well as the washer, you can now easily slip off the blade. You can also use this time cleaning the inner components of the blade.
Step #5 Install the New Blade

This time, remove the new blade from the container and install it on the circular saw. Simply do the steps you carried out when detaching the old blade when installing the new blade.
For your new blade, screw the bolt and washer tightly. The most essential part when installing a new blade is to make sure that the new blade is properly fixed. Check the arrows illustrated in the new blade and the blade guard – these will tell you how you can properly place the blade.
Conclusion
You now know how to change the circular saw blade. Changing the blade of the circular saw is typically a simple process. This tutorial features only four steps to carry out the task. Whether you are using a regular circular saw, cordless, or mini circular saw, the process of changing the blade remains the same.
Just follow the instructions above and you should be able to change the blade smoothly. Do not forget to practice some precautions when doing this tutorial.
Leave a Reply