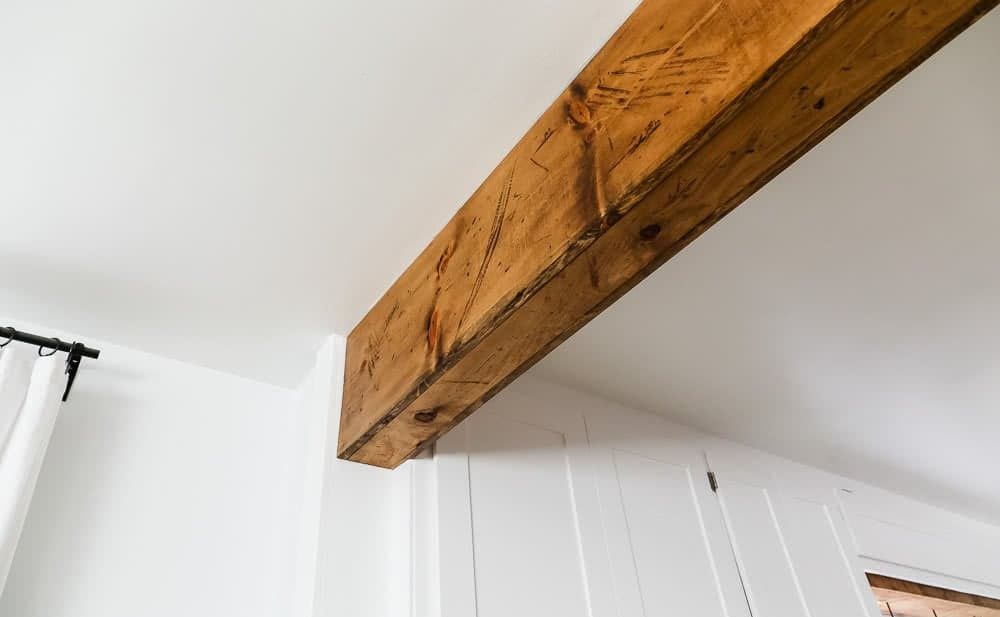
Whether you simply want to enhance the appearance of your beam or want to rescue it from weathering due to its old age, learning how to cover beam with wood is one of the things you should learn if you want to keep a fresh and beautiful-looking home.
Covering the beams is quite an easy project which only requires several materials. The fundamental thing is to carefully measure the beam you intend to cover and the other steps follow. You are lucky enough to check this article as you are about to see a guide on how you can execute the task effectively.
What Do You Need to Follow this Tutorial?
This tutorial is composed of simple instructions – making sure that everyone can easily grasp the method. However, before you proceed with the tutorial and execute the steps, there are some things that you need to prepare:
- Materials
Obviously, you should be ready with your wood before you follow this tutorial. Basically, you may use any wood you like for the beam. Secure enough wood so that it can equate three times the beam’s length. You will also need paint for later’s step. You are free to choose whatever color you want to use. Perhaps you’d want to use something that really attracts you. This will make you appreciate more the result of your work.
- Tools and Supplies
You will also need some tools and supplies for this tutorial. It is expected that this project includes some cutting of woods. Hence, you should get ready with your table saw, ripsaw, or circular saw – just use whatever is available in your area. Prepare your hammer and nails, too.
Also for this tutorial, you should secure wood glue and metal straps. The metal straps are optional. However, this tutorial wants to include some characters in the resulting work.
Step-by-Step Instructions
Step #1 Cut the Wood

If the wood you are using is longer than the beam you wish to cover, then you should cut it down to a size that is enough for the beam. Use a ripsaw, table saw, or circular saw to cut the wood. Similarly, you should trim another piece if your wood is not enough to wrap the entire beam.
So, if the length of your beam is 6.5 feet and the length of your wood is only 5 feet, then you should trim another piece measuring 1.5 feet so that your material would be enough to wrap the entire thing. Make sure to sand the ends before you continue with the installation.
Step #2 Distress the Wood to Achieve a Vintage Look
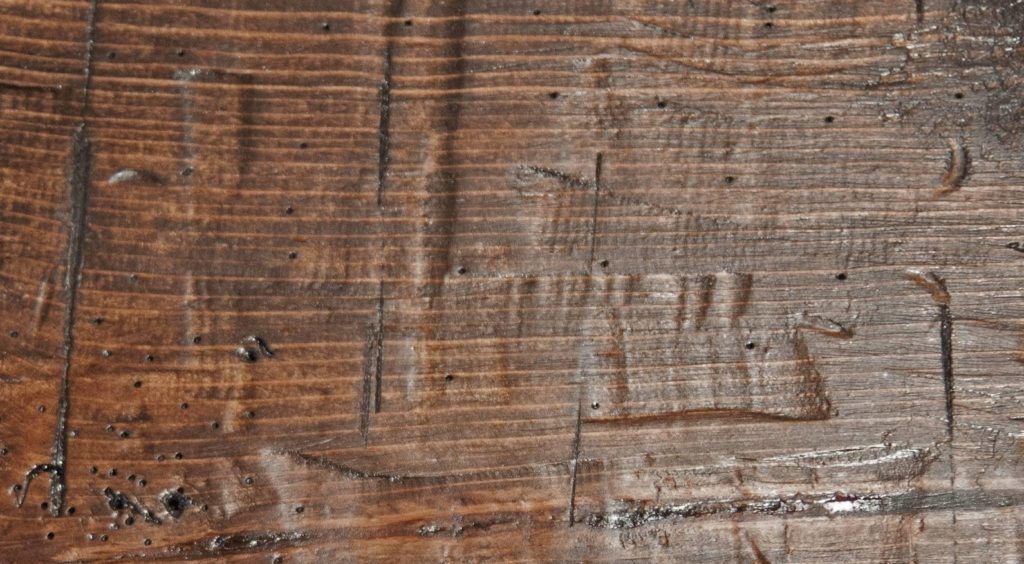
If you got a new wood, get a hammer and casually beat the wood. Doing so will make the wood look vintage as it exhibits seemingly natural weathering due to age. You might think that this will not work well, however, if you only beat aimlessly over the surface of the wood, it can make an impression of weathering that appears genuine.
Step #3 Paint the Wood
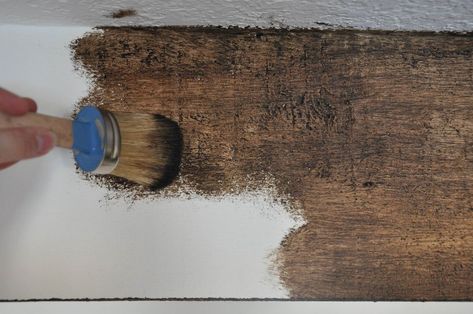
If you got a new wood, use paint and apply two coatings on all corners. Use your desired color as you would want to be pleased with the output of your work later. Let the paint dry for at least 24 hours before you proceed with setting up the wood over the beam.
Step #4 Nail the Wood in Place
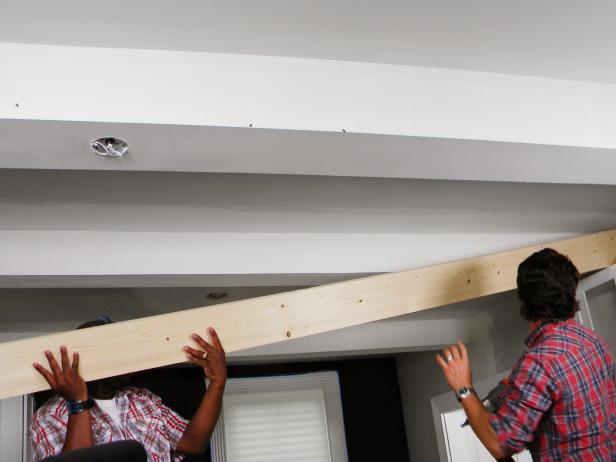
If you got new woods, cover their back portion with wood glue. Position them over your beam, then use a hammer or nail gun and nails to properly secure them in the area. You might want to ask somebody’s help when performing this step. Let someone hold the wood in position so you will not have a hard time nailing it down. Remember to also wrap the sides.
Step #5 Install Metal Straps

If you wish to incorporate some character into your work, consider installing metal straps over your beam every several feet. These metal straps can work well in concealing the seams where your woods meet. You may want to use decorative metal straps which were designed to suit the entire beam.
The straps will normally have pre-drilled holes. However, in case your straps do not have holes, you have to ensure that the strips are thin enough for easy drilling of the screw.
Conclusion
Learning how to cover beams with wood can be fun and educational. Covering beams with some wood are mainly adorning. However, you can also perform this task to reinforce a running-down wooden beam. You can also do this project to conceal some imperfections. Regardless of your purpose for executing this task, you have to make sure that you are using the right materials as well as the most suitable tools to help you with the installation of your beam covers.
The step-by-step instructions that are featured in this article are meant to assist those who have a limited background in carpentry and beam restoration. If you are one of these people, then surely, you will this tutorial helpful. Just make sure you carefully read the detail in every step and follow it accordingly.
Leave a Reply