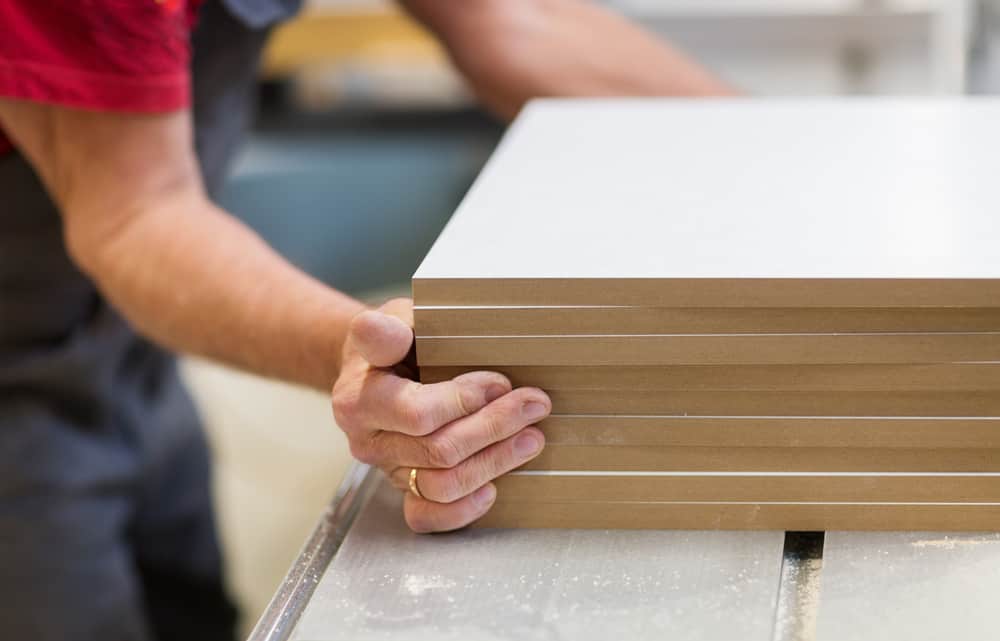
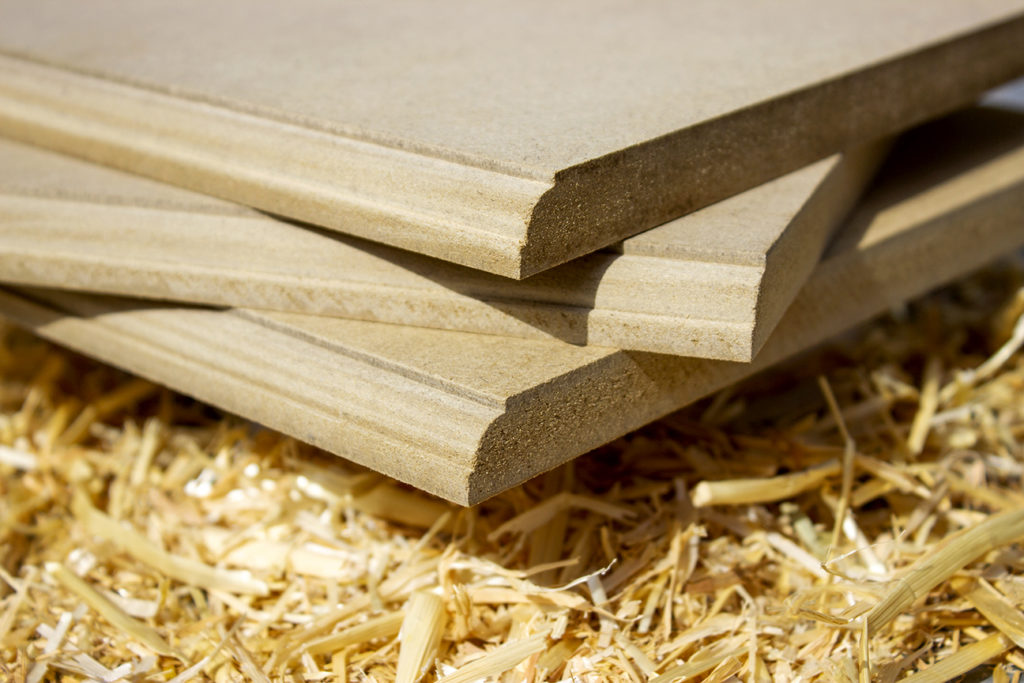
MDF (Medium Density Fiberboard) is a type of man-made hardboard which is used commonly in indoor projects, such as cabinets. This material is manufactured by pressing wood fibers together and bound by a synthetic resin binder. They usually come in 4 or 5×8 feet sheets, and thicknesses that range between 3/8 and 1 inch. While they can easily be cut using any equipment that can cut wood, they are at risk of chipping. So, how to cut MDF wood without chipping? Let us see.
What You Will Need
- Cutting tool – circular saw or table saw
- Carbide-tipped blade
- Heavy duty working gloves
- Long-sleeved shirt
- Dust mask
- Eye protection
Step-by-Step Instructions
Step 1: Understand the Nature of MDF
Note that MDF may be cut using either a table or a circular saw. Note, however, that MDF may dull steel blades, which is why it is recommended to use a carbide-tipped blade. To help reduce possible chipping, you may want to place an inch width of masking tape strip along the cutting line, on the sheet side, where the teeth of the blades surface from the wood.
To avoid the breaking of a thin sheet, make sure that you use a fine-toothed blade like the bandsaw. This is because of the delicate nature of the thin wood. Even though MDF looks similar to that of plywood in terms of appearance, MDF is much denser, with specific characteristics which may be different from other woods.
Step 2: Safety First

When working with MDF, make sure to use heavy-duty working gloves and wear a long-sleeved shirt before starting. This will provide you protection against the rough edges of MDF and from the saw blade. It is not recommended to use loose-sleeved clothing as this may only get trapped in the blade of the saw.
Make sure to wear a dust mask, as well as protective gear, such as goggles, for your eyes as MDF naturally releases too much dust after cutting. Make sure to choose a high-quality dust mask to ensure that dust will not get into your throat. Dust from MDF is a carcinogen and could be dangerous when breathed in.
Step 3: Make Straight Cuts

To achieve a straight cut, attach a firm laminate blade to your saw. It is best to use a table or circular saw that can cut to a speed ranging from 9,800 to 11,000 feet per second. To get the best possible cut, you can also attach a laminate blade with a minimum of 60 teeth, along with a 14-inch diameter. To gain extra strength, you can opt for a table saw blade that comes with a carbide tip. Before the installation of the blade, make sure that the device is unplugged to avoid accidents.
Step 4: Mark the Cutting Line
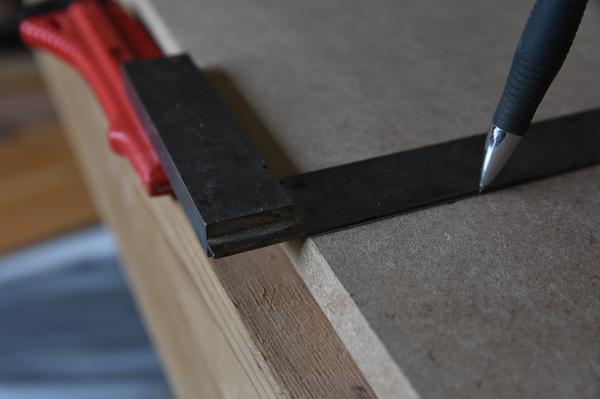
A cutting line is needed unless your table saw already comes with a straight edge that is already fixed to your width desired. You can also mark the specific area that you want to cut with a pencil and a woodworking tape. Make sure to do the “check twice cut once” technique. You can double check the alignment and length of the line with a level or tape measure.
If you are marking the line of your MDF with a pencil, make sure that it is thick enough to be seen through the dust, and even from a distance.
Step 5: Cut with Circular Saw
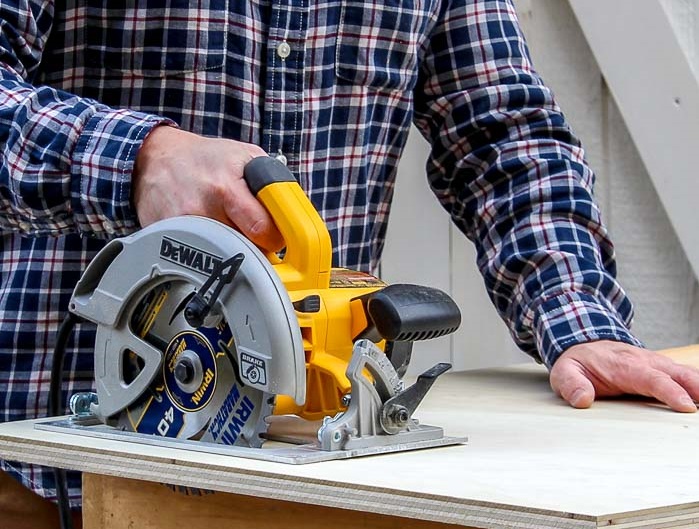
To cut MDF using circular saw, start by aligning the front part of the saw using the specific line on the MDF. Next, press the saw gently right through the piece of MDF using minimal pressure. Make sure to steady the saw, cutting slowly in a single, brief motion. If you notice that the saw is kicking or jittering, make sure to turn it off and allow it to rest.
Step 6: Make Curved Cuts

Cutting MDF using curved cuts is not the same as when cutting a straight edge. This is not impossible, however, as you can still achieve the same output with the right saw blades and tools. For this, you can use a carbide, bi-metal blade and a jigsaw. A narrow blade is recommended as it comes with fine teeth. Make sure to turn the device off first before installing the blade.
Step 7: Secure the Board to the Table
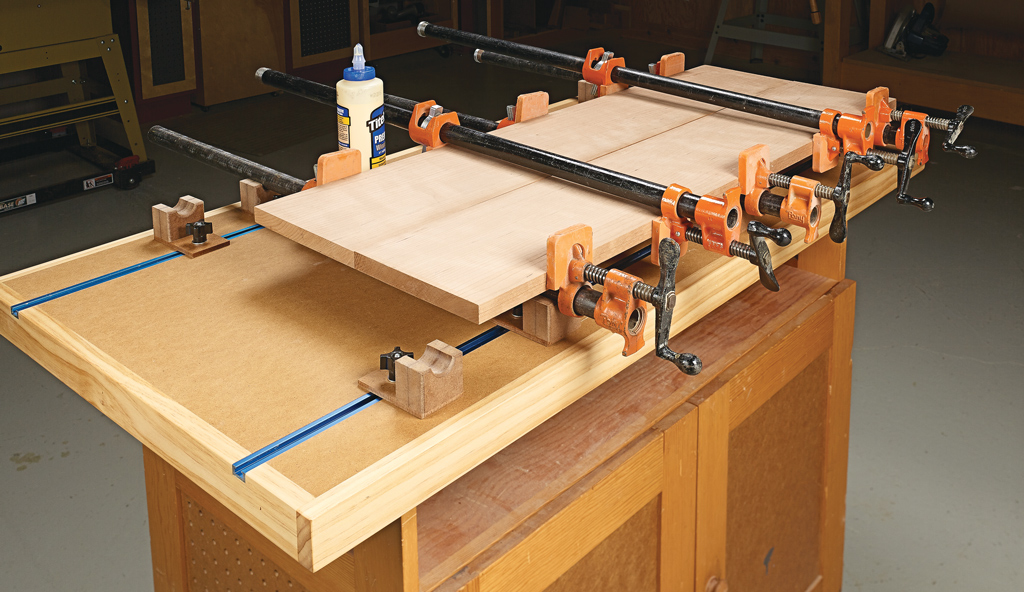
To avoid chipping, make sure to secure the board into the table. For this, you can set the plank of MDF on a firm working table, hanging it where the edge needs to be cut. Secure it in place using huge clamps to make sure that it does not slip while cutting.
Identify the area that you want to cut and mark it with a pencil. Draw a line on the surface of the wood, identifying the area that will be cut. To achieve more precise cut curves, use a stencil or compass.
Step 8: Start Cutting

Before starting to cut, start the saw first. Then, push the board along the line that you have marked until the very end. Since you have carefully chosen your blade, then you can definitely expect to achieve a clean cut that is free from chippings.
Step 9: Some Tips

It is very important to understand the specific characteristics of MDF before starting to cut it. This is to make sure that you are cutting it the best way possible while preventing chipping. MDF comes with high glue content and is dense, thus it would help to keep in mind using blades with more teeth. Carbide-tipped ones are the best options to consider.
The blades should also be extra sharp. Doing so will reduce chipping and cleanly cuts into the MDF. Also, when scoring and making circular cuts, it is best to use gentle and slow motion to avoid chips or scratches.
Conclusion
You may have asked this question before, “how to cut MDF wood without chipping?” While achieving the desired output may be challenging to say the least, it is not at all impossible. By applying the tips mentioned above, you will be able to achieve the right cuts on your MDF board without chipping.
Leave a Reply