I’m sure all department stores all over your place have countless cutting boards to offer. However, finding a long-lasting cutting board to last you for a long time is tricky. Though these different commercial cutting boards vow all promises, they don’t deliver the quality you want.
Luckily, if you happen to have strips of wood to spare, why not make a cutting board. Surprisingly, it is easy and fun to make. Though it will need the help of some tools, nothing can beat the satisfaction of having a DIY cutting board. Plus, you can get assured by its quality and style.
Learn how to make a cutting board using this complete DIY guide.
What Do You Need?
Since we will make a simple yet beautiful cutting board, we will pick the most suitable wood options. Not only will it add to the cutting board aesthetic, but it is durable and safe. To start, pile these different items you need to make a cutting board.
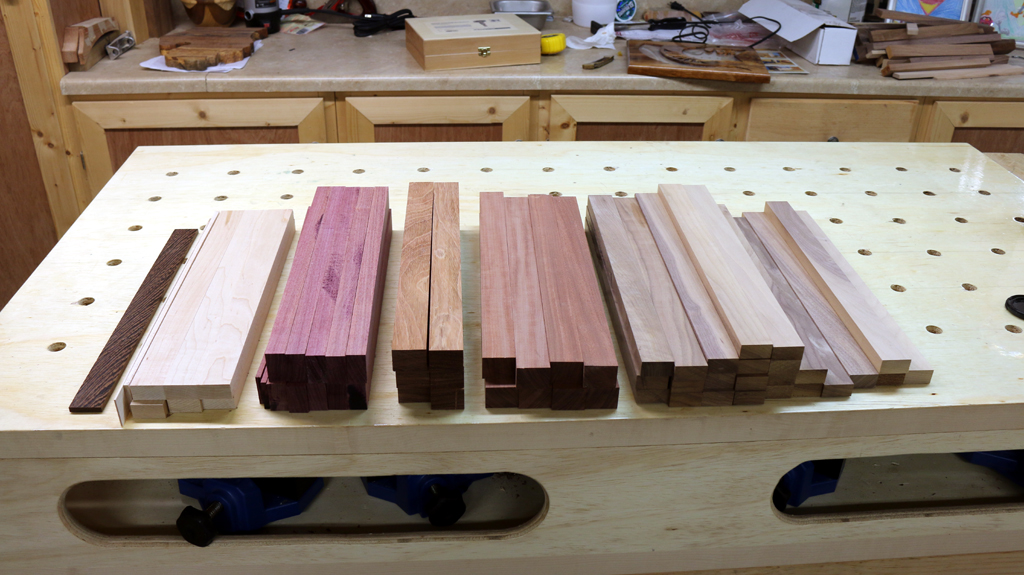
Wood
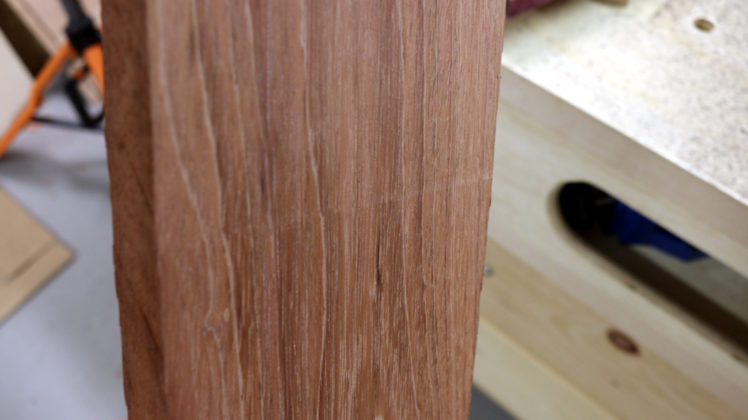
Choose the kind of wood with the closed grain. It is to make sure the wood wouldn’t absorb too much water. Also, check the non-toxic wood. It is crucial to make sure the cutting board is safe to use. To be safe, choose strips of wood from maple or walnut. Ask for help from the store if you don’t have these options.
Purchase these woods with the same thickness and length. However, plan first how many cutting boards and how big you want them to know the sizes of wood you need to purchase.
Combination Square Tool
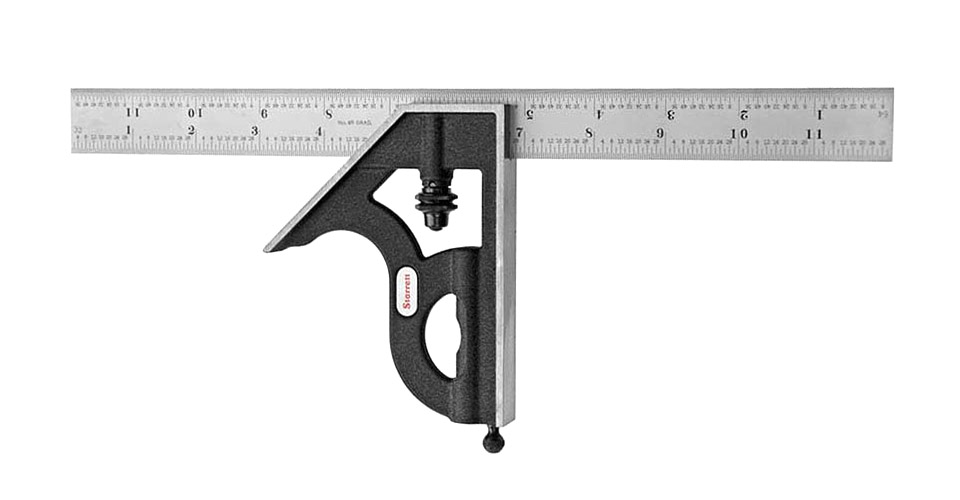
To measure your woods correctly, you need a combination square. It makes sure you get the edges measurements right, making the shape of your cutting board exact and symmetrical. A regular ruler may work out just fine.
Wood Glue
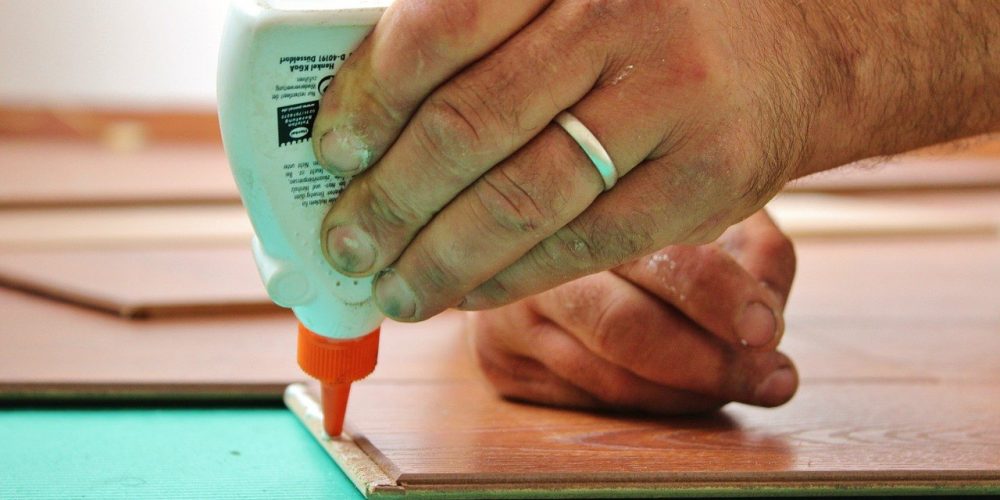
There is a lot of powerful wood glue out there in the market. They are effective in putting all your strips of wood together. You can choose the ones you prefer. However, choosing may seem challenging with all the brands out there. Thus, choose the wood glue that is waterproof and works well with the type of wood you pick for your cutting board.
Jig or Band Saw

When cutting your wood into your desired size, you will need a jigsaw or a bandsaw. If you have this at home already, then it is easier to get the job done. However, if you don’t know how they work, you will need to ask your local carpenter to cut the woods for you.
Parallel Bar Clamps
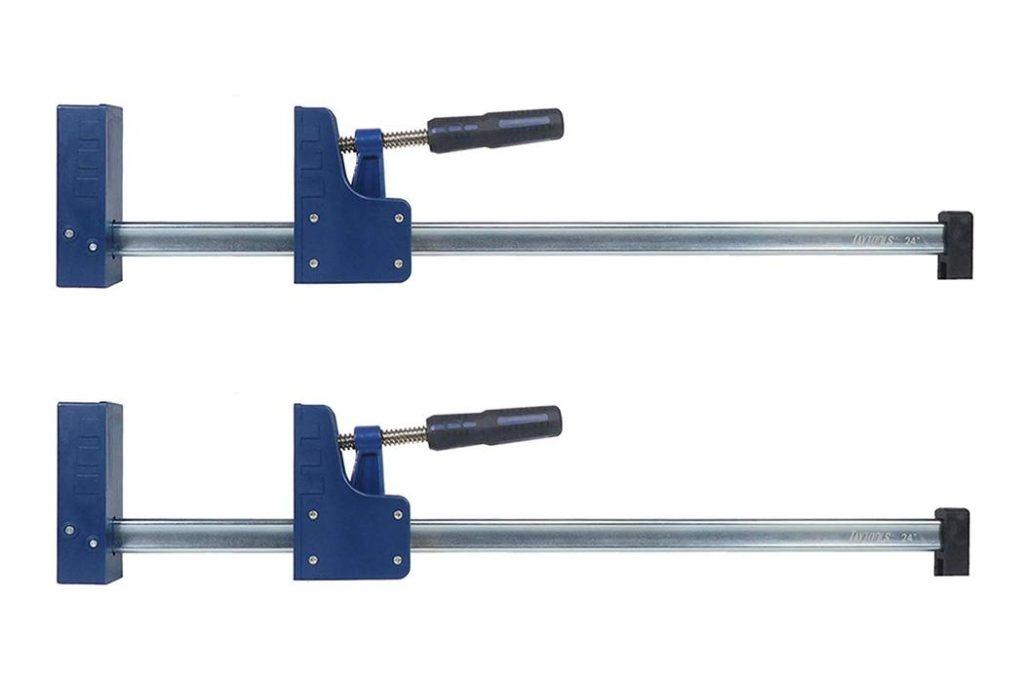
To clamp the glued wood together and keep them in place, you may need the parallel bar clamps. It can be an add-on and not that necessary. But if you have these at home, you can use this to help get the glued wood in place and intact.
Orbital or Belt Sander
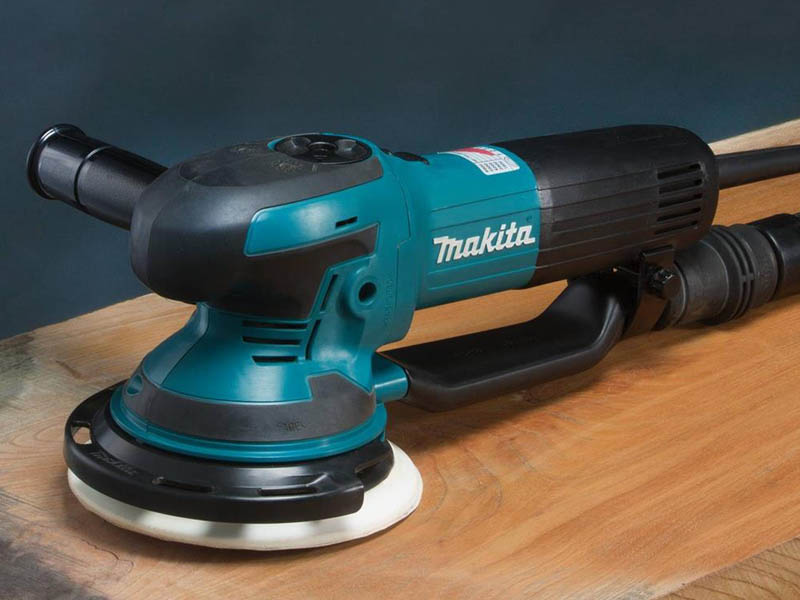
In the end, when you have every wood glued and in place, you will need an orbital or a belt sander to keep the surface and the edges smooth and free of any hard lines and split woods. The sander will help make sure you have a flat and ready-to-use cutting board.
How to Make a Cutting Board
Before learning how to make a cutting board, it is essential to get knowledgeable about woodworking. Since you will be handling different types of machines and tools, you need to know how to use them properly and safely. Ask help if you aren’t sure how to operate the tools.
1. Get all your materials ready
Visit your trusted lumber store and get your tools ready before you attempt to make your cutting board. Once you have everything set and ready, you can start measuring and cutting. Having all the items ready will make your DIY project quick and efficient.
2. Plan and Decide on your Measurements
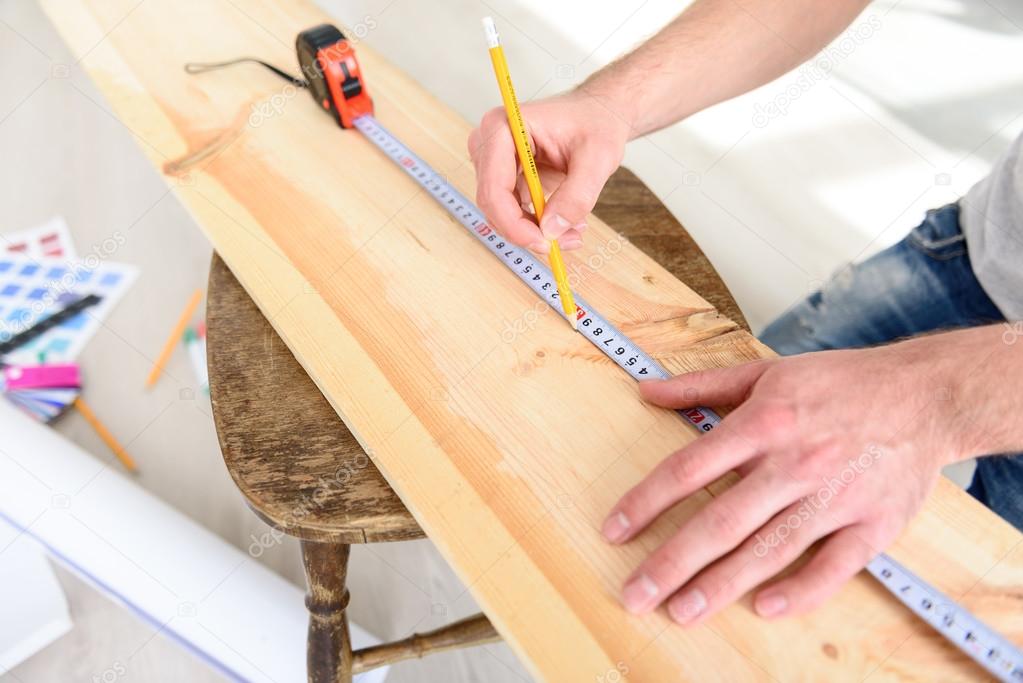
Now, it’s time to decide on your cutting board measurement. Think of the uses you want for your cutting board. Where do you want to store it? Will it fit in that storage space? Choose the size that works well with you. Either you can have it thicker or longer than the ones you saw in the store.
Take your combination square to measure and mark the width and length of your desired cutting board.
3. Be careful when cutting your wood
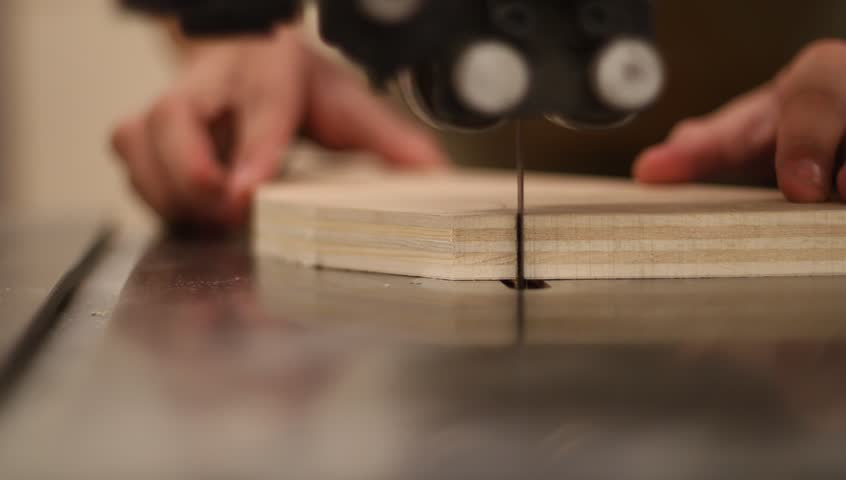
Once you have set the measurements, it is time to cut the woods into your desired lengths and width. You will need your jig saw and band saw to get everything done well. Wear your safety equipment such as glasses and gloves. Be aware and careful of the saw and where you put your fingers.
Don’t be too concerned if the lengths aren’t as equal as you want them to be. You will polish and sand everything later, so some thickness and lengths will lessen once you get to the last part.
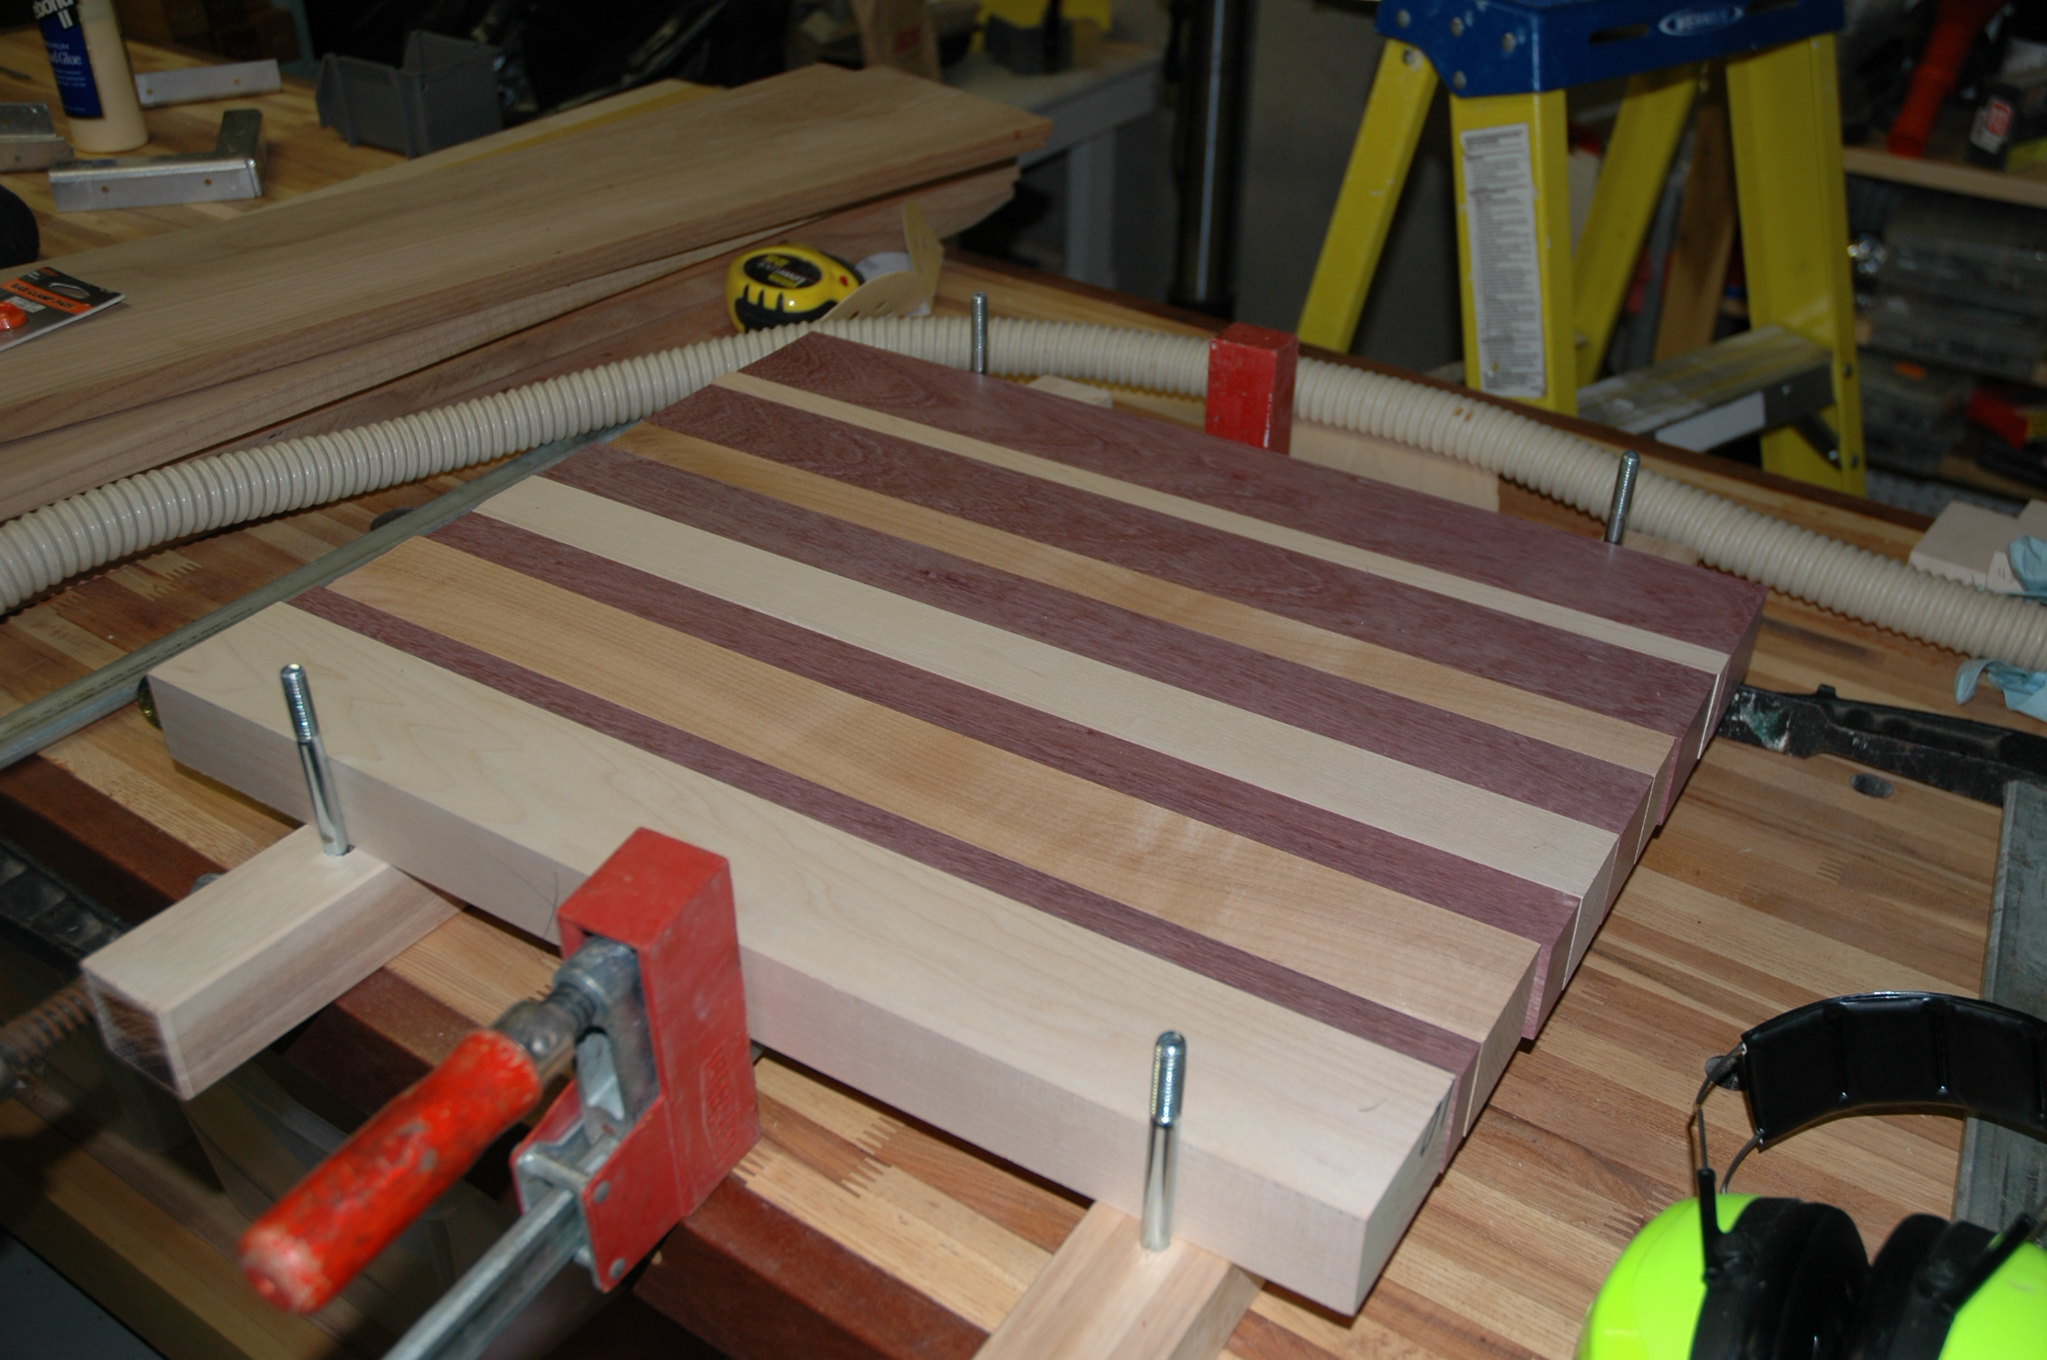
4. Time for the wood glue and clamp
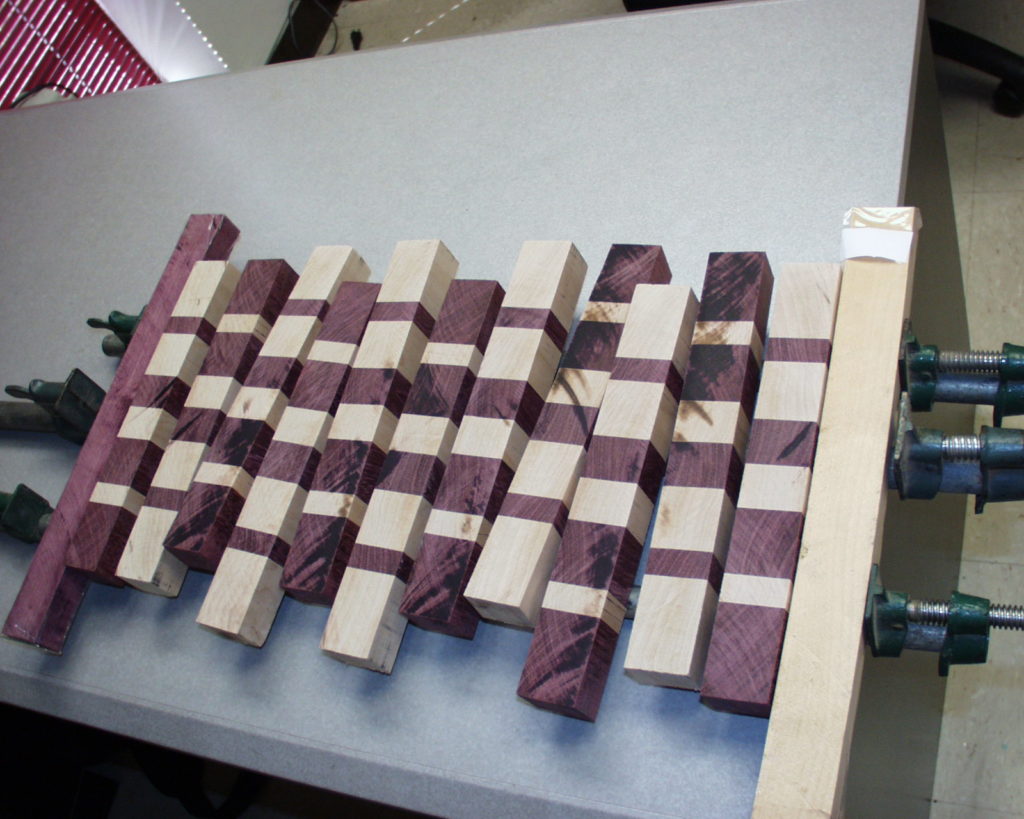
Once you get the strips of wood into your desired length and width, you can now continue to glue them together. The parallel bar clamps will help you get all wood strips in place while the glue dries and attach them well.
Still, before you get excited to glue all your woods, decide first the kind of pattern you want for your cutting board. Get inspiration for the internet. Some cutting boards have distinct designs according to their wood color. You can do that as well.
Once you know the pattern you want, glue all the wood together using your waterproof wood glue. Apply a generous amount on each side, but don’t put too much, or you’ll have glue dripping on the sides as well. You can put some cardboard or newspaper on the floor to catch any glue excess that may drop.
Don’t worry too much if the wood is not symmetrically. Remember, you get to do the finishing touches later. Then, clamp all the glued wood in place using your parallel bar clamp. Leave the glue to dry overnight.
5. Cut the Cutting Board in Shape
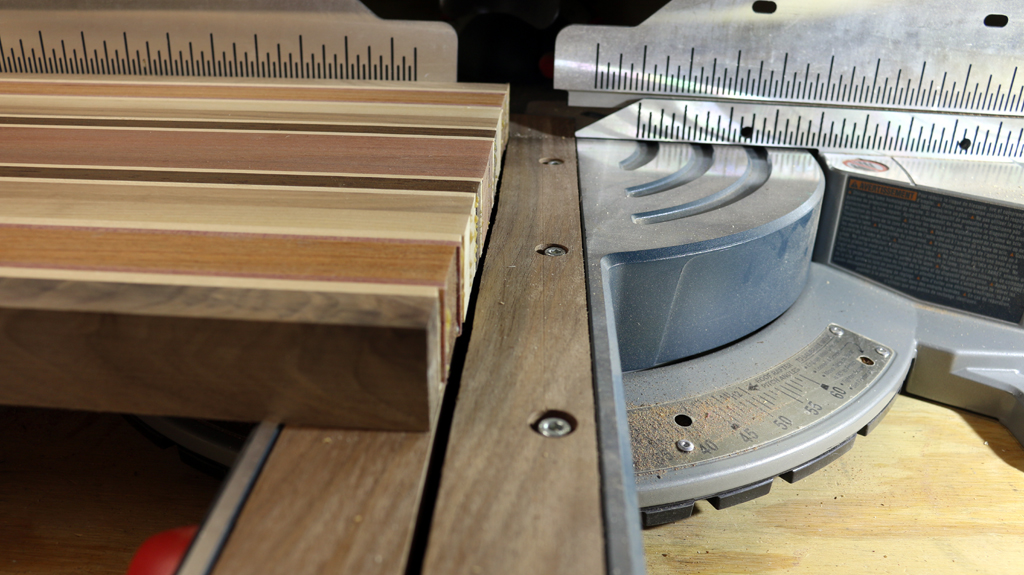
After the glue dried up, you can now cut your cutting board in shape. You can cut these in perfect squares with your desired length. If you happen to have long strips of wood, you can make two or three blocks of cutting boards.
If you want to have curved corners instead of the usual angle, you can cut them to create an additional touch to your cutting boards.
6. Use the sander for a Great Finish
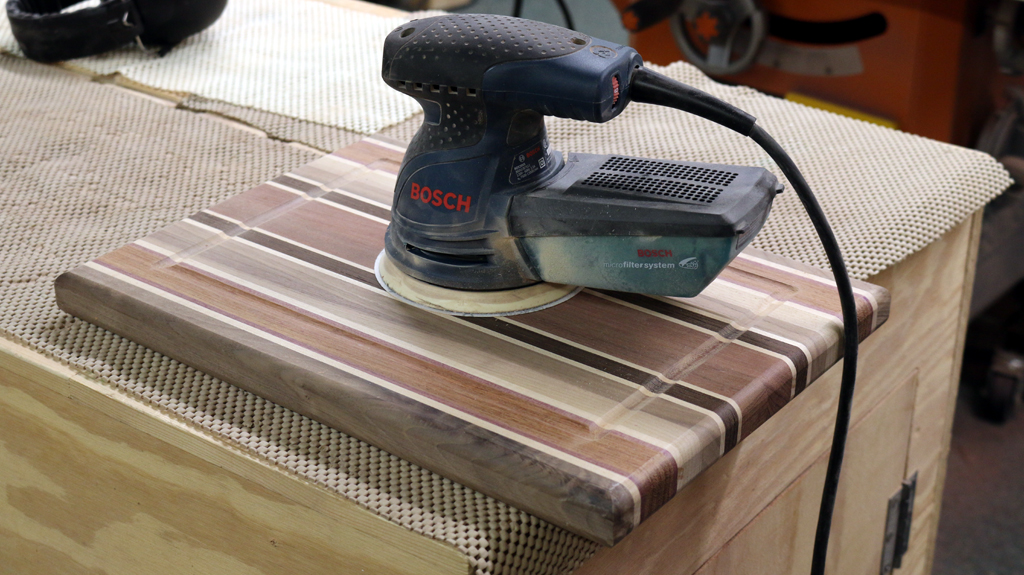
Now that you have your cutting boards in shape, it’s time to sand the edges and surfaces smooth for easy cutting. Smoothen all corners and leveled the surfaces well. Sand the cut marks you see.
Then, clean it after using a paper towel or a clean cloth. You can apply some wood oil for an excellent finish. Make sure the oil is food-free and safe for cutting boards. And your cutting board is ready.
Conclusion
It is easy learning how to make a cutting board. The most strenuous part is getting all the tools you need to make your cutting board. However, if you have done a lot of woodworking in the past few years, making your cutting board is effortless for you.
So, enjoy having your DIY cutting board. This fun project is a must-try for everyone who wants their personalized cutting board.
Leave a Reply