Your child may have finished reading Harry Potter and is asking for a wand. Or, you are simply interested enough in magic, fantasy, and spells that it makes you want to have your collection of magical wands. Then, why not make your own? It can be fun.
Designing your wand is an excellent creative outlet. Learning how to make a wand is easier than you think. There are different realistic wand designs you can recreate. With a bit of imagination and a lot of magic, you will get your wand ready before you know it. Thus, to start making it, you have to determine the kind of wand you want first.
What Do You Need?
Lucky you if you chance to find a suitable wig while hiking out in the magical forest. But if you haven’t got any distinctive twig or wood in mind, here are some inspirations you can choose from for your wood.
- Wood Dowel or Twig
A simple twig from any tree works well. If you want a more suitable wood, choose from any of the following:
Maple wood for your traveler self who enjoys spontaneous adventure into the unknown magical woods. Cedar for a powerful and independent person like you who has an intense understanding of things and fierce loyalty. Beechwood for someone who understands profoundly and is full of wise wisdom drawn from a life full of magical experience. Sycamore for you who is burning in eagerness to travel and discover more of the enchanting forest.
You can choose any wood from its magical meaning or determine your preference for your mystic wand.
- Clay
When making intricate designs on your wand without carving the wood, you can use clay instead. It is a great alternative to make a suitable handle for your wood wand. It’s safer and easy to work with, especially when you want to paint and add intricate details on your wood wand.
- Hot Glue Gun
Another way to make beautiful designs on your wand is to use a hot glue gun. The spinning detail circling on your magic wand is possible with the hot glue gun. It is a particular way to add a magical feature to your magic wand.
- Paint
Choose any color you want for your wand. It doesn’t have to be black or brown. Get creative with the color you want. Add a bit of color to your details and designs. It will help the wand look more magical and beautiful.
- Sandpaper
the sandpaper will make sure every surfaces and edge are soft and clean. Rough edges will take away the magic and the effectiveness of the glue, so sanding the wood is essential.
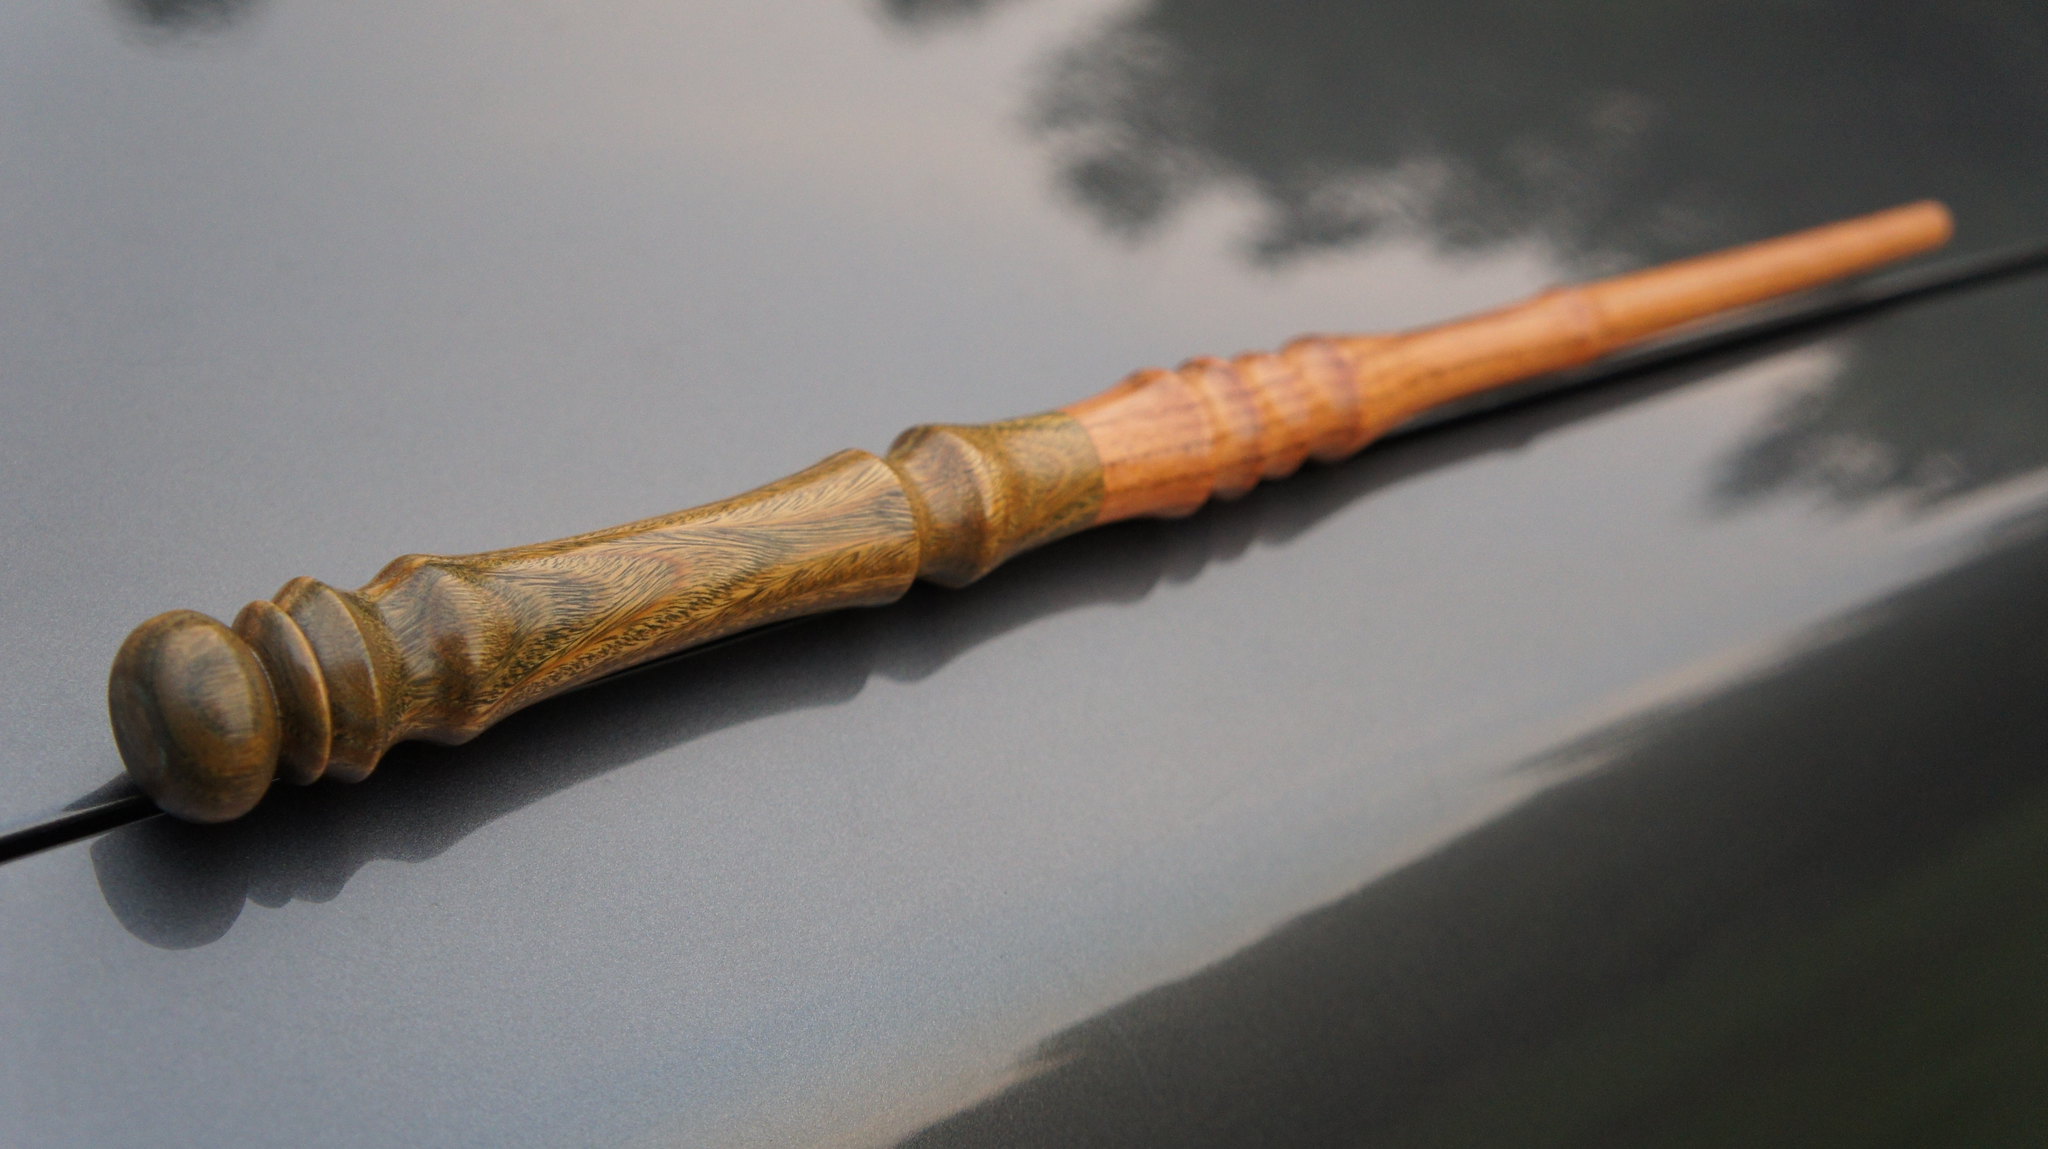
How to Make a Wand
It is time for the magic to begin. You can now start working on making your wand. Remember that the real magic lies in your creativity in creating designs and details you want for your magic wand. Here’s how to make a wand out of your wood dowel or twig.
1. Prepare your wand

To prepare your wand, sand the twig until you get a smooth surface. A smooth surface makes it easier to add details, like paint and clay. It may take more time to sand and smoothen your twig. Yet, if you are using wood or a dowel, then it tends to get easier.
2. Sand the Point End

After sanding the entire length of the twig or wood dowel, focus now on the tip of the wand. Almost all magic wands have pointy tips. Sand the edges to make it round and pointed on one end of your wood wand. The other end will be the base of your magic wand. Sand it until you get satisfied with how sharp it looks.
3. Coating the first paint

Put your first coat of paint into your wand. It is all right if the paint isn’t vibrant or too pale. We can repaint later. What matters is getting your magic wand the color first. Paint it first to see if the surface of the wood wand becomes rough when coated with paint. If so, you have to sand it all over again.
Once the paint gets dry, recheck the wand if you find any bumpy surfaces. Sand them once more until the surface is even and smooth.
4. Dry your Wand

To get the moisture out of your wand, you need to dry them well. You can let it dry out in the sun. Lay them out in the open where the sunlight hits them. However, if you don’t want to wait, you can bake your wand in the oven for five minutes under 300 degrees.
5. Use and Mold your Clay

While your stick wand is getting ready, it is time to prepare the clay. The clay will make the grip more interesting. Thus, you can design any style you want. You can research on the internet for some information. There are different simple designs and complicated ones you can try.
First, prepare the clay by rolling and softening using our hands. Then, carve and shape it into any design you want. Once done, attach the clay grip to the wand stick or twig. Make sure it gets carefully and securely attached so it won’t easily come off. Then, bake the wand with the clay for fifteen minutes at 275 degrees.
6. Paint the Wand

Now, paint the wand with the chosen color. Paint it a beautiful color base. You can add and paint the tiny details you want as well. You can do anything you want. Let your creativity guides you in your task.
7. Use Hot Glue

Then, you can use the hot glue for an added detail. Put a swirl on the tip of your wand until the center. It will create a nice spinning illusion. Plus, you can paint the glue as well. It will allow the wood wand to be more stylish. Be generous with your hot glue, and if you aren’t satisfied, you can always take it off and try again.
Once done adding the tiny details using hot glue, add any necessary paint to highlight any small touches. You can put metallic highlights on the wand to create that magical glow. Finally, let your magic wand dry. Now, you have your enchanting wand on hand.
Conclusion
Learning how to make a wand is fun. Plus, it is effortless and exciting too. One magic wand wouldn’t be enough. You will love to make more. Then, you can experiment and create more designs. Take inspirations online or let your creativity rule. There is no definite rule to wand designs, so you can let your imagination run free. This DIY tutorial on how to make a wand is a great way to spend your free time.

Leave a Reply