Modge Podge serves as a sealer and glue. It is preferred by many when applying paper to wood. The process on how to modge podge paper to wood is quite simple, though there are a few extra steps that can be taken to ensure that the output appears in the most professional way possible.
One thing that you need to know about this process is that it could take time. There is a need to wait for about 15 to 20 minutes for every layer to complete drying. Others who attempt to rush through the process often see a sticky or tack finish, which is not a good output at all.
What You Need
- Suitable object
- Sandpaper
- Tack cloth
- Acrylic paint/spray paint
- Scrapbooking paper
- Acrylic sealer
- Scissors/Craft Blade
- Mod Podge
- Squeegee
Step-by-Step Instructions
Step 1 – Prepare the Wood

- Select a suitable object to work on. Wood objects that are great for this type of project include wooden letters, frames, and boxes. It may not be best to work with beveled or round shapes, including candlesticks and balls, as this may easily cause the paper to crinkle.
- Sand away patches that are rough. If you are purchasing from an arts and crafts store, this may not be a problem because they usually come pre-sanded. But if you need to, it may be best to sand rough patches first using a medium to fine-grit of sandpaper. Sand along the grain instead of going against it for a smoother output.
- Wipe the wood to clear it from sanding dust. For this process, a tack cloth is seen to be very effective, though a damp cloth may also work well.
- If you wish to, you can start first by painting the wood piece with a solid color. However, there is no need to do this if you plan to cover the entire surface with paper. Usually, spray or acrylic paint is best for this. It may also be best to select a color that complements the paper design. Allow the paint to dry before continuing with the next step.
Step 2 – Prepare the Paper

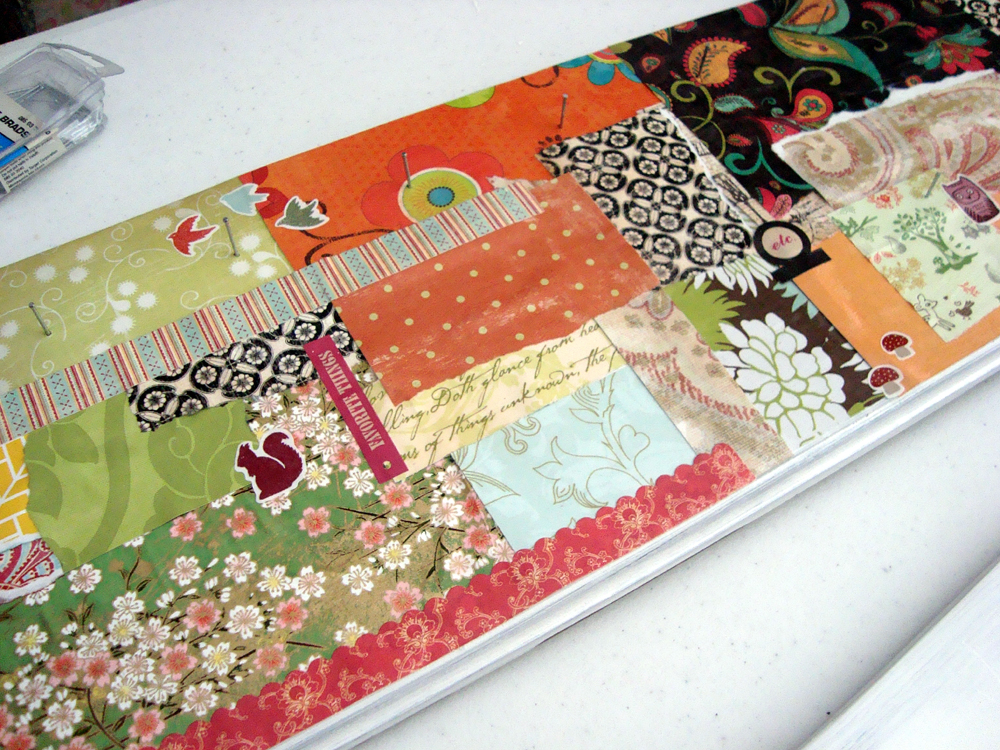
- Choose your paper. Among the best options that you can use is scrapbooking paper. If the wooden piece is bigger than the paper, you may use wrapping paper. Others create their designs online and print them through an inkjet printer.
- If needed, you can first seal the paper using an acrylic sealer. This only applies when using very thin scrapbooking paper. Spray the paper front first. Allow it to dry, and spray the back.
- Trace the wood surface to the back of your paper. To achieve this, flip the paper over, placing the wood on top, and tracing around it using a pencil.
- Cut the paper traces. It is often a good thing to cut the paper outside the lines that you have drawn. This will remove the risk of cutting too small. While a pair of scissors will do, cutting using a craft blade will often deliver better results.
Step 3 – Modge Podge Paper to Wood

- If you are working on a smaller piece of wood, there might be no need for you to pour modge podge into a container. However, for bigger pieces, you may need to do so, along with the use of a bigger brush. This will allow you to have easier access to the modge podge.
- Apply a thin coat first to the wood. This can be done with a wide, flat paintbrush, foam roller, or foam brush. Make sure that the entire surface is covered from edge to edge.
- Put the paper on the surface, smoothening it down. Lightly set the paper at first. If needed, you may nudge it in place, gently patting it down. You can do so with the use of squeegees, silicone/rubber brayer/roller.
- Wait for the paper to dry first before moving on with the second coat. This may take around 15 to 20 minutes, before proceeding to the second coat. It is vital to wait, or else the first layer may not cure well.
- Embellish with cut-outs if you want to. If your paper had a subtle, pale, or simple background, you can turn it into something interesting by adding cut shapes. With this, you can play with your creativity in coming up with interesting designs.
- Apply two coats more, and allow it to dry completely. It works best to apply thin layers, allowing every layer to dry before adding another coat on top. Work on the other sides of the surface if needed.
Conclusion
Learning how to modge podge paper to wood is an amazing skill to learn. Modge podge can be used in gluing fabric or paper, to a frame, or box. It can also be used in adding glitter to a particular item while offering several other possibilities. If you are a beginner, there is no need to worry about the learning curve, as it is very easy, as seen in the instructions above.
Have you got experience in using modge podge? Why not share them with us by leaving your thoughts in the comment section below?

Leave a Reply