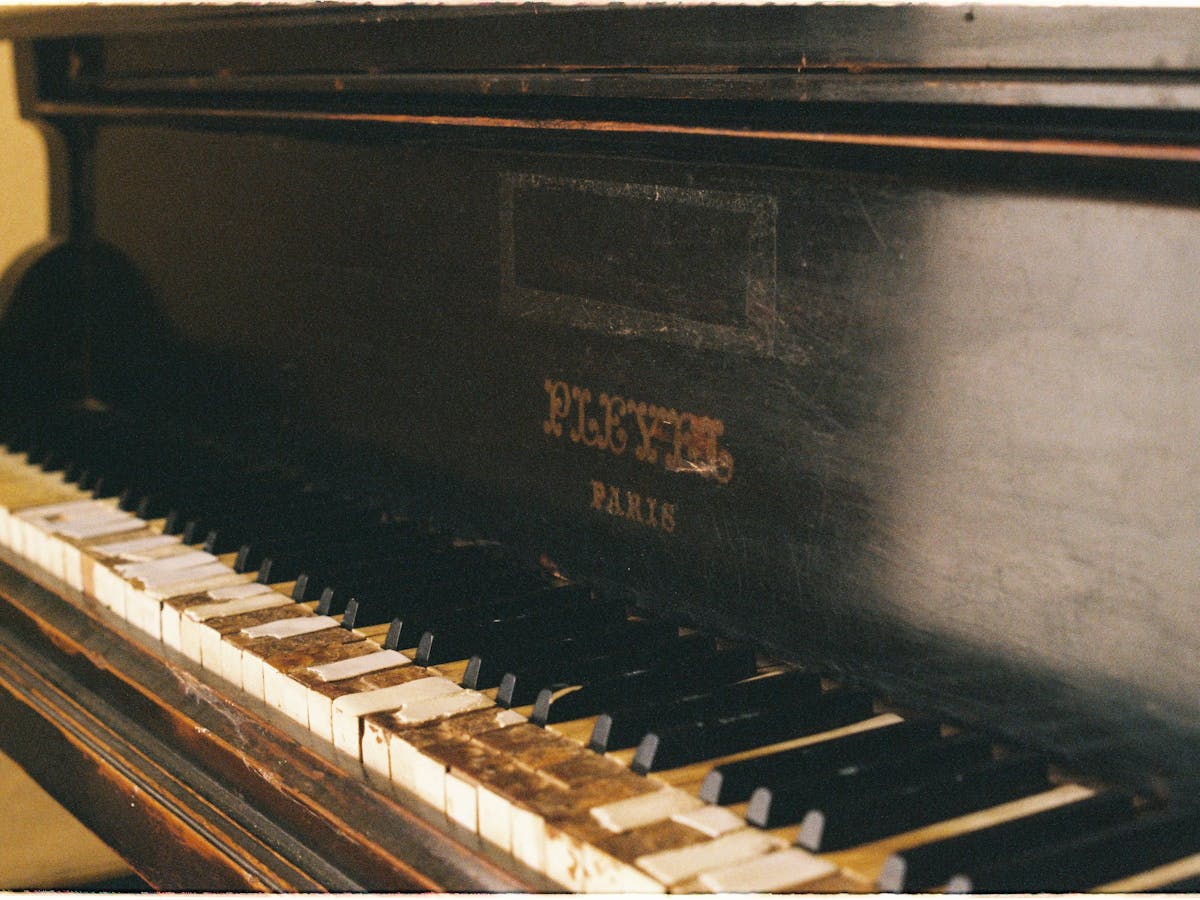
Restoring a piano involves a delicate process that goes beyond just tuning the keys.
Did you know that restoring a piano can greatly enhance its value and longevity?
As you carefully dismantle the instrument and start the refinishing process, each step requires precision and patience.
The intricate balance of cleaning, repairing, and refinishing the piano’s components is like solving a musical puzzle.
Learn how to restore a piano to its former glory with our comprehensive guide.
Whether you’re a seasoned professional or a beginner, our step-by-step instructions and expert tips will help you preserve its timeless beauty for generations to come.
Key Takeaways
- Consult a professional tuner to assess the piano’s condition accurately.
- Prioritize pianos from 1890-1925 for restoration due to quality.
- Use appropriate finishes and techniques for refinishing and polishing.
- Seek a final inspection by a piano technician for optimal performance.
Assessing the Piano’s Condition
When evaluating the condition of a piano for restoration, consulting a professional tuner is essential.
A professional can evaluate the piano’s structural integrity and musical potential with precision. One key aspect to contemplate is the wood grain of the piano. Inspecting the bare wood can reveal valuable clues about the instrument’s history and condition.
Pianos that are well preserved and showcase beautiful wood grain are often worth restoring, especially if they’re considered valuable antiques.
Furthermore, locating the piano’s serial number is important. This number can provide important information about the piano’s age and manufacturer, helping to determine its potential value.
Pianos manufactured during the competitive market of 1890-1925 are often of higher quality and more suitable for restoration.
Ornate designs on the piano can also add value and uniqueness to the instrument.
When evaluating the piano’s condition, pay close attention to the wood and its overall potential to be restored.
A professional tuner will be able to provide insights into whether the instrument is worth investing in for restoration purposes.
Cleaning and Preparing the Piano
Inspecting the piano thoroughly before proceeding to clean and prepare it is key to ensuring a successful restoration process.
Begin by cleaning the inside and outside of the piano using a soft brush or cloth to effectively eliminate dust and dirt. Use caution when vacuuming to prevent damage to the finish.
Prioritize cleaning the piano keys, soundboard, and other delicate areas to preserve their appearance and functionality.
Avoid using harsh chemicals that could harm the finish while preparing the piano for restoration.
Remember to properly label and store any disassembled parts during the cleaning process to facilitate reassembly later on.
Repairing Damaged Keys and Components
Repairing damaged keys and components requires meticulous attention to detail and a thorough understanding of the piano’s internal mechanisms.
When dealing with broken keys, it’s essential to either replace them entirely with new ones or repair the cracks carefully to guarantee proper functionality.
Additionally, resetting loose keys can be achieved by adjusting the key frame or replacing worn-out components to maintain the piano’s playability at its best.
Professional assistance for key repairs should be sought if needed, as this guarantees precision and expertise in handling the delicate components of the piano.
It’s important to take into account the age and condition of the keys before determining the best repair approach to enhance the piano’s performance significantly.
Key repair plays a critical role in the overall piano restoration process, as it helps preserve the instrument’s functionality and playability for years to come.
Remember that giving proper attention to repairing damaged keys and components is key to a successful piano restoration project.
Refinishing and Polishing the Piano
To achieve a professional and lasting result when refinishing and polishing the piano, meticulously choose the appropriate finish, such as black lacquer or wood stain, to enhance its appearance.
Before applying a new finish, it’s important to sand and strip the surfaces of the piano thoroughly to remove any existing finish. This process guarantees that the new finish adheres properly and looks flawless.
To protect delicate parts like the keys and soundboard, use masking tape and paper during refinishing to prevent any damage from paint or finish.
Taking your time during the refinishing process is key to achieving a professional result. Make sure to apply the finish evenly and smoothly for a polished look.
Once the refinishing is complete, consider tuning the piano to maintain its best sound quality and appearance.
Tuning the piano after refinishing can improve the overall performance and make sure that the instrument sounds as good as it looks.
Tuning and Final Touches
After completing the tuning process, meticulous attention to final touches is important to make sure the piano’s restoration is thorough and impeccable.
Once the piano tuner has fine-tuned the strings, it’s time to focus on the details. Start by inspecting the ivory keys for any dirt or grime buildup.
Use a soft cloth lightly dampened with a gentle piano key cleaner to wipe the keys clean, making certain they look pristine.
Next, polish the cabinet of the piano with a specialized polish to bring out its natural shine and protect the wood.
Check all components, such as pedals, hinges, and keys, to make certain they’re in proper working order.
If any parts show signs of wear or damage, consider replacing them to complete the restoration.
For a professional finish, consider hiring a professional piano technician to give your piano a final once-over.
Their expertise can help catch any minor issues and guarantee your restored piano is in top condition for playing.


Leave a Reply