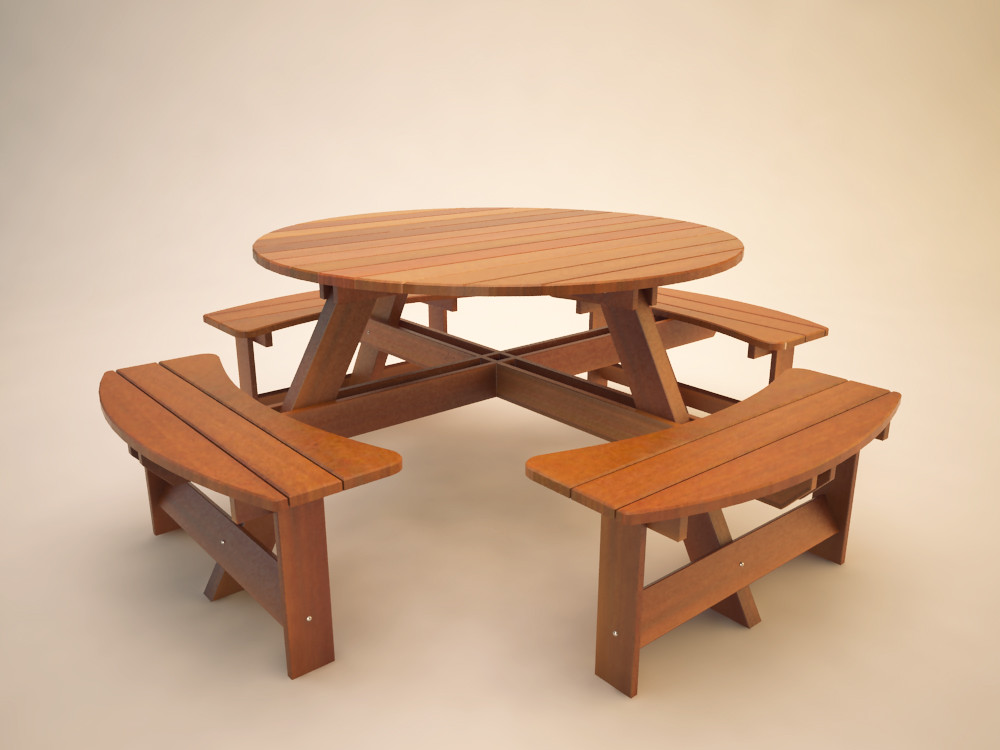
When it comes to enhancing the appearance and durability of your outdoor furniture, you may want to contemplate giving your picnic table a fresh new look.
The process of staining a picnic table can be both rewarding and straightforward, but there are a few key steps you need to follow to guarantee a successful outcome.
From selecting the right stain to the final touches of sealing, each stage plays an essential role in achieving a professional and long-lasting finish.
Below are tips and guide to make your picnic area look beautiful with a stained table.
Choosing the Right Stain
When selecting a stain for your picnic table, consider the level of protection and aesthetic appeal you desire.
The stain color plays an important role in determining the overall look of your picnic table.
Opt for a stain color that complements the surroundings or matches other outdoor furniture.
Darker stains provide a more classic and elegant look, while lighter stains give a more natural and rustic feel.
Equally important is the application technique. To achieve a professional finish, make sure the picnic table is clean and dry before applying the stain.
Use a brush, roller, or sprayer to evenly coat the surface with the stain. Pay attention to the wood grain and apply the stain in the direction of the grain for a seamless look.
Allow each coat to dry completely before applying additional coats to deepen the color and enhance protection.
Remember to follow the manufacturer’s instructions for the best results.
Preparing the Picnic Table
To prepare the picnic table for staining, thoroughly sand the surface to remove any rough spots or old finish.
Start by using a coarse-grit sandpaper to smooth out any imperfections on the wood.
Work in the direction of the wood grain to avoid causing any scratches. Once the entire surface has been sanded with the coarse-grit paper, switch to a finer-grit sandpaper to create a smoother finish.
Be sure to pay extra attention to the corners and edges of the table, as these areas can often be missed during sanding.
After sanding the surface, it’s essential to clean the wood to remove any dust, dirt, or debris.
Use a clean cloth or a tack cloth to wipe down the entire table, making sure that no particles are left behind. This step is important to guarantee that the stain adheres properly to the wood and creates a smooth, even finish.
Applying the Stain
For best results, make sure that the picnic table is clean and dry before applying the stain. Begin by stirring the stain thoroughly to guarantee an even consistency.
Use a high-quality brush or a clean rag to apply the stain in the direction of the wood grain. Work in small sections to avoid drying lines and guarantee consistent coverage.
When applying the stain, focus on achieving a uniform color by blending the different shades effectively. This can be done by overlapping each stroke slightly to blend the colors seamlessly.
Make sure to maintain a wet edge to prevent any visible lines or patches.
To achieve an even application, apply the stain generously but avoid overloading the surface, as excess stain can lead to drips and uneven drying.
Keep a damp cloth handy to wipe off any excess stain promptly. Continue applying the stain until the entire picnic table is covered, ensuring that no spots are missed.
Drying and Sealing
Guarantee the stained picnic table is left undisturbed in a well-ventilated area until completely dry before proceeding with sealing for best results.
Proper ventilation is vital during this stage to make sure the stain sets properly and any fumes dissipate safely.
The drying time can vary depending on the type of stain used, humidity levels, and air circulation.
It’s recommended to allow at least 24 hours for the stain to dry thoroughly. To expedite the drying process, you can use fans or open windows to improve airflow.
Once the stain is completely dry, you can move on to sealing the picnic table. Before applying the sealer, make sure the surface is clean and free of any dust or debris.
Use a high-quality sealant suitable for outdoor use to protect the wood from the elements.
Apply the sealer evenly in the direction of the wood grain using a brush or roller.
Allow the sealer to dry according to the manufacturer’s instructions before using the picnic table.
Properly drying and sealing the stained picnic table will help extend its lifespan and maintain its appearance over time.
Maintaining Your Stained Picnic Table
After properly drying and sealing your stained picnic table, maintaining it regularly will guarantee its longevity and appearance remain intact.
To keep your picnic table looking its best, regular cleaning is essential. Use a mild soap and water to remove dirt, debris, and any spills that may occur.
Avoid harsh chemicals that can damage the stain and always dry the table thoroughly after cleaning to prevent water damage.
Weather protection is another key aspect of maintaining your stained picnic table.
If your table is exposed to the elements, consider using a furniture cover when not in use to shield it from rain, snow, and excessive sunlight.
Additionally, applying a fresh coat of sealant annually can help protect the wood from fading and warping due to weather exposure.


Leave a Reply