If you’ve ever wondered how to elevate the appearance of pine to mimic the rich tones of oak, the process can be both rewarding and transformative.
By carefully selecting the right stains and employing various techniques, you can achieve striking results.
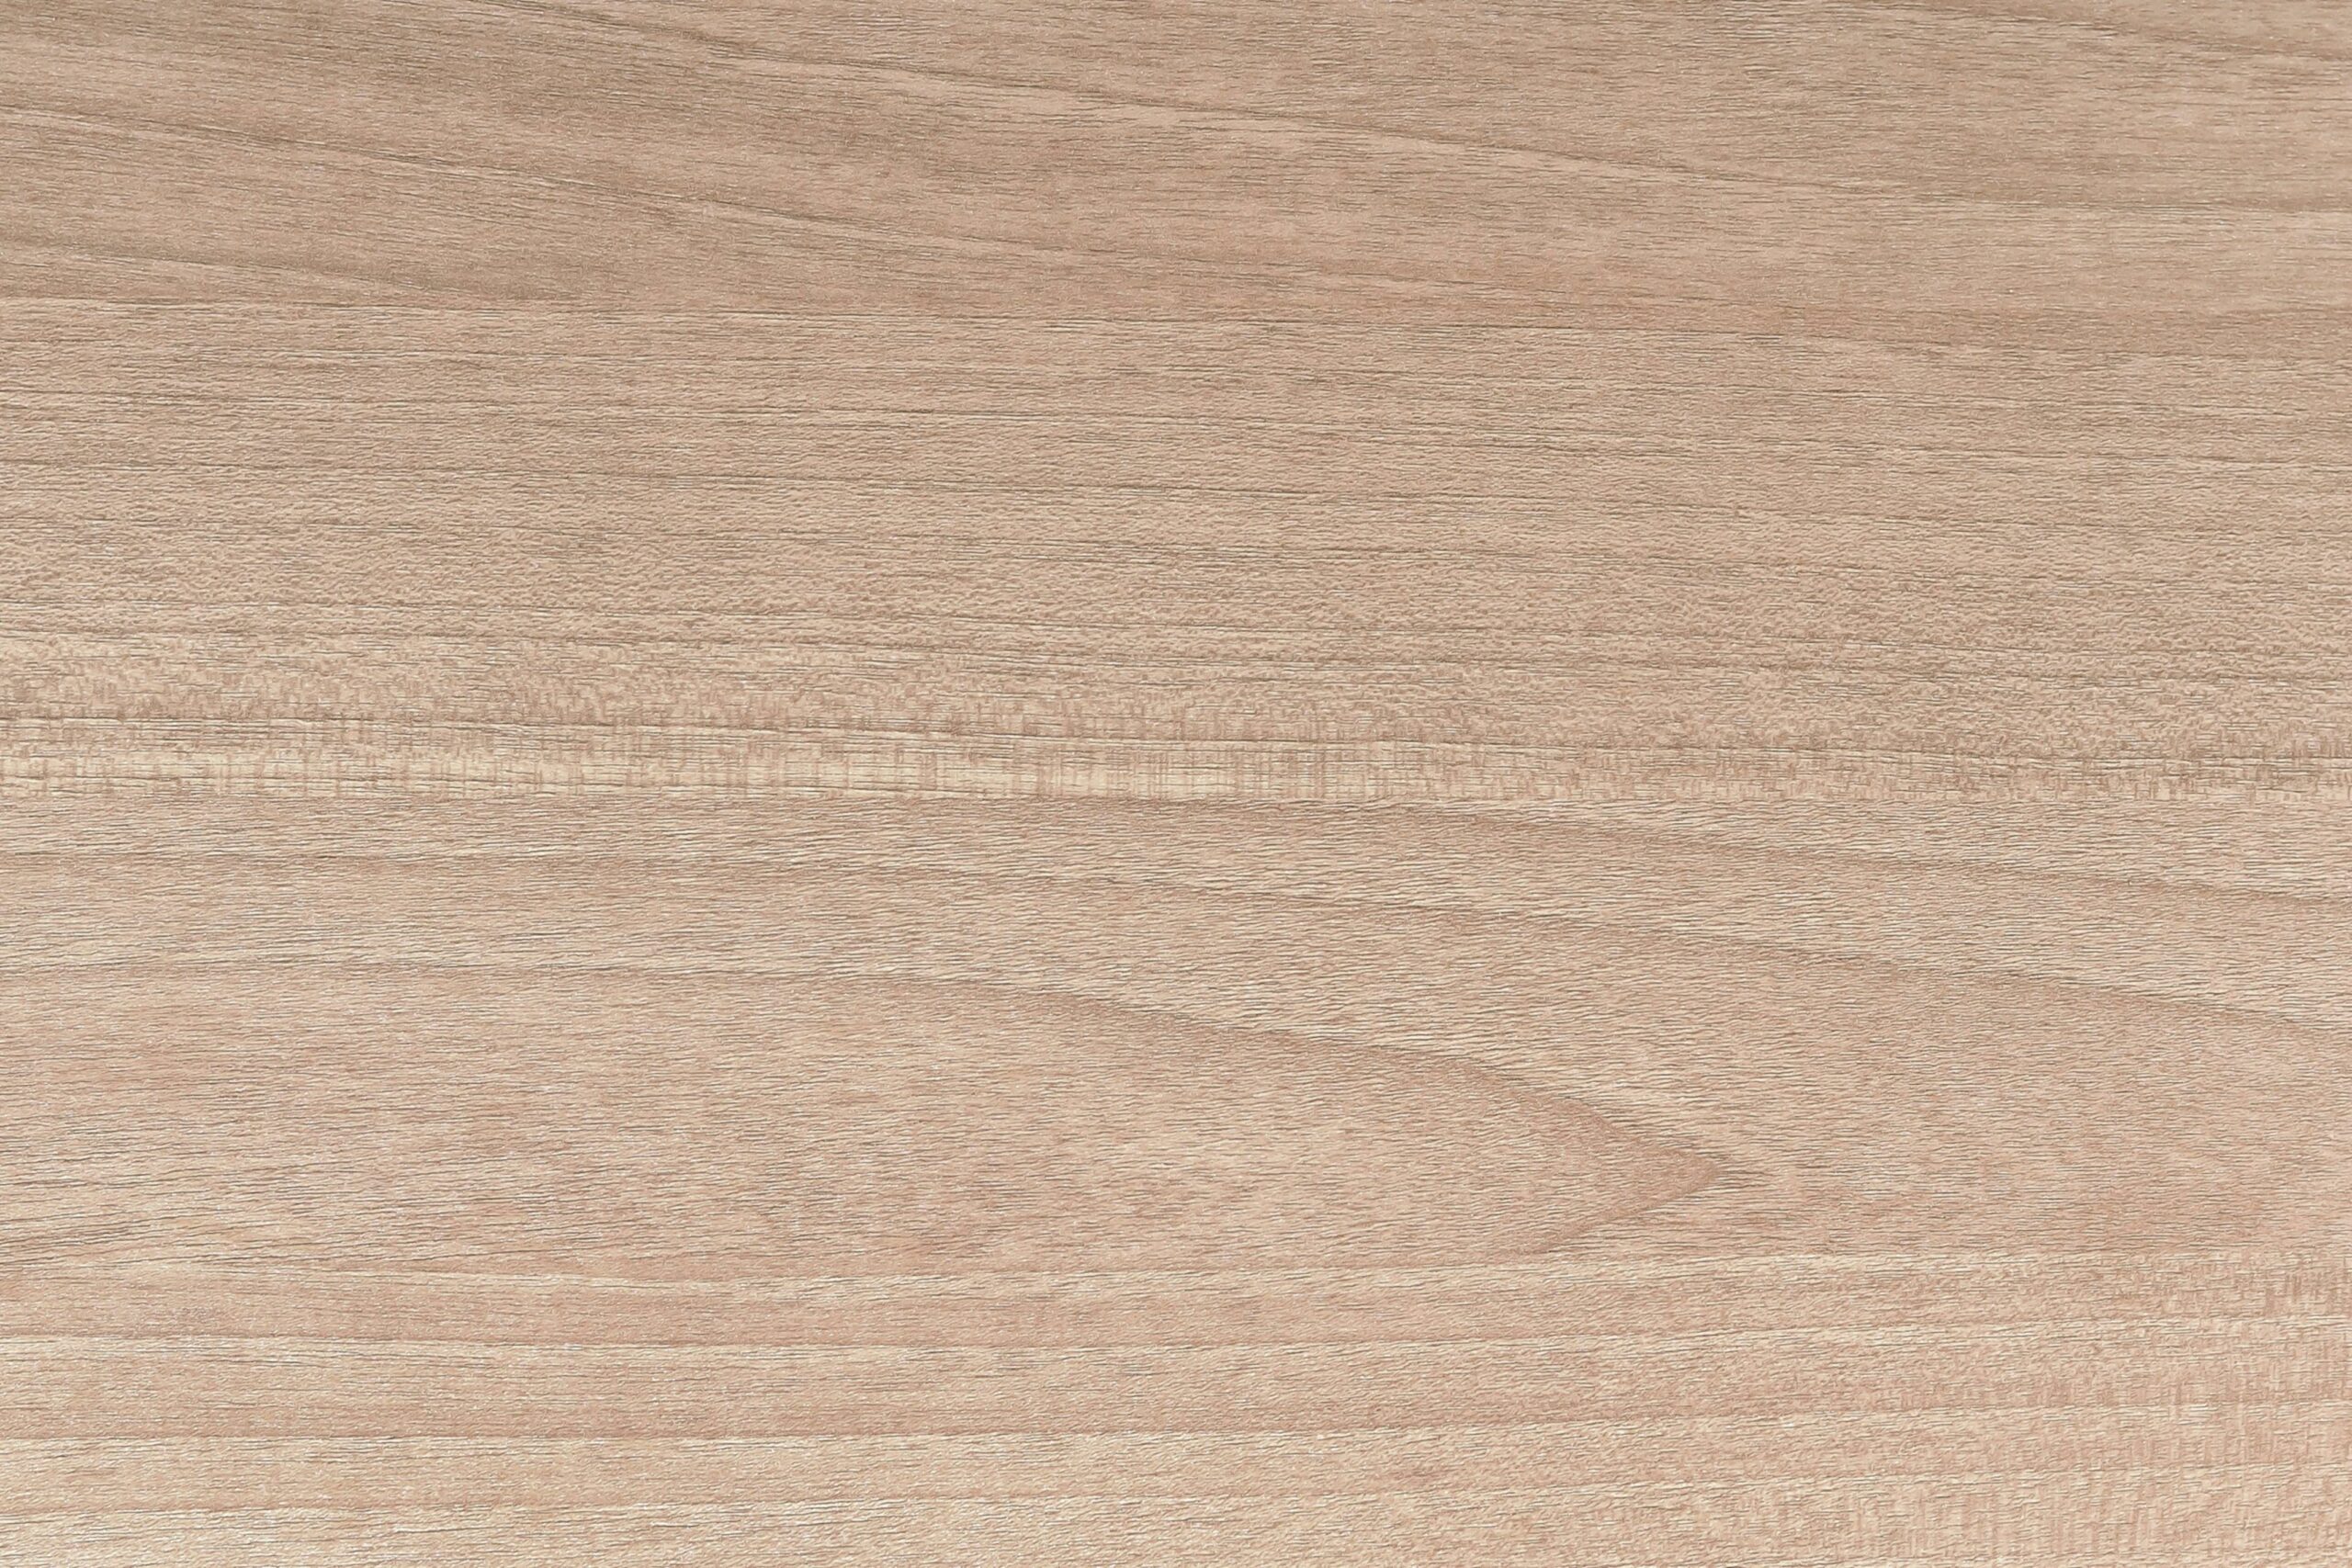
In this guide, we’ll delve into the process of how to stain pine to look like oak.
By following our expert guidance and step-by-step instructions, you’ll discover how to transform your pine wood projects into rich, warm tones reminiscent of oak.
Whether you’re refinishing furniture, crafting custom cabinetry, or engaging in a DIY woodworking endeavor, mastering the technique of staining pine to resemble oak will enhance the visual appeal of your pieces and bring a touch of elegance to your home décor.
Key Takeaways
- Use Rustic Beige and Special Walnut stains for an oak-like color.
- Apply Polycrylic Clear Gloss for protection and durability.
- Experiment with stain combos on pine samples for authenticity.
- Enhance wood grain with penetrating stains for an oak-like finish.
Sanding the Pine Surface
When sanding the pine surface in preparation for staining, make sure you use 220-grit sandpaper to achieve a smooth finish.
Begin by sanding the wood in small sections to guarantee evenness. It’s advisable to start with 80 grit sandpaper if the surface is rough before switching to 220-grit for a finer touch.
Employing an orbital sander can make the task more efficient and help create a uniform surface that is pivotal for the stain to be absorbed evenly.
To tackle this process effectively, divide the pine into manageable sections for sanding.
Work methodically, moving the sander in smooth, overlapping motions to prevent uneven spots.
Pay attention to corners and edges, ensuring they’re adequately sanded to avoid blotchy staining later on.
Once sanding is complete, use a damp cloth to wipe away any lingering dust particles, preparing the wood for the upcoming staining process.
Proper sanding sets the foundation for a flawless stain application and a professional-looking finish.
Applying Pre-Stain Conditioner
To guarantee your pine surface is sufficiently prepared for staining, the next step involves applying a pre-stain wood conditioner to facilitate even absorption and prevent blotchiness.
The pre-stain conditioner is important for ensuring that the pine wood absorbs the stain uniformly, ultimately leading to a professional finish that resembles oak.
Using a foam brush, apply the pre-stain conditioner generously, making sure to cover the entire surface of the pine.
Allow the conditioner to sit for approximately 15 minutes to penetrate the wood and seal the pores effectively. This waiting period is vital for the conditioner to do its job properly.
After the allotted time, gently wipe off any excess conditioner with a clean cloth to prepare the surface for staining.
By following this process diligently, you’ll create a smooth base that will help the pine absorb the stain evenly, resulting in a beautifully finished piece that mimics the appearance of oak.
Whitewashing the Wood
Prepare to transform the pine wood into a stunning oak-like finish by whitewashing it with a diluted white wood stain solution.
To start, dilute the white wood stain with water to create a whitewashing solution that will help achieve the desired effect.
Using a foam brush, apply the whitewash generously to the pine surface, ensuring even coverage. Let the whitewash sit for approximately 2-3 minutes to allow the wood to absorb the solution.
After this time, gently wipe off any excess whitewash. If needed, repeat the whitewashing process until you reach the oak-like appearance you’re aiming for.
Whitewashing not only helps in achieving the oak-like finish but also tones down any yellow hues present in the pine wood, resulting in a beautiful transformation.
Keep in mind that this method is effective in creating a rustic and elegant look for your pine wood project.
Using a Rustic Beige Stain
Transforming pine wood to mimic the rich appearance of oak can be achieved by expertly applying Rustic Beige stain.
This stain plays a vital role in enhancing the natural beauty of the wood, giving it a warm and inviting look reminiscent of oak.
When using Rustic Beige stain, it’s important to work in small sections and promptly wipe off any excess to control the color intensity.
To customize the finish further, consider incorporating a white wash mixture to add a unique touch to the wood, creating a more personalized oak-like appearance.
For added depth and richness, complement the Rustic Beige stain with a touch of Special Walnut stain.
This combination can help achieve a more authentic oak look by enhancing the grain pattern and overall color of the pine wood.
Remember to work methodically in small sections to guarantee an even application of both stains, resulting in a beautifully transformed piece of wood that closely resembles oak.
Applying a Special Walnut Stain
For achieving a rich and authentic oak-like appearance on pine wood, consider applying Special Walnut Stain to enhance the warm tones and grain pattern.
Special Walnut Stain is specifically designed to help pine wood mimic the natural look of oak, providing a warm and rich color that brings out the intricate grain patterns.
When applying this stain, use a light touch to control the intensity of the color and guarantee a more natural finish.
By incorporating Special Walnut Stain in a layered staining process with other shades like Weathered Oak, you can customize the hue to achieve a unique oak-like finish on your pine surfaces.
This layering technique not only adds depth to the color but also enhances the wood’s texture, creating a more authentic oak appearance.
Experimenting with different stain combinations and application methods can help you achieve the desired oak-like effect on pine wood while highlighting its natural beauty.
Finishing with Top Coat
Consider utilizing a high-quality top coat such as Polycrylic Clear Gloss to provide essential protection and durability to your stained pine surface.
When applying the top coat, make sure you use even strokes to achieve a uniform finish and complete coverage.
It’s crucial to let each coat dry fully before adding the next layer to achieve a professional outcome.
For the best protection and longevity of the stained pine, it’s recommended to apply a minimum of three coats of the top coat.
Not only does the top coat enhance the appearance of the stained pine, but it also aids in preserving the color and quality of the wood stain over time.
Testing the Stain
When testing the stain, start by comparing various colors to find the closest match to oak.
It’s important to evaluate how different application methods affect the final look.
It’s important to pay attention to detail and assess the results under different lighting conditions for a realistic oak finish.
Color Comparison Testing
How do you determine the closest matching stain color to oak when staining pine?
Begin by testing various stain combos on pine to compare their undertones, grain pattern, and color variations against oak samples.
Look for stains that closely mimic the natural hues and patterns of oak wood.
Consider layering different stains to achieve a more authentic oak look, enhancing the depth and complexity of the color.
After applying the stains, evaluate the dried color against oak for an accurate color comparison.
By carefully evaluating the stain’s undertones, grain patterns, and overall color resemblance to oak, you can achieve a finish that convincingly replicates the appearance of oak wood on pine.
Application Method Evaluation
To assess the suitability of the stain for achieving an oak-like finish on pine, start by testing a small, inconspicuous area of the surface to observe the color and absorption.
When applying the stain, consider using various techniques like brushing or wiping to effectively mimic oak grain patterns.
Watch closely as the stain dries on the pine, noting how it interacts with the wood to determine if additional coats or adjustments are necessary.
Compare the stained test area to an oak sample to gauge progress towards the desired oak-like appearance. Evaluate the finish under different lighting conditions to confirm that the staining process successfully resembles oak.
Choosing the Right Stain Type
For achieving an oak-like finish on pine, selecting a penetrating stain is essential to enhancing the wood’s natural grain patterns and depth.
While gel or wiping stains are options, they may not penetrate pine effectively, affecting the final appearance compared to penetrating stains.
Testing different stain types on pine samples can provide valuable insights into which stain will best achieve the desired oak-like finish.
Penetrating stains are recommended for pine as they soak into the wood, bringing out the natural grain patterns and mimicking oak’s rich tones more authentically.
Choosing the right stain type is critical in transforming pine to resemble oak, as it impacts factors such as absorption, depth, and overall finish.
By opting for a penetrating stain, you can guarantee that the pine wood absorbs the stain properly, resulting in a more realistic oak-like appearance with enhanced depth and grain patterns.
Tips for Achieving Oak-like Finish
One effective method to achieve an oak-like finish on pine is to implement a careful combination of stain applications, enhancing both the color and grain patterns.
Start by using a pre-stain wood conditioner on the pine to prevent a blotchy finish and guarantee even stain absorption.
Experiment with stain combos such as golden oak and whitewash pickling stains to achieve the desired oak appearance. For a deeper color resembling oak, consider applying a layer of Rustic Beige stain followed by Special Walnut.
To protect the finish and add a professional touch, opt for a clear gloss finish like Polycrylic. Before tackling the entire project, test the stain combinations on a sample piece to guarantee the desired outcome.

Leave a Reply