So, you enjoy carpentry and woodworking? Then, surely you already know how to use a hammer, along with various power tools. However, your enthusiasm may not be enough to give you a great level of expertise. This shouldn’t disappoint you though as you might want to take this time to begin exploring woodworking tools. One of the things that you should start learning is how to use a hand planer.
This article will lead you to a thorough discussion. Read on to understand more about hand planers and discover the best ways of using them.
What is a Hand Planer?

Hand planers are essential woodworking tools. They are available in different materials, sizes, and shapes, according to their designated use. They are commonly affordable, flexible, and easy to use. These are the reasons why hand planers are commonly associated with carpentry.
Many hand planers are built from pure wood with blades and metal parts or completely non-metal. This tool exhibits a length of roughly six inches and a width of roughly two inches. You might want to go away from small trimming or pocket planes that only measures around 3 ½ inches to 6 inches since they are commonly difficult to use. Furthermore, these small planes trace the waves and slopes of the wood, which leads to the passing on of these waves and slopes into the surface of the wood.
How to Use a Hand Planer?
Hand planes can introduce great potential. Here are some tips and guides on how to use these tools:
Determine the Purpose of your Hand Planer

Before you jump into the steps on how to use a hand planer, you should do planing first. Determine the purpose of your hand planer. Considering your requirement, choosing a hand planer should be easy.
Sharpen the Blade

The blade of the hand planer should be sharp enough to carry out its task. Sharpening of the blades should be done even if you have just got yourself a newly bought hand planer.
To sharpen the edge, place a grit dry or wet sandpaper on an even surface. Position the blade to a certain degree enough to create an angle that lies flat alongside the sandpaper. Once a rough projection develops near its back, you can say that the blade is already good to go.
Adjust the Blade’s Angle

The corners of your blade are something you should seriously consider when working on wood. Good angles provide an unblemished shape. If you do not exhibit the right angle, your wood’s formation can be ruined.
You can adjust the angle of the blade by turning the depth adjustment wheel. Regulate the angle until such time that the blade’s tip projects just underneath the plane’s sole.
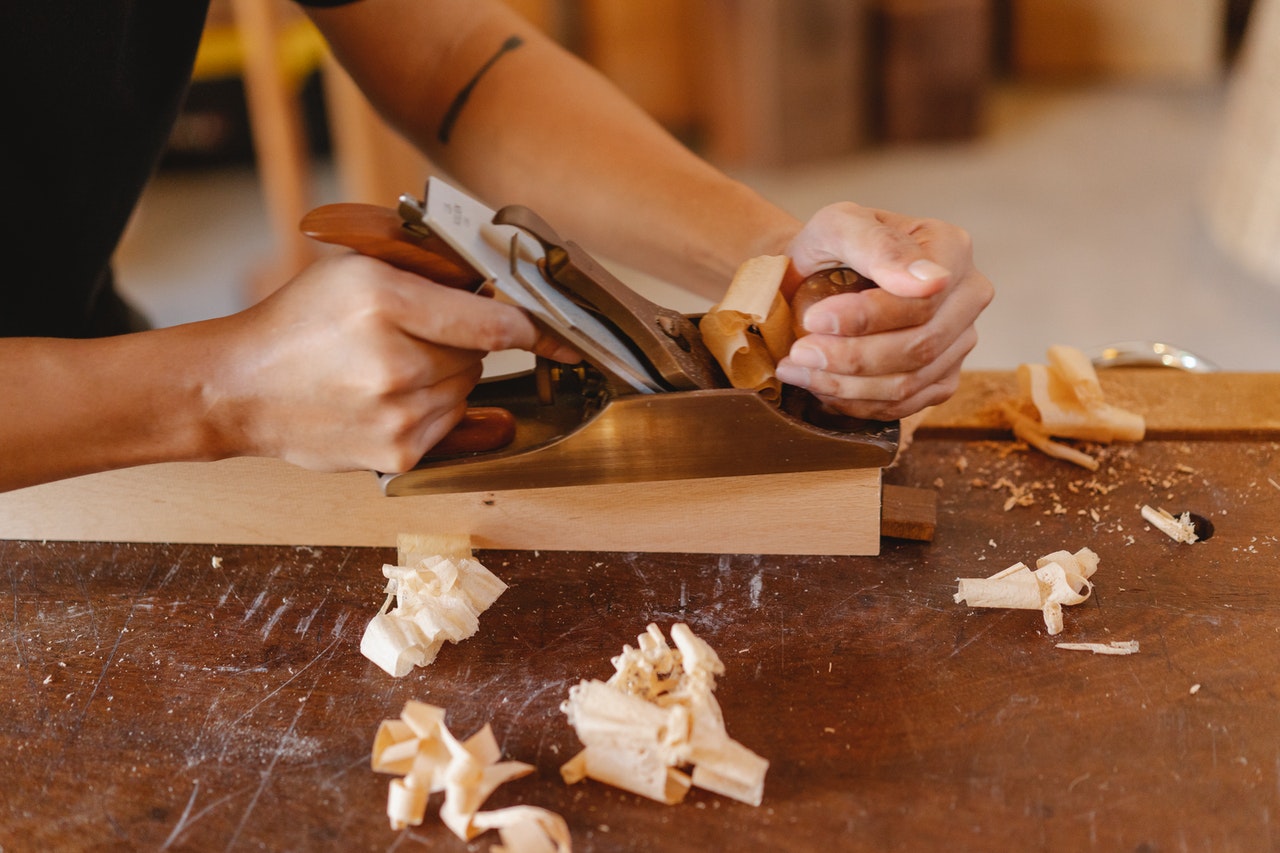
Plane the Wood Surface

After setting the right angle, begin flushing the wood surface by placing the hand planer on top of the wood. Apply a descending pressure on your wood and thrust against yourself through the back handle. Shove the planer in a continuous, smooth motion.
Keep it from Tearing Out

To flatten the wood surface, you may find it necessary to plane in different directions. You must prevent any instances of planning straight to the wood grain. Doing it may make the blade disfigure the angle on the wood surface. Nevertheless, you can repair the tear out by re-planing the coarse part close to the wood grain or by sanding it until it gets smooth.
Ensure the Preciseness of your Planing

After finishing the process and completing the planing on the surface, it would be ideal if you take time to assess whether your planing woodwork is doing well or not. You can check the accuracy of the planing by placing a straight edge near its surface.
You will know that you did a perfect job if the straight edge is lying on your wood surface. However, if you notice that it is not, then it simply means that your wood surface requires more finishing and you could have been missing something. If that is the case, you need to figure out what went wrong so you can correct it.
Conclusion
Going through the article, you now know how to use a hand planer. Moreover, you now know the tips and guides on how to effectively employ this tool. Following the guidelines that are mentioned above, you can ensure that your task can become easier. Even the quality of your work can become remarkable if you know how to handle the planing.
With this comprehensive discussion, you will not find it exhausting to execute a woodworking task. This can help you save more time and money. You do not have to hire an expert to carry out wood projects which are doable on your end.

Leave a Reply