Are you one of the people who enjoy DIY projects? Well, nothing is surprising about it since DIYs are both fun and interesting. Ironically, a lot of people are quite annoyed when being exposed to woodwork. The truth is – woodworking is not that difficult. With this article, you will learn how to use a Kreg jig.
A Kreg Jig is a kind of tool that is used to bind woods together. This tool can also help you boreholes which are commonly recognized as pocket holes. Although many think that it is difficult to use a Kreg Jig, the reality is that it is easy to use.
What Do You Need to Follow this Tutorial?
When following this tutorial, make sure that you get ready with the following items:
- Tools and Supplies
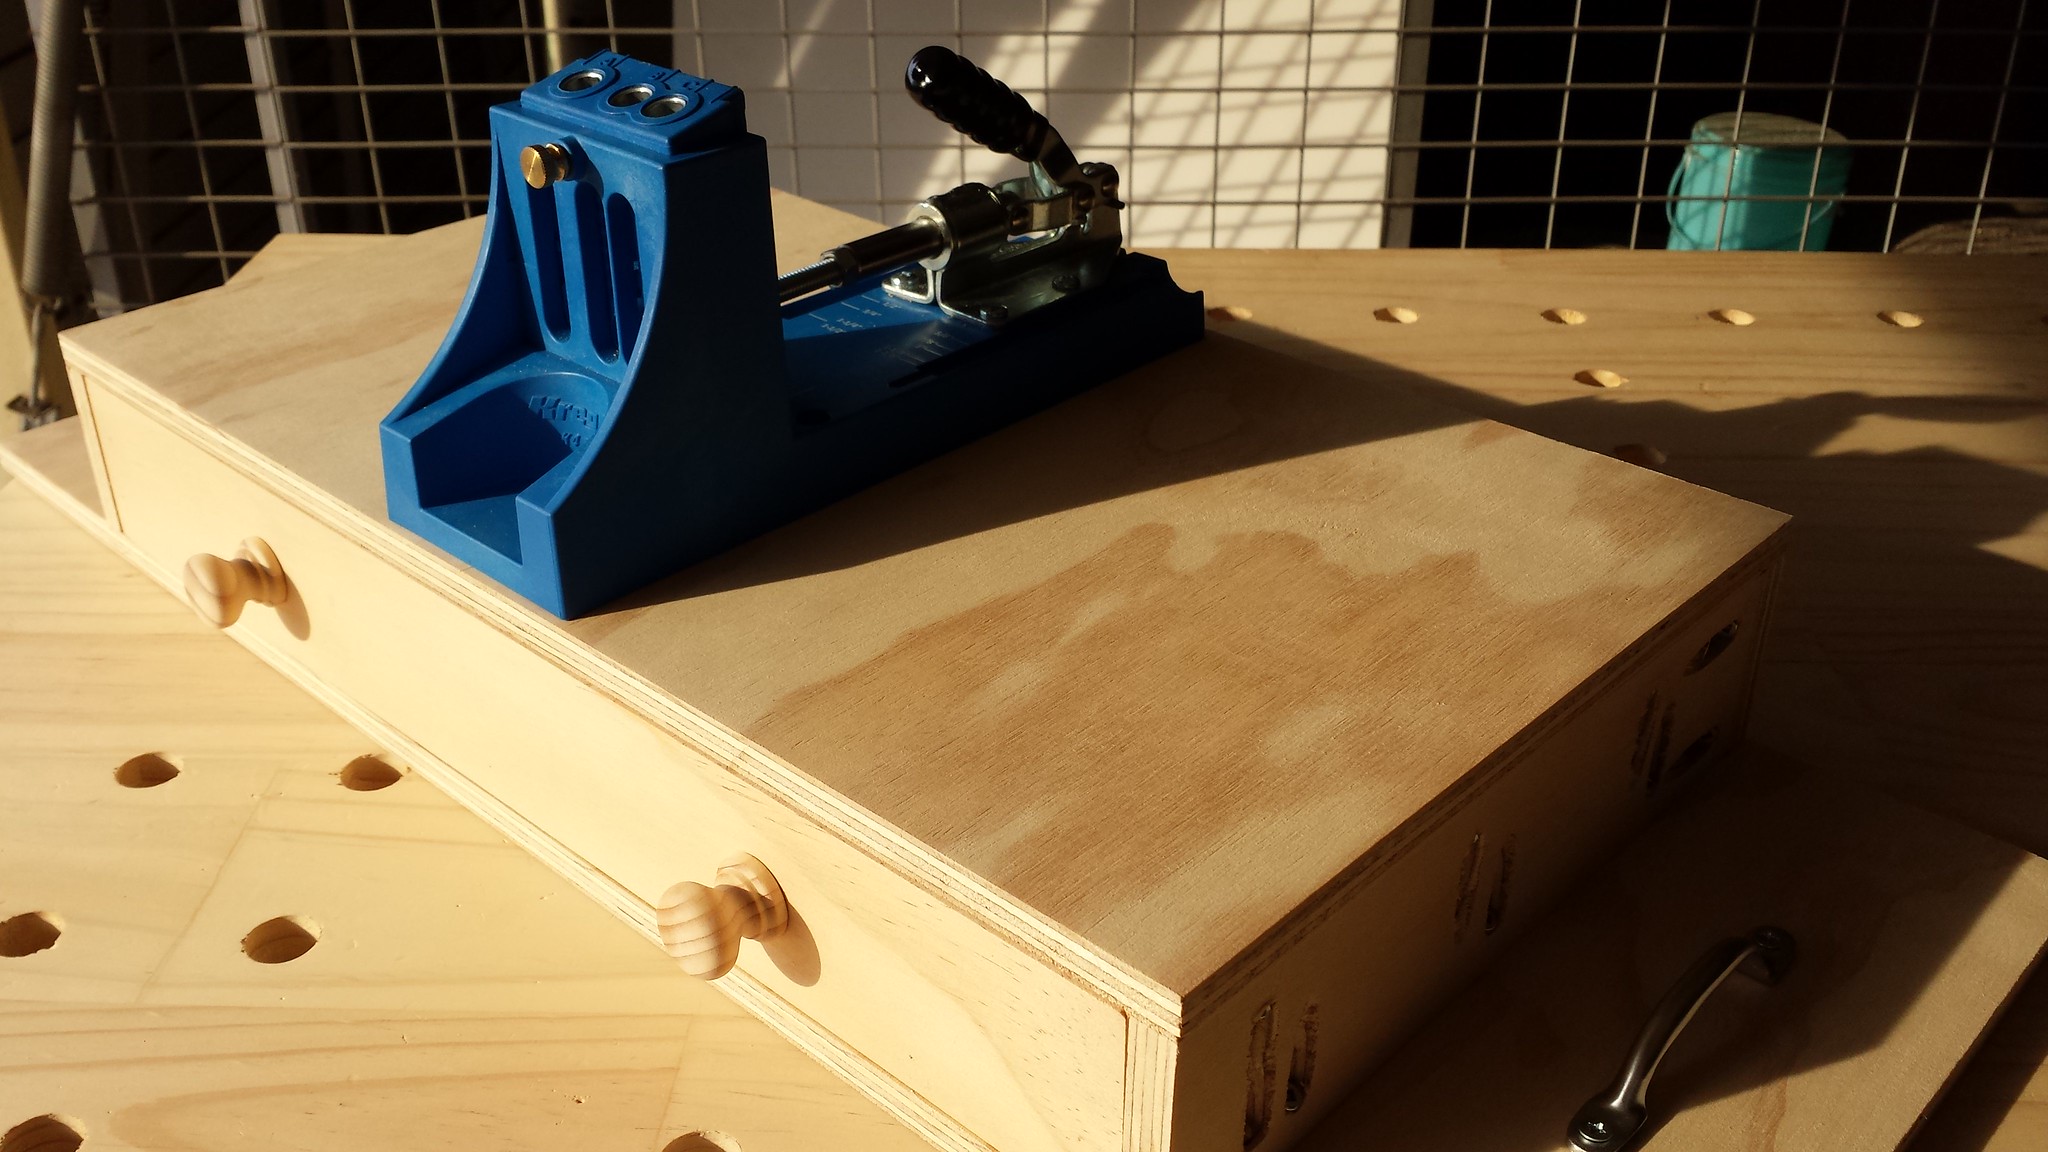
When performing this tutorial, you need to get ready with your tools and supplies. Primarily, you should prepare your Kreg Jig. You must get ready with your electric drill, too. You should also prepare table clamps, wood screws, tape measure, glue, and wood plugs.
Don’t worry about these items as they are not expensive. In fact, some of the mentioned tools and supplies are already available in your area, so you do not have to go out to buy them.
Step-by-Step Instructions
Step #1 Get the Thickness of the Boards
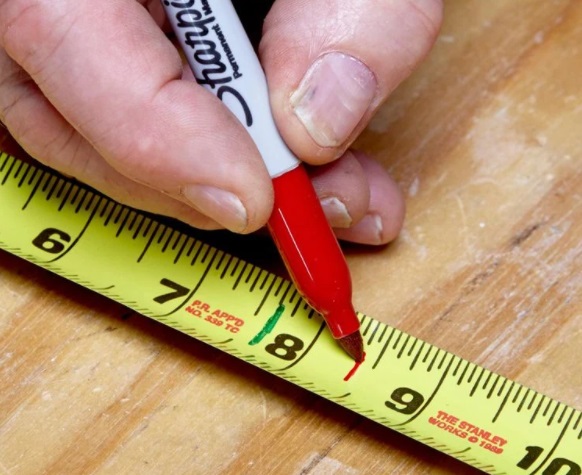
At the very start, you must understand the significance of this step. The stamina of the pocket hole would directly rely on learning the precise depth of the boards. You should know that boards are not created the same when it comes to thickness and there is a distinction in boards from different sources.
Before you proceed to the next step, it is recommended that you first get your tape measure and verify the thickness. Finding out the right thickness will help you bore the pocket holes at the correct angle.
Step #2 Set the Height of the Jig
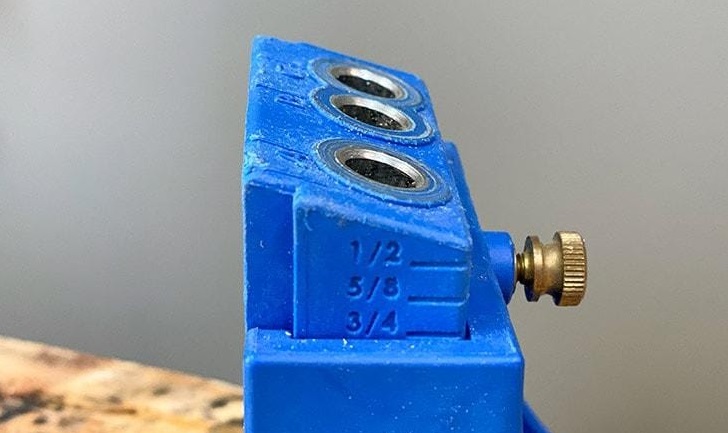
When setting the height of the jig, you will have to consider the depth of the board being used. Adjust the height of the jig and put it up until it complements the depth of the board. In case you are using boards with different depths, the idea is to consider the smallest depth.
Step #3 Put Depth of the Collar right on the Drill Bit
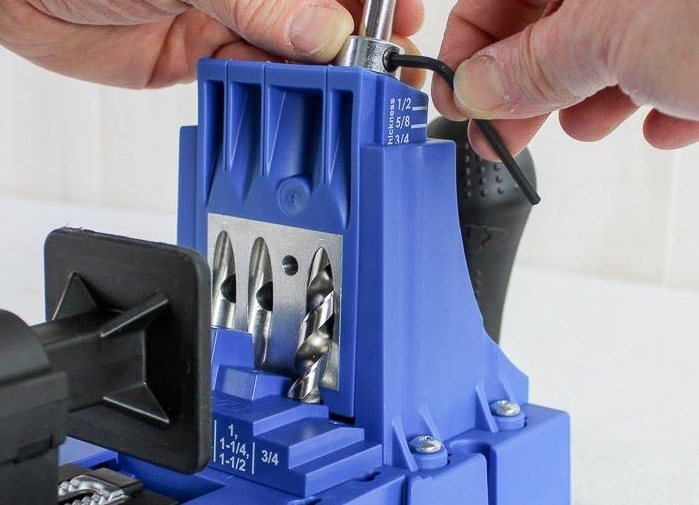
Kreg Jigs are designed with a collar and a unique drill bit. You can adjust the penetration of the drill bit by putting the collar and narrowing it. When setting the actual depth, align the edge part of the drill bit with the label on the pocket hole. Push the collar on the bit – the higher, the better. Tighten the collar after with an Allen wrench.
The depth of the collar is a bit wider compared to the jig’s guide holes and could prevent you from excessively drilling into the wood.
Step #4 Place the Lumber
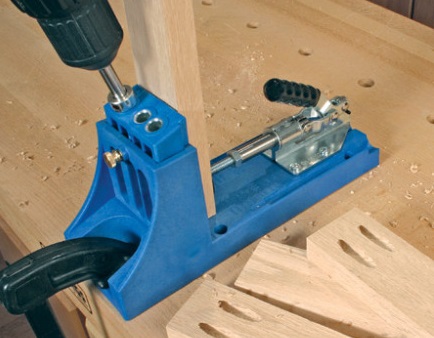
Lay the lumber you intend to sink in the pocket hole on the jig, then clamp it. Check the board to ensure that it will not glide around. You will notice the guide indications on the upper part of the jig. The guide informs you of the spots where you should drill the pocket holes. Always consider making two holes, at the least, in the board to achieve the most substantial joint.
Step #5 Dig the Pocket Holes
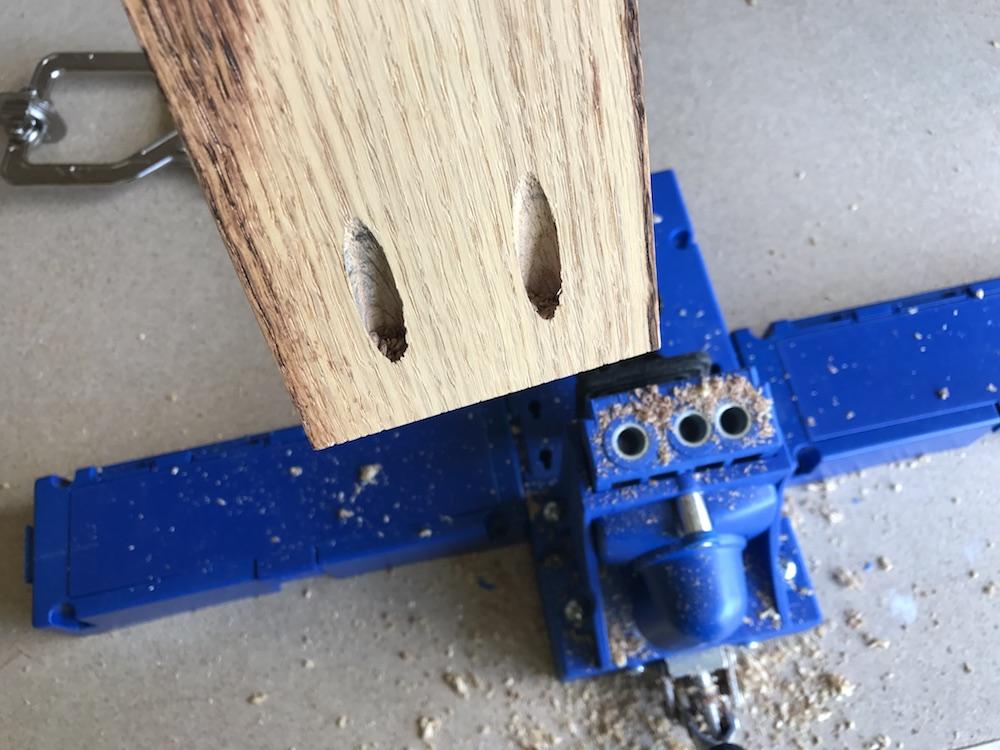
Following the guide holes, keep going and dig the pocket holes. The collar’s depth will immediately terminate the drill upon reaching the appropriate height. Just see to it that the depth of the collar is not loosened. You wouldn’t want the collar moving while you are pushing the drill since the pocket holes wouldn’t be deep and you cannot acquire a powerful joint.
To achieve more security and more precision, main even spaces between the pocket holes. In case you will use more pocket holes, you can allocate more space for more pocket holes by moving down the board in the clamp.
Step #6 Connect the Boards
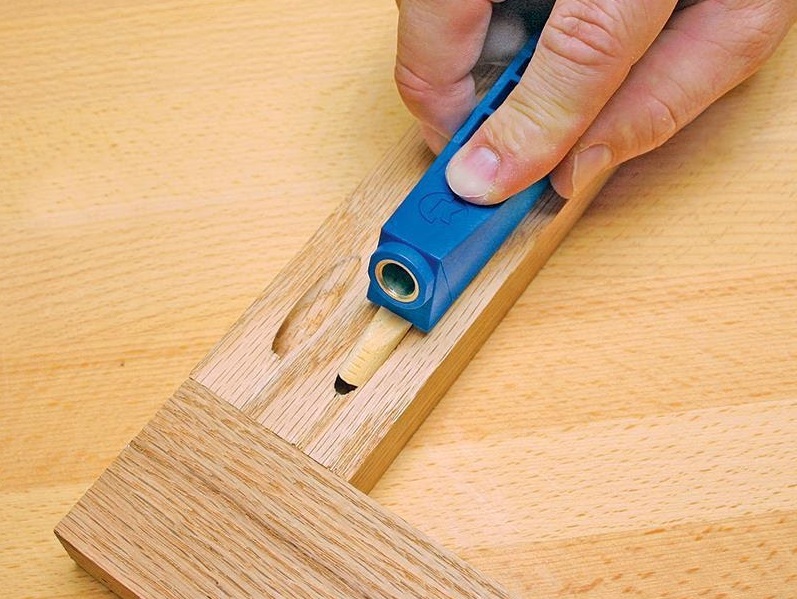
Join the two boards together by clamping them. Hook up the boards while utilizing pocket hole screws and glue and a unique square drive bit. Finally, you will see the pocket hole joint. You do not have to wait for the glue to completely dry. Your work should be strong right in an instant.
Conclusion
So, how to use a Kreg Jig? This tutorial could have given you significant learnings and new discoveries. Hopefully, you can apply these learnings to your woodwork projects. There are actually plenty of things that you can try if you have a Kreg Jig, especially if you are more interested in DIY home enhancement projects.
The step-by-step instructions that are featured in this article are not complex, either. What is important is you understand the steps and you perform them accordingly.

Leave a Reply