Search what is a jig and what it looks like and you’ll probably get different results. In woodworking, a jig is a name for any custom-made piece that is used to control the movement of any tool. A jig is usually used to control the motion of power tools like circular saws, table saws, and electric drills.
There are many types of jigs, each one designed to make woodworking tasks better, faster, and more efficient. Here are some examples to help you understand how important a jig is in woodworking.
Many uses of a jig
A jig for a drill press table
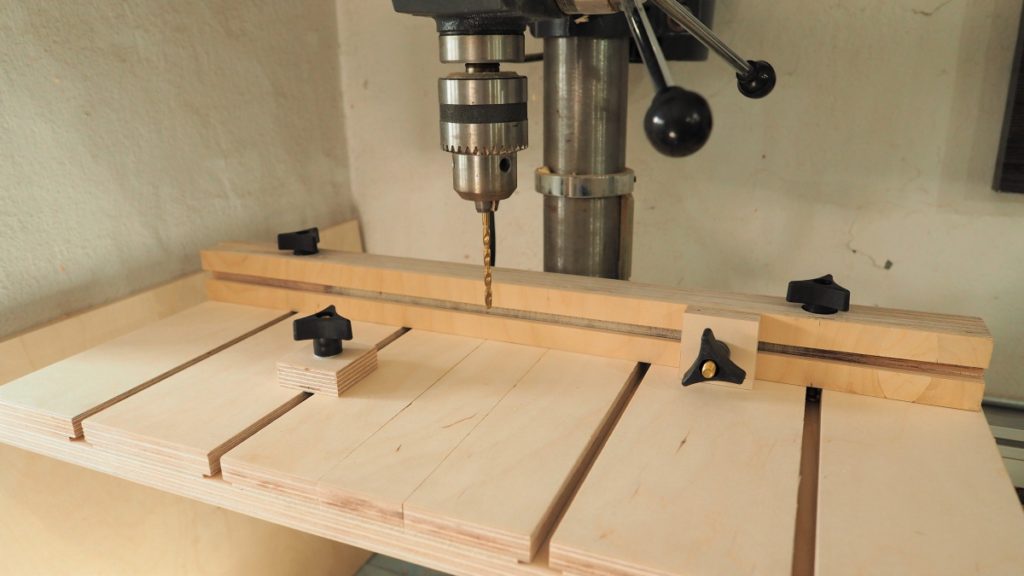
Woodworkers can’t just use any drill press table as these are mostly created for metal works. Also, drill press tables lack a fence and an insert. A jig can help solve all these. You can make a jig for a drill press table using three ½ – inch MDF attached with glue. This jig is fastened to the table from underneath it using lag screws.
On the top of the table are three pieces with the outer one glued on the table and the other piece, the centerpiece is free to move. Meanwhile, the insert is narrower compared to the gap in between the outer pieces. Place flat head screws along the side of your insert and adjust these so that your insert wooden beam will fit snuggly.
A jig to route dadoes
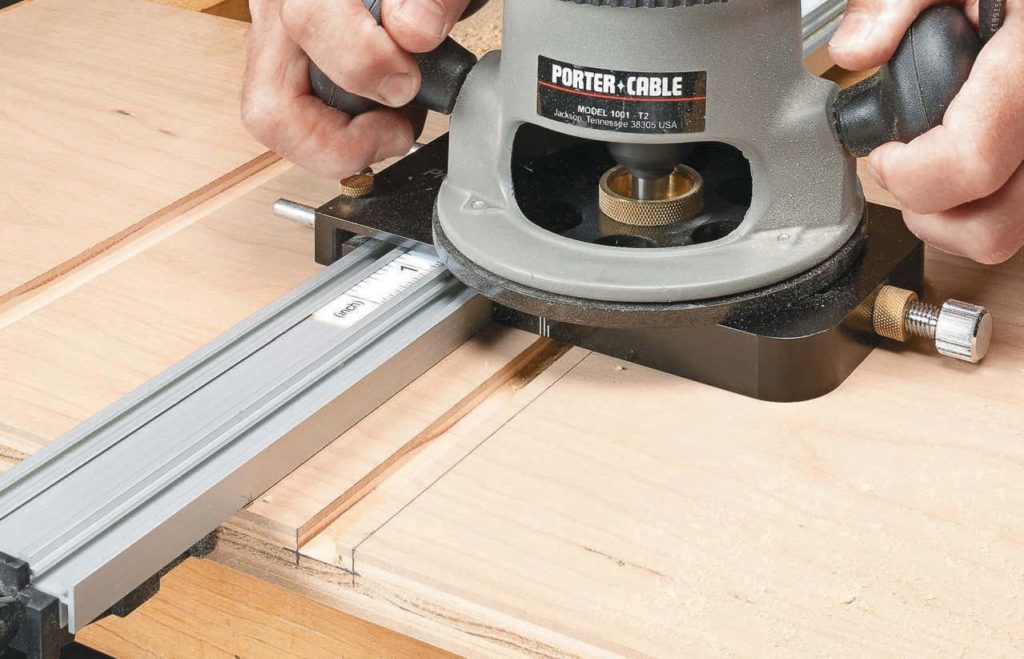
Use a jig to rout the best-looking dadoes to use for ¾ – inch plywood and it does not matter how thick the plywood is. Attach a top-bearing bit on the jig. This bit should be ½ – inch wide and about ½ – inch long with a bearing above the table.
This jig will have two parallel guiding parts constructed from ½ – inch MDF wood. As you route your dado, apply the bearing on one guide and then, the 2nd pass to apply this on the 2nd guide. The space in between the two guides will determine how wide the dado will be.
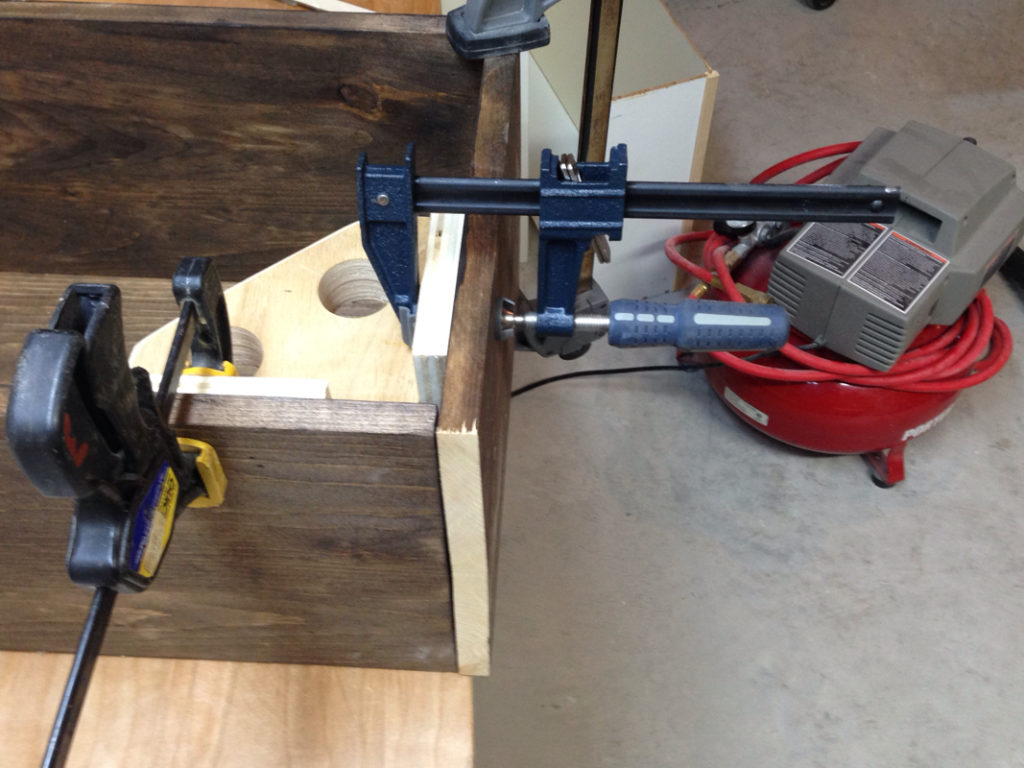
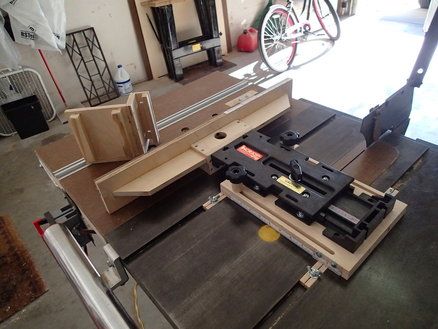
A jig for a table saw
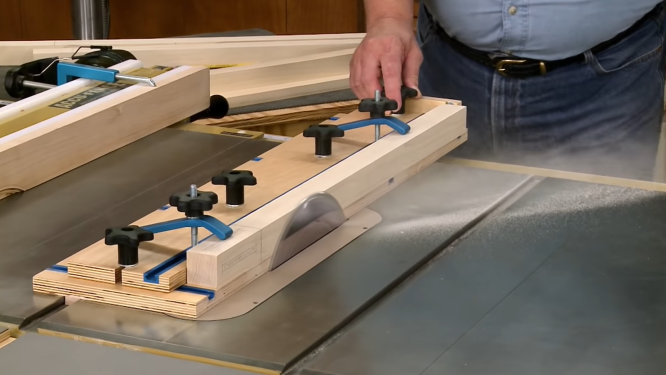
This jig will avoid accidental cuts on the real table saw fence. This is made from four ½ -inch MDF that is glued together. Take the glued boards and cut all the middle pieces to thirds to make holes where you will install clamps. These holes will keep the clamps out of the way as you proceed with making your cuts. You can use this jig over and over again until this jig wears out.
A jig for a vise
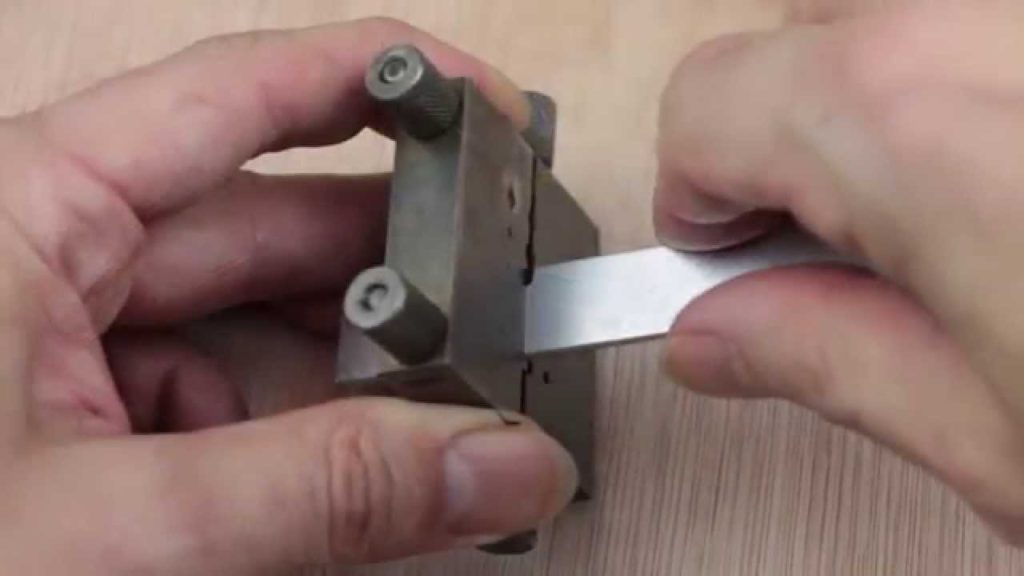
Use a jig to avoid any unnecessary movement of your workpiece when you clamp it. The vise has jaws that don’t always stay parallel as it’s tightened therefore, you can use a spacer jig along the opposite side. The jig doesn’t have to be the same size and thickness just like your workpiece. You can even use scrap wood as a jig for a vise.
A jig for a sanding table
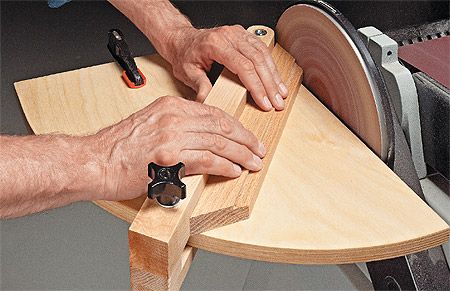
Most benchtop sanders have small tables, barely enough to work with large wooden pieces. To remedy this, find a larger table surface or tabletop and fasten this on top of the original table. You may remove this table anytime and a clamp is used to keep it in place. A top with melamine would work best as a top sanding table.
A jig as squaring blocks
You need squaring blocks to ensure that a piece has corners with 90 degrees. To do this, cut a small piece of plywood around 8 inches square. The inside corner should be square by placing it against a combination square tool.
Place two ¾ x 2 – ¾ x 7 – inch lips with screws to the adjacent part of the block for easy clamping. You must keep a gap from the inside part of the block for easy glue removal.
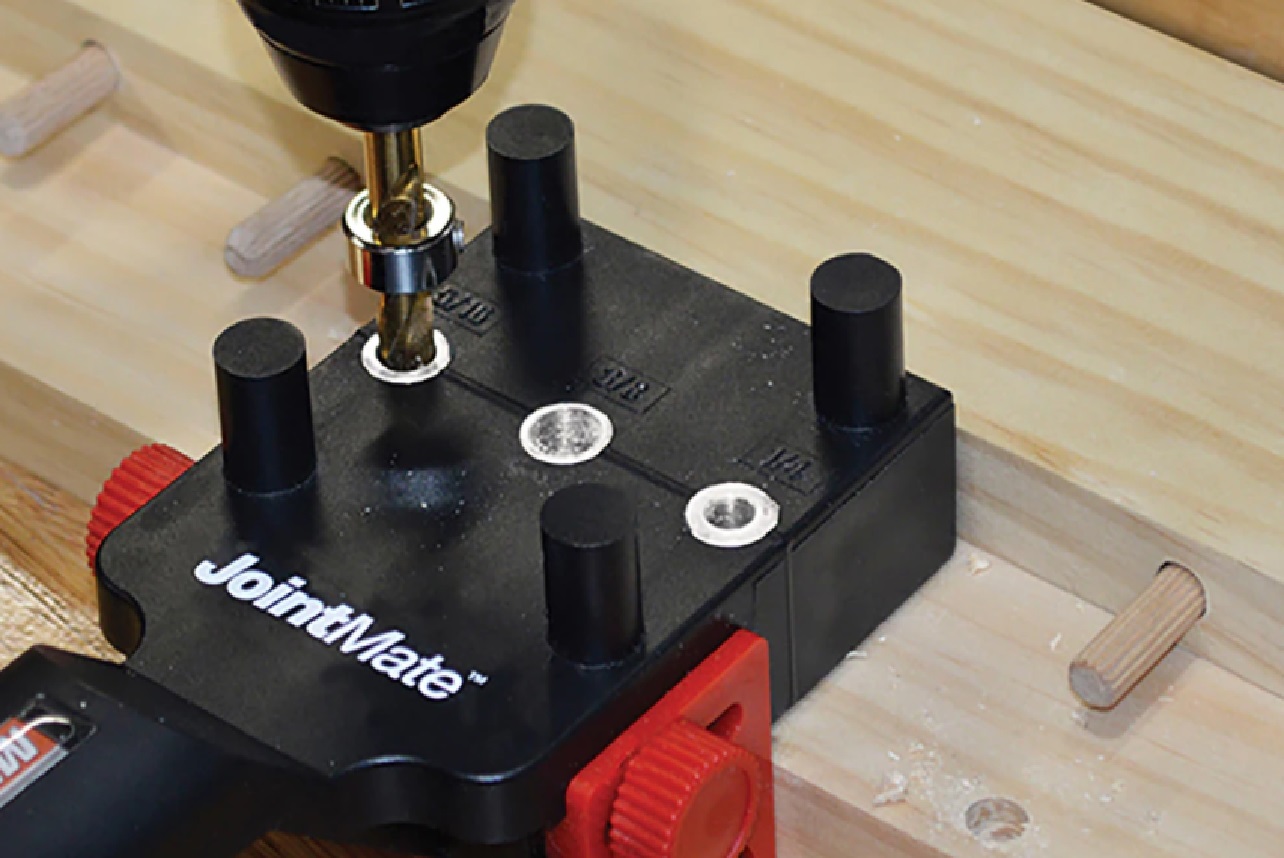
A jig for hole drilling
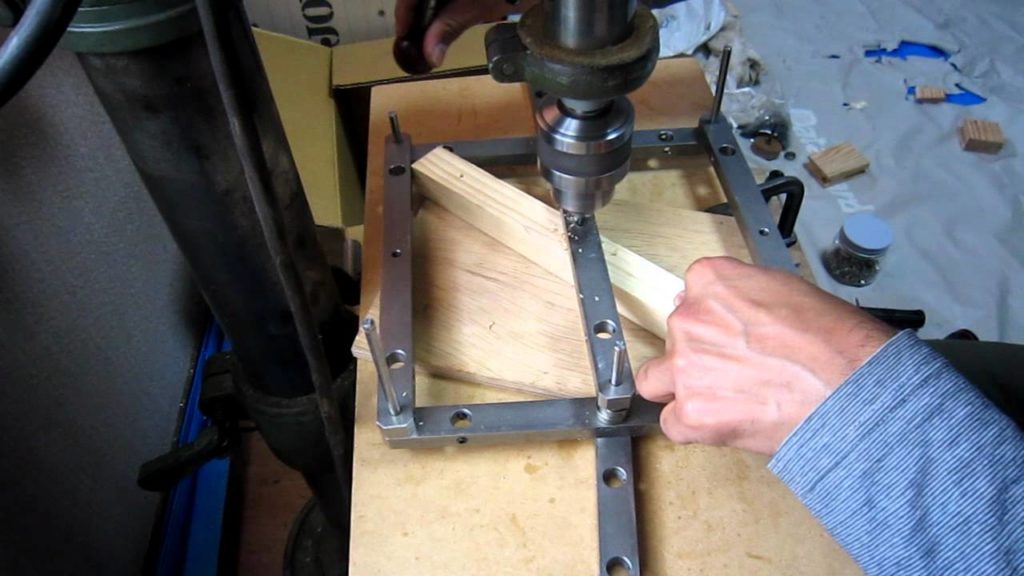
A jig for easy and even hole drilling can be made using pegboard. You may also use three layers of pegboard to create a thicker jig that won’t buckle or change shape. Also, a thicker jig will help you drill perpendicular to the wooden piece.
To use this type of jig, cover the other holes or the ones you won’t be used with tape. You should also use a wooden stick on the drill to reduce hole depth. To keep these holes aligned as you glue the different pieces, insert two ¼ -inch machine bolts along with the opposite parts, and afterward, add the nuts and washers.
As you tighten the nuts, the pieces are forced to align. You must trim the jig edges right after the wood glue dries.
A jig for miter saws

Use a clamp to fasten a table to the miter saw to make shortcuts in exact lengths. A miter saw has a slot that will tell you where the blade will move to cut. Mark the workpiece with a pencil and align this mark with the slot.
This slot has 0 clearance so there’s no gap on either side of the blade. Meanwhile, the slot along the table is also 0 clearance. These slots will prevent any tear-outs and will prevent any splintered ends.
A jig as an adjustable fence
Make a jig to use as an adjustable fence. This will help you drill rows of identical holes. With this jig, creating holes on a small piece of wood is easier. All you need is to attach the two pieces and drill away.
Use 2 x 1 foot of scrap wood or particleboard on your drill press with a countersink of ¼ -inch. You may also use a 2 feet x 4 inches x 1-inch board attached to a 2 feet piece of aluminum iron. Always countersink your holes before you bolt the board according to the angle.
Now that you know what is a jig, you can make one for your woodworking project soon. Jigs can be designed according to your needs so don’t hesitate to craft your own to make your tools more efficient and a lot safer.
Leave a Reply