Have you ever wondered how long does wood filler take to dry or transform into a sturdy, seamless finish for your woodworking project?
Understanding the nuances of wood filler drying is crucial for achieving professional results.
Discover the drying process and master effective repair optimization.
Key Takeaways
- Average curing time of 15-30 minutes
- Factors like formula and humidity affect drying time
- Oil-based fillers resist heat, water, and cold
- Water-based fillers dry quickly and are eco-friendly
Wood Filler Drying Process
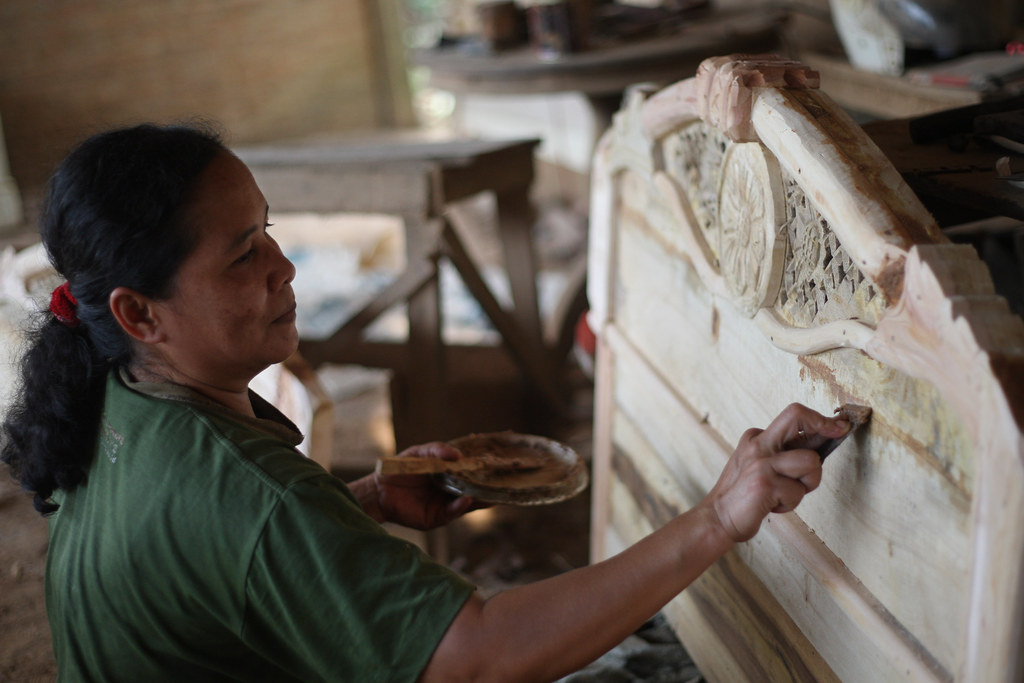
When applying wood filler, the drying process is a crucial step that ensures a successful repair or enhancement of your woodworking project.
To achieve optimal results, it’s essential to follow the best application techniques. Start by cleaning the area thoroughly and pressing the filler firmly into the gaps.
Smooth out the excess filler using a putty knife for a seamless finish.
Some common mistakes to avoid include overfilling gaps, which can lead to uneven surfaces, and applying too little filler, resulting in an incomplete repair.
Recommended brands, such as Minwax and Elmer’s Wood Filler, are known for their quality and durability. These brands offer a wide range of colors to match different wood tones and provide excellent adhesion.
Selecting the right brand can significantly impact the outcome of your project. By choosing a reputable brand, you can ensure a reliable finish that lasts.
Remember, the drying process is a critical phase in woodworking, so using the correct wood filler and techniques is key to achieving professional results.
Factors Affecting Drying Time
To ensure the proper drying of wood filler, understanding the various factors that can influence the drying time is essential for achieving successful woodworking repairs.
The impact of humidity plays a significant role in how quickly wood filler dries. High humidity levels can prolong the drying process, while low humidity speeds it up.
Depth consideration is crucial as well. Deeper voids or gaps will naturally take longer to dry compared to shallow ones.
Additionally, the formula effects of the wood filler can also impact drying time. Different formulations, such as oil-based or water-based fillers, have varying drying rates.
Oil-based fillers generally take longer to dry but provide better resistance to heat, water, and cold.
On the other hand, water-based fillers dry quicker, are eco-friendly, and are safer for the environment.
Understanding these factors will help you plan your woodworking projects effectively and achieve optimal results.
Comparison: Oil vs. Water-Based Fillers
In woodworking, distinguishing between oil-based and water-based fillers is crucial for understanding their respective characteristics and applications.
When it comes to application techniques, oil-based fillers are known for their durability and ability to withstand heat, water, and cold, making them ideal for outdoor projects or areas exposed to moisture.
On the other hand, water-based fillers offer quick drying results, making them suitable for indoor applications where time is of the essence.
In terms of finish quality, oil-based fillers provide a rich and deep finish, while water-based fillers may have a slightly lighter appearance.
Additionally, considering environmental impact and ease of use, water-based fillers are more eco-friendly and easier to clean up, making them a more convenient option for many woodworkers.
Ultimately, your choice between oil and water-based fillers will depend on the specific requirements of your project and your preferences in terms of application and finish.
Understanding Curing Times
How do various factors influence the curing times of wood fillers, and what key considerations should you keep in mind for optimal drying results?
Quick application is crucial for efficient drying; apply the wood filler evenly and avoid overfilling to expedite the curing process.
Temperature effects play a significant role in drying times, with warmer temperatures speeding up the process.
Conversely, colder temperatures can prolong drying times, so consider working in a well-heated environment for quicker results.
Proper surface preparation is essential; ensure the wood surface is clean, dry, and free of any debris before applying the filler to promote better adhesion and faster drying.
Additionally, consider factors like formula consistency, humidity levels, and the depth of the gap when estimating drying times.
Importance of Thorough Drying
Thorough drying of wood filler is essential to ensuring a strong bond and durability of the repaired wood surface.
Proper application of wood filler involves filling the gap or hole slightly above the surface level to account for shrinkage during drying.
Before applying the filler, surface preparation is crucial; clean the area thoroughly and remove any debris to ensure proper adhesion.
Drying techniques play a vital role in the effectiveness of the wood filler. Ideally, allow the filler to dry completely for several hours before sanding or painting.
For optimal results, consider using a fan or heat source to expedite the drying process, but avoid direct heat that may cause cracking.
By following these steps diligently, you can enhance the structural integrity and longevity of the repaired wood surface.
Tips for Efficient Wood Filler Usage
For efficient wood filler usage, ensure thorough surface preparation and proper application techniques to maximize the effectiveness of the repair.
Start by cleaning the area to remove any dirt, debris, or old paint. Make sure the surface is dry before applying the wood filler to ensure proper adhesion.
Consider the weather conditions, as extreme temperatures or humidity can affect the drying time and overall quality of the repair.
When choosing a wood filler, ensure product compatibility with the type of wood and the specific repair needs.
When applying the wood filler, follow the manufacturer’s instructions carefully to achieve the best results.
Apply the filler generously to fill the gaps or holes, then use a putty knife to smooth out the excess filler.
Allow sufficient drying time before sanding down the excess filler to create a seamless finish.
Remember that proper sanding techniques are crucial to achieving a smooth and even surface.
By paying attention to these application techniques, product compatibility, weather conditions, surface preparation, drying time, and sanding process, you can efficiently use wood filler for your woodworking projects.
Quick Fixes with Wood Filler
To efficiently address minor imperfections in your woodworking projects, consider how quick fixes with wood filler can provide seamless solutions for small damages or gaps.
Quick repairs are possible by using wood filler to instantly fix imperfections such as small holes or cracks in your woodwork.
Utilizing fast drying techniques can help you achieve a smooth and flawless surface in no time.
When applying wood filler for instant fixes, ensure you follow the manufacturer’s instructions for the best results.
By choosing a fast-drying wood filler, you can speed up the repair process and continue working on your project without delays. These quick fixes with wood filler are perfect for addressing minor blemishes and imperfections, allowing you to achieve professional-looking results efficiently.
Incorporating wood filler into your woodworking arsenal for fast touch-ups and repairs will help you maintain the quality and appearance of your projects with ease.
Maximizing Wood Filler for Repairs
To maximize the effectiveness of wood filler for repairs, consider the specific characteristics and properties of the filler in relation to the repair needs of your woodworking projects.
When undertaking DIY projects, understanding woodworking techniques and repair solutions is crucial. Begin by identifying the type of damage you need to address, whether it’s filling gaps, leveling surfaces, or providing structural support.
Choose a wood filler that suits your specific requirements, whether it’s a quick-drying water-based filler for minor touch-ups or an oil-based filler for more substantial repairs that need durability.
Prioritize proper preparation before applying the wood filler to ensure a seamless finish. Clean the area thoroughly, remove any debris, and sand the surface to create a suitable base for the filler.
Apply the filler generously, overfilling slightly to account for shrinkage as it dries. Once the filler is dry, sand it down to achieve a smooth and even surface.
By understanding the properties of different wood fillers and employing the right techniques, you can effectively maximize wood filler for repairs in your woodworking projects.

Leave a Reply