When it comes to building a cabinet box, using 3/4 plywood for the sides and bottom is key.
But what truly sets apart a well-crafted cabinet is the attention to detail in the assembly process.
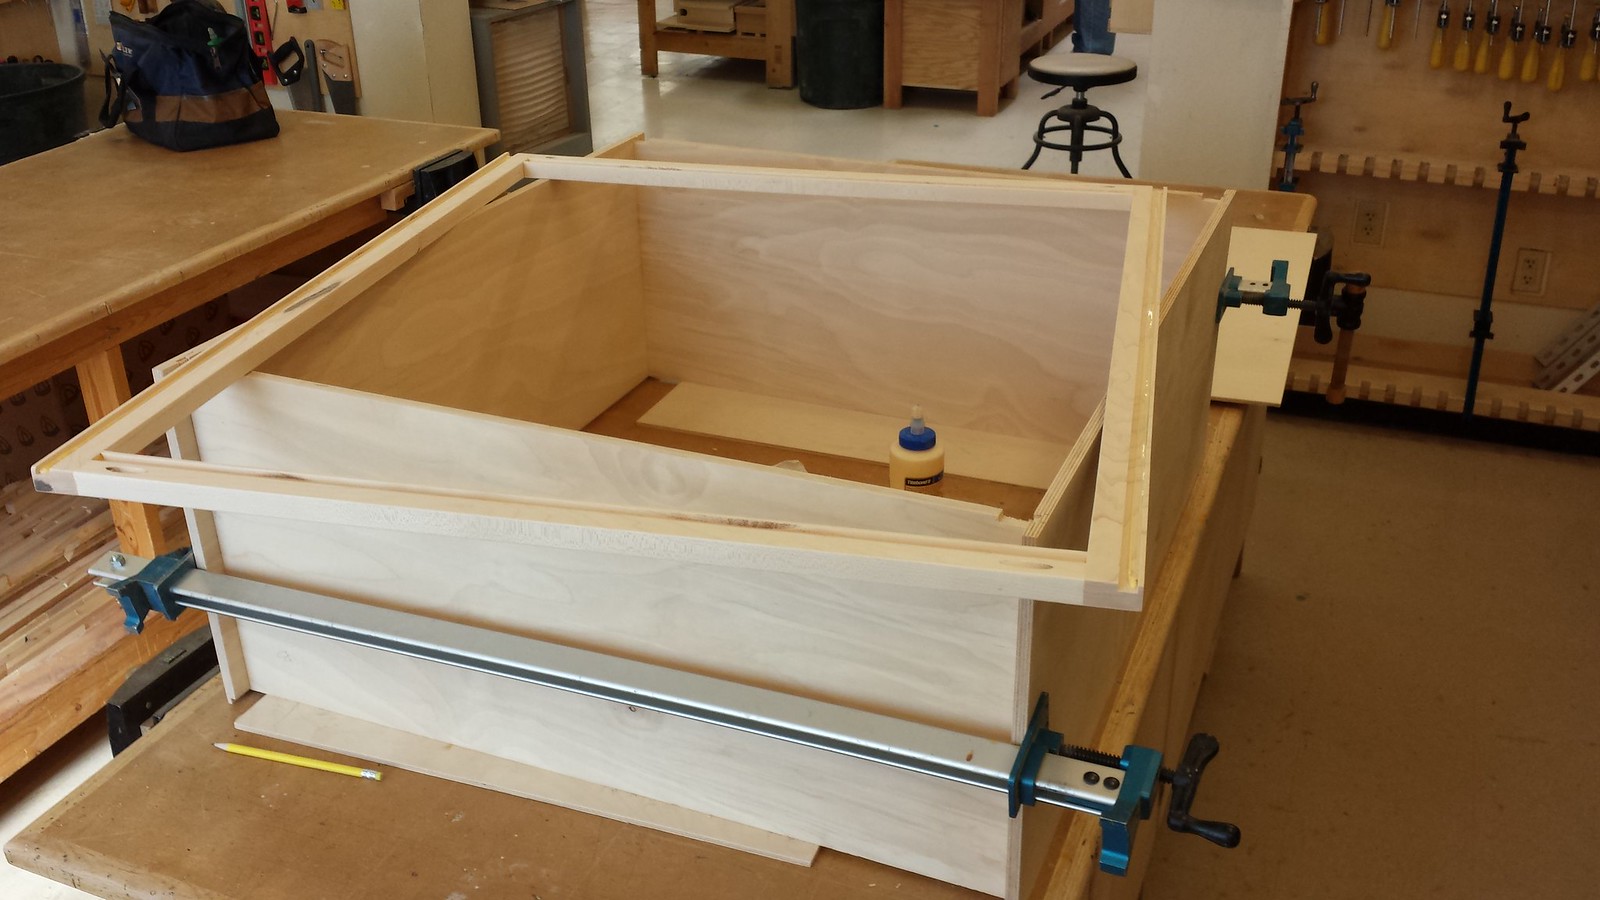
From ensuring precise measurements to securing joints with clamps, each step plays a critical role in the final outcome.
So, if you want to elevate your woodworking skills and create a professional-looking cabinet, mastering these techniques is essential.
Key Takeaways
- Use plywood and pocket hole screws for a sturdy cabinet structure.
- Measure accurately and plan dimensions for shelves, drawers, and doors.
- Secure joints with pocket hole screws and wood glue for strength.
- Enhance it with custom finishes and hardware, ensuring precise assembly for a professional look.
Materials and Tools Needed
To begin building a cabinet box, gather the essential materials and tools, including 3/4 plywood, pocket hole screws, a circular saw, a pocket hole jig, a drill, clamps, wood glue, a measuring tape, and a square. 3/4 plywood will serve as the primary material for constructing the sides and bottom of the cabinet.
Make sure you have enough plywood to complete the entire box structure. Pocket-hole screws are necessary for securely fastening the plywood pieces together, providing strength and stability to the cabinet.
A circular saw is indispensable for making precise cuts on the plywood to make sure they fit together accurately.
The pocket hole jig will assist you in creating pocket holes for the screws, enabling seamless assembly. When it comes to joining the pieces, using wood glue is crucial for reinforcing the joints.
Additionally, having clamps on hand will help hold the pieces together while the glue sets, ensuring a tight bond.
Remember to use a measuring tape and square for precise dimensions and alignment throughout the construction process.
Planning and Measuring
When planning and measuring for your cabinet box construction, make sure accurate dimensions are meticulously calculated to guarantee a seamless fit in the designated space.
Begin by determining the desired face dimensions of the cabinet, considering the depth, width, and height for both functionality and aesthetics.
Account for the placement of shelves, drawers, and doors within the cabinet box to optimize storage efficiency.
Be mindful of the material thickness when measuring to prevent inaccuracies in the final size.
Double-check all measurements and calculations before proceeding to the cutting phase to avoid costly errors in the building process.
Ensuring precise planning and measuring at this stage will lay a solid foundation for the construction of your cabinets.
By paying close attention to these details, you’ll be on the right track to creating a well-crafted cabinet box that meets your specific needs and fits perfectly in its intended space.
Cutting Plywood Pieces
For accurate and precise plywood cuts in building your cabinet box, utilize a track saw or a circular saw with a straight edge jig to guarantee clean edges and maintain dimensional accuracy.
When cutting plywood pieces, it’s important to aim for clean cuts to avoid tear-outs and make sure the pieces fit together seamlessly.
Trim the pieces to the exact width using a table saw to achieve uniformity throughout your project.
Before making any cuts, create a detailed cut diagram to plan your cuts efficiently, optimizing material use and reducing waste.
Joinery Techniques
Implementing the use of pocket hole screws provides a secure method for joining components of the cabinet box, ensuring structural integrity and durability.
Dado joinery, while a strong technique, isn’t essential for constructing a sturdy cabinet box.
Attaching a cleat to the sides of the box offers important support for the cabinet box bottom, enhancing its overall strength.
Combining pocket holes with glue when assembling cabinet components increases rigidity, making the box more resilient.
Properly positioned support pieces play a key role in preventing bowing and maintaining stability within the cabinet box.
By employing these joinery techniques, you can effectively strengthen the cabinet components and reduce the risk of structural issues over time.
Assembling the Cabinet Box
To guarantee the cabinet box’s structural integrity and stability, meticulously align and securely fasten all components during the assembly process.
Start by making sure that all pieces are cut precisely to maintain squareness and alignment.
Apply wood glue to the edges and use pocket-hole screws to create strong and durable joints. Before attaching the bottom piece to the sides, check for 90-degree angles at corners to guarantee a square cabinet box.
Secure the bottom piece to the sides using screws and glue for added stability.
Clamp the pieces together during assembly to prevent shifting and ensure a tight fit. This process will make the assembly smoother and help in creating a sturdy cabinet box that will last.
Remember, attention to detail during the assembly is important for a successful build.
Adding a Back Panel and Nailer Strips
Consider reinforcing the cabinet box by adding a sturdy back panel and attaching nailer strips for wall-mounting security.
The back panel plays an important role in providing stability and structural support for the cabinet box. It’s typically made of plywood or a similar durable material to guarantee durability.
Nailer strips are then attached to the back panel, allowing for secure installation of the cabinet on the wall.
These strips are essential for maintaining the cabinet’s position and preventing any movement once it is installed.
Utilizing pocket holes or screws, the nailer strips are securely fastened to the back panel, enhancing the overall stability of the cabinet box.
Proper installation of both the back panel and nailer strips is crucial to guaranteeing the long-term reliability of the cabinet, especially if it’s intended for wall mounting.
This step ensures that your cabinet isn’t only structurally sound but also securely fixed in place for years to come.
Optional Drawer Supports and Toe Kick
To guarantee top drawer function, consider the materials for drawer supports, such as durable hardwood or metal brackets.
When installing a toe kick, make sure to leave enough clearance for adjustments in drawer alignment as needed.
These elements play an essential role in both the stability and aesthetic appeal of your cabinet box.
Drawer Support Materials
For added reinforcement and durability, consider incorporating optional drawer supports and toe kick materials into your cabinet construction.
Drawer support materials such as hardwood scraps or plywood cut to size can be used to prevent the sagging or bowing of drawers over time.
These optional drawer supports enhance the overall durability and longevity of the cabinet.
When selecting toe kick materials like 1×4 poplar lumber, guarantee they meet the weight-bearing requirements of the cabinet to create a sturdy base.
By integrating these elements into your cabinet design, you can assure a sturdy and reliable structure that can withstand the test of time.
Be mindful of the materials you choose to guarantee the cabinet’s strength and longevity.
Installing the Toe Kick
To properly integrate the toe kick and optional drawer supports into your cabinet construction, begin by creating a recessed space at the base of the cabinet for user comfort.
The toe kick, typically 3.5 to 4 inches in height, guarantees ample room for feet. Consider adding drawer supports within this area for enhanced functionality.
If desired, construct separate toe kick platforms to elevate the cabinet off the floor, facilitating easier maintenance.
Calculate the side piece height meticulously to accommodate integrated toe kicks seamlessly, providing a polished look.
This attention to detail not only guarantees aesthetic appeal but also simplifies cabinet maintenance in the long run, ensuring a durable and well-crafted cabinet box.
Adjusting Drawer Alignment
Fine-tune drawer alignment by incorporating optional drawer supports and factoring in the toe kick depth for seamless integration within the cabinet box.
Drawer supports play an important role in adjusting drawer alignment within the cabinet box.
When adjusting drawers, consider installing optional drawer supports to guarantee smooth operation and alignment.
It’s essential to factor in the toe kick depth when making alignment adjustments to guarantee seamless integration.
Properly aligning drawers not only enhances functionality but also improves the aesthetics of the cabinet box.
Finishing Touches and Customization
Achieve a unique and personalized look by customizing the cabinet box with door styles such as shaker, slab, or raised panel.
Consider adding decorative elements like molding, trim, or glass inserts to enhance the cabinet’s appearance.
Select hardware options such as knobs, pulls, or handles that complement the cabinet design. Apply a finishing coat of paint, stain, or lacquer to guarantee the cabinet box and match the kitchen decor.
Set up adjustable shelves, drawers, or organizers inside for functional storage solutions. For a professional finish, use pocket holes to secure the face frame to the cabinet sides.
Make sure the base cabinet has a sturdy toe kick area. Finish off the exposed edges of the plywood sheets with edge banding. Opt for solid wood for durability and quality.
Install smooth drawer slides for seamless functionality. These finishing touches will elevate the overall look and functionality of your custom cabinet box.

Leave a Reply