Did you know that the demand for enclosed trailers has increased by 15% in the past year alone?
When it comes to building your own enclosed trailer, the process may seem intimidating at first, but with the right guidance, tools, and materials, you can create a customized trailer that suits your needs perfectly.
From designing and planning to adding finishing touches, each step plays an important role in ensuring the trailer’s functionality and durability.
Here are essential steps and tips for constructing your very own enclosed trailer from scratch.
Design and Planning
When starting on the construction of an enclosed trailer, begin by meticulously designing and planning every aspect to guarantee a successful and tailored final product.
The design phase is pivotal, requiring you to establish the purpose, location, and frequency of use for the trailer.
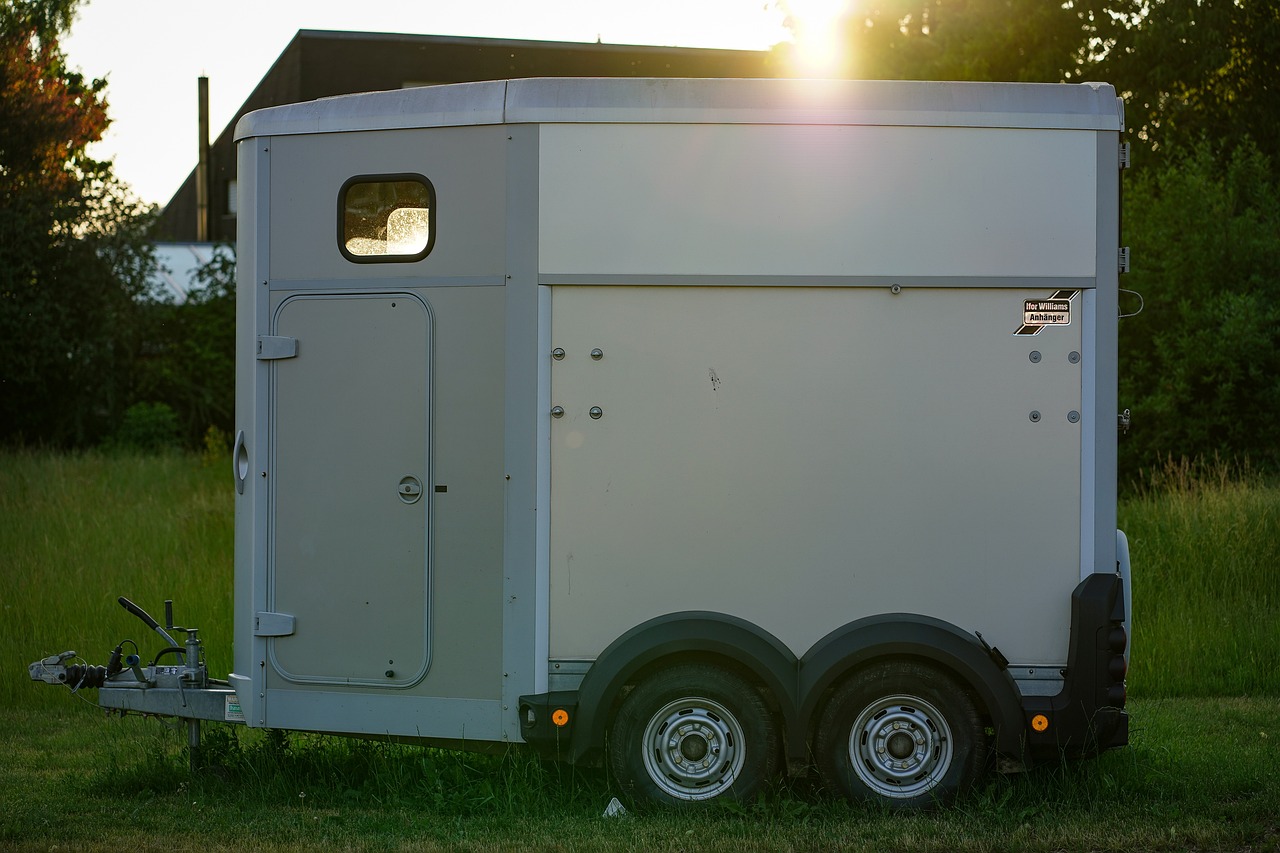
Consider incorporating fenders for the wheels if not already present on the utility trailer to enhance safety and protection.
Determine the shape, height, width, and materials needed based on your specific requirements.
Create a detailed design outlining the dimensions and features before commencing construction.
Make sure you have precise measurements to avoid errors and assure a proper fit for all components.
Safety should be a top priority in the planning stage, so make sure to account for all necessary safety features during the design process.
By carefully considering all aspects of the design and planning phase, you set a solid foundation for a successful enclosed trailer construction project.
Gathering Tools and Materials
To start on the construction of an enclosed trailer, gather essential tools like a welding torch, cutting torch, drill, utility knife, and caulking gun, along with necessary materials such as plywood boards, wooden beams, aluminum sheets, and polyvinyl.
The utility knife will be important for cutting materials like plywood boards to the required dimensions.
The welding torch will be used to join metal components, while the drill will aid in making holes for screws and bolts.
The caulking gun is important for applying silicone sealant to guarantee a watertight seal.
Additionally, you’ll need nuts, bolts, latches, hinges, and nails to assemble the trailer securely.
Polyvinyl can be used for the trailer exterior to provide durability and weather resistance.
By having all these tools and materials ready, you can efficiently proceed with the construction of your enclosed trailer.
Measuring and Cutting
For precise construction of the enclosed trailer, begin by accurately measuring the trailer dimensions using a tape measure before cutting any materials. After determining the measurements, mark the plywood or metal sheets with a pencil following the measured dimensions to guarantee accuracy during cutting.
Utilize a suitable cutting tool such as a saw for plywood or a cutting torch for metal to cut along the marked lines precisely.
Maintain a consistent cutting direction and avoid exerting excessive pressure to achieve clean and straight cuts.
Before making any cuts, it’s important to double-check the measurements to avoid errors and make sure that the pieces fit together correctly during assembly. This step is essential in preventing wastage of materials and ensuring the structural integrity of the trailer.
Building the Base
Consider reinforcing the base of your enclosed trailer by adding additional support beams or crossbars for enhanced structural stability.
When using a utility trailer as the foundation, it’s crucial to make sure that the base can support the weight of the trailer and the cargo it will carry.
To make the base more robust, install support beams perpendicular to the trailer’s axle to provide extra strength. These beams will help distribute the weight evenly and prevent sagging over time.
Additionally, securing the plywood boards to the trailer base using screws or bolts will create a stable surface for the walls and roof.
Make sure the base is level and securely attached to the trailer frame to avoid any issues during construction.
Constructing Walls and Roof
Reinforcing the base with additional support beams and crossbars provides a sturdy foundation for constructing the walls and roof of your enclosed trailer.
To guarantee durability and strength, utilize plywood boards for the walls and roof. Secure these plywood panels to the wooden frame using screws and bolts, creating a secure and robust structure.
For added security against water leakage, apply silicone sealant along the edges and seams of the walls and roof.
Consider incorporating insulation between the walls and roof to regulate the interior temperature of the trailer effectively.
Proper ventilation is important for air circulation within the enclosed trailer; so, think about installing vents or windows in the walls.
By following these steps meticulously and paying attention to detail, you’ll create a high-quality enclosed trailer that isn’t only secure but also functional for your specific needs.
Conclusion
To sum up, building an enclosed trailer requires careful planning, precise measurements, and skilled craftsmanship.
By following the outlined steps and utilizing the necessary tools and materials, you can create a sturdy and functional trailer for your specific needs.
Remember to pay attention to details, such as waterproofing and stability, to make sure the trailer’s durability and longevity.
With proper care and maintenance, your enclosed trailer will serve you well for years to come.
Leave a Reply