You’ve got a Dremel tool and a piece of wood, and you’re ready to leave your mark. But where do you start?
If you want to learn how to engrave wood with Dremel then read on.
We’ll cover everything from selecting your wood and understanding your tool, to the step-by-step process of engraving.
You’ll also discover some handy tips to hone your skills, and learn how to maintain your Dremel for future projects.
Ready to get creative? Let’s get started.
Key Takeaways
- Safety precautions such as wearing safety glasses and a dust mask are necessary.
- Different types of wood yield different engraving outcomes.
- Sketch your design onto the wood as a guideline.
- Perform regular maintenance and proper cleaning after each use.
Understanding the Basics of Dremel Tool
You’re beginning your journey by understanding the basics of a Dremel tool, which is crucial in mastering its use. The Dremel tool versatility is one of its outstanding features. It’s a handheld rotary tool that can perform a myriad of tasks. It’s perfect for engraving, polishing, and cutting, making it a versatile addition to your toolbox.
It’s not just about being versatile, though. Safety precautions with Dremel are necessary. It’s crucial to always wear safety glasses and a dust mask when using the tool. It’s also recommended to keep a firm grip on the tool and avoid using excessive force. Remember, it’s the speed of the Dremel, not the force, that accomplishes the task.
With these basics, you’re on your way to mastering the Dremel tool.
Selecting Your Wood for Engraving
In your quest for the perfect engraving, it’s essential to consider the type of wood you’re working with, as the quality and texture can greatly impact the outcome. Wood sourcing isn’t just about finding any piece of lumber; it’s about understanding how different types of wood will respond to your engraving materials.
For example, softer woods like pine are easy to carve but may not hold intricate details well. In contrast, hardwoods like oak or maple, while more challenging to work with, yield crisp, detailed engravings.
To assist you, here’s a quick guide:
| Type of Wood | Suitable for |
|---|---|
| Softwood (Pine, Cedar) | Simple designs |
| Hardwood (Oak, Maple) | Detailed engravings |
Step-By-Step Process of Engraving Wood With a Dremel
Now that you’ve selected your wood, let’s dive into the step-by-step process of engraving it with a Dremel, but remember, safety gear like goggles and gloves are a must. Following Dremel safety measures is crucial, as it ensures your creative journey doesn’t end in injury.
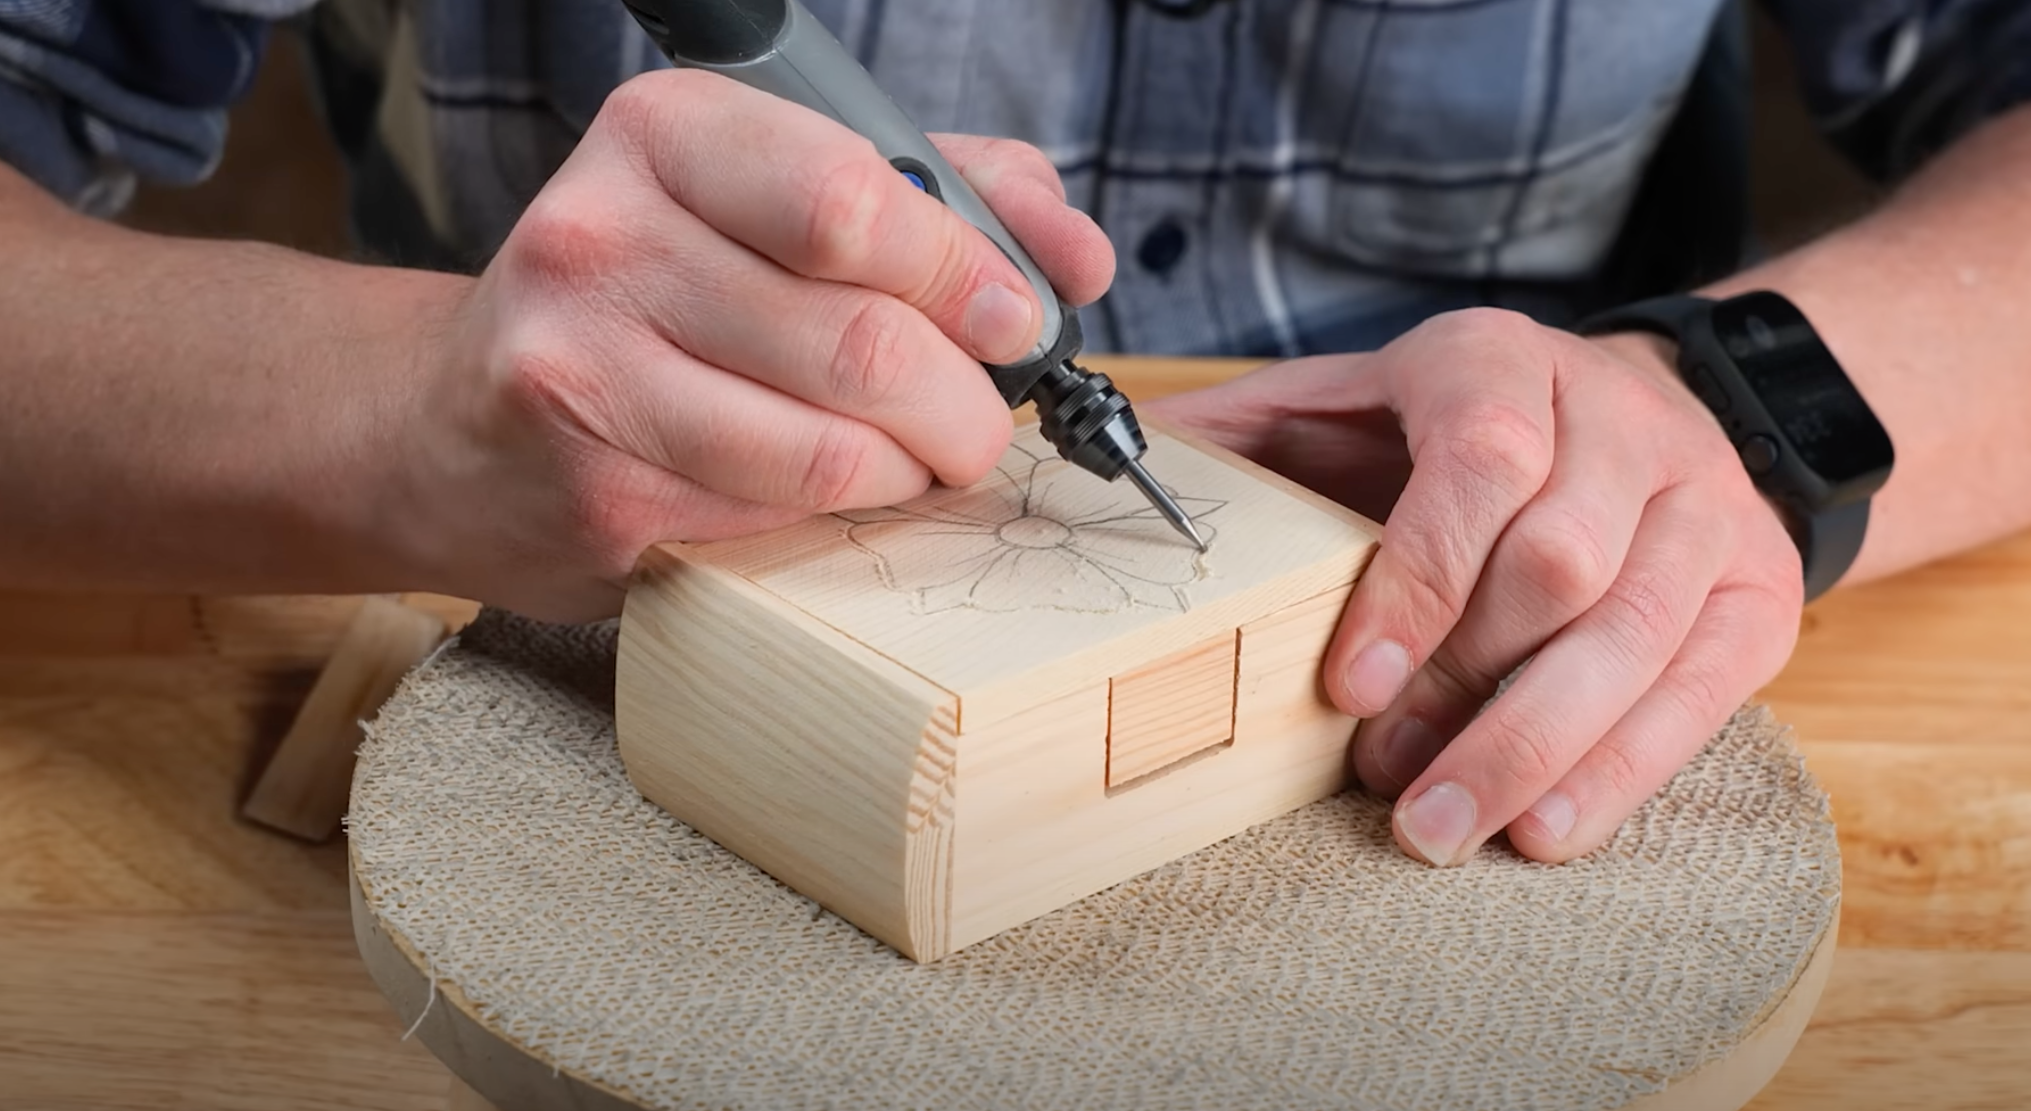
- First, sketch your design onto the wood. This provides a guideline, helping you achieve those artistic engraving techniques you’re aiming for.
- Next, set your Dremel to a low speed. High speeds may damage the wood.
- Then, gently trace your sketch with the Dremel, adjusting the speed as needed.
- Finally, smooth the edges with sandpaper for a clean finish.
Here’s a video by Cornelius Creations:
Tips for Enhancing Your Engraving Skills
Practicing consistently can significantly boost your engraving skills, making your woodwork projects more detailed and polished. It’s not just about how often you engrave, but also how you approach each project. Skill development is crucial in this craft.
You need to familiarize yourself with different engraving techniques, such as stippling, sgraffito, and relief engraving. It’s also beneficial to learn how to use various Dremel attachments for diverse effects.
Explore different wood types and understand how each reacts to your Dremel tool. Remember, it’s okay to make mistakes. They’re part of the learning process.
You’ll find that as you continue to experiment and refine your techniques, your engraving skills will soar, and your woodwork projects will impress.
Maintaining Your Dremel for Long-Term Use
You’ll significantly extend your Dremel tool’s lifespan by performing regular maintenance and proper cleaning after each use. Dremel storage solutions are key in maintaining your device, as they protect it from dust and damage.
Consider these maintenance tips:
- Regularly inspect your Dremel for any visible wear.
- Lubrication practices are essential; always apply lubricant to moving parts to reduce friction and wear.
- Clean your Dremel after each use, removing any wood shavings or dust.
- Store your tool in Dremel-designated storage solutions to ensure protection.

Leave a Reply