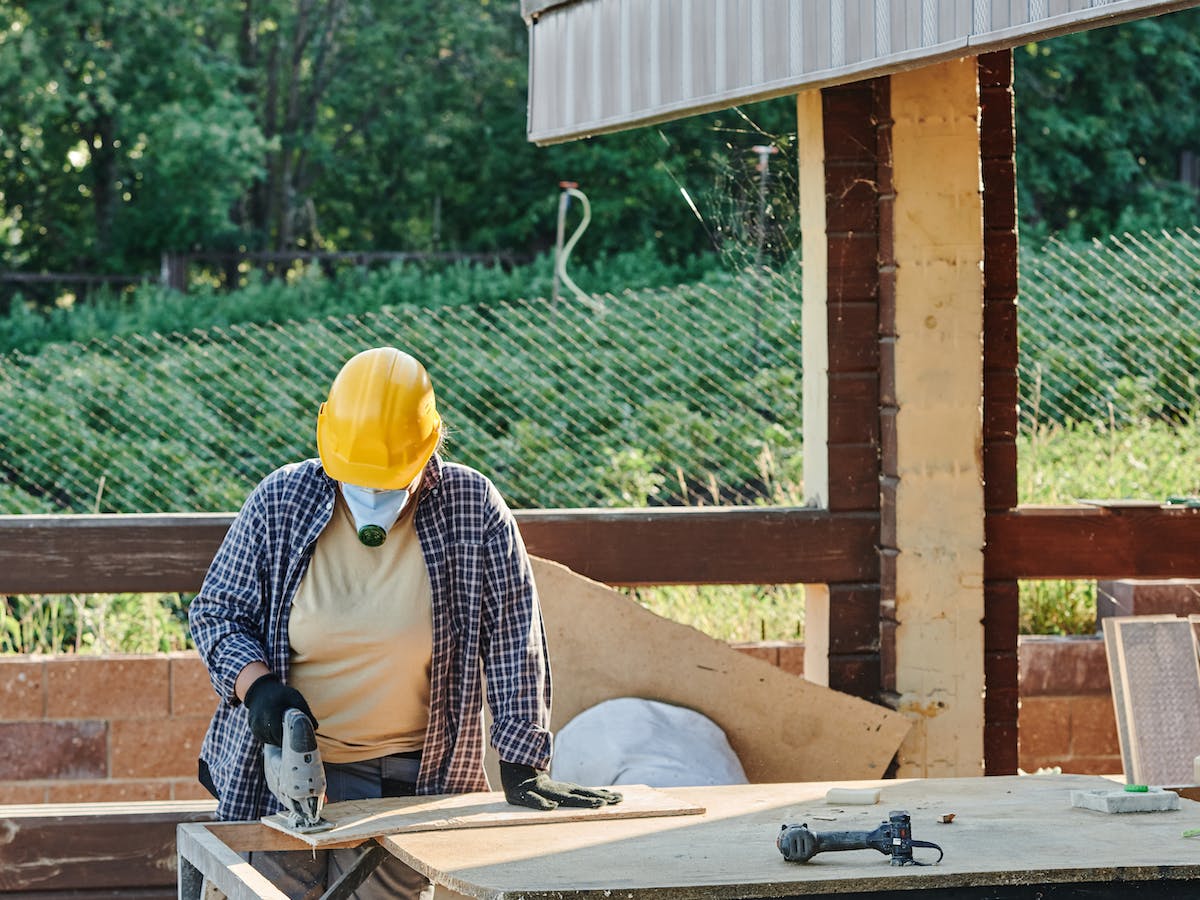
You’ve got a great project in mind, but that rough plywood’s got you stumped, right? Don’t worry, we’ve got your back.
We’re going to teach you how to transform that beastly board into a sleek, smooth canvas.
You’ll learn the right tools, techniques, and tips to achieve a flawless finish.
Key Takeaways
- Plywood is made up of thin layers of wood veneer glued together.
- There are different types of plywood, such as hardwood, softwood, and tropical plywood.
- Sandpaper, orbital sander, belt sander, and hand planer are essential tools for smoothing plywood.
- The process of sanding plywood involves starting with a low-grit sandpaper, sanding with the grain, progressing to a medium-grit sandpaper, finishing with a high-grit sandpaper, and wiping away dust with a damp cloth.
Understanding the Basics of Plywood
Before you can make plywood smooth, you’ve got to understand the basics of plywood, including its structure, types, and uses.
Plywood is essentially several thin layers of wood veneer, glued together under heat and pressure.
Now, when you’re comparing plywood types, you’ll come across hardwood, softwood, and tropical plywood, among others. Each type has its unique characteristics, strengths, and weaknesses, so choose wisely based on your project’s needs.
One aspect you should also pay attention to is the plywood grading system. This system evaluates plywood based on the quality of its face and back veneers. ‘A’ grade plywood, for instance, is the highest quality, with a smooth, paintable surface.
Understanding these basics will get you a step closer to achieving your desired smooth plywood finish.
Essential Tools for Smoothing Plywood
You’re going to need some essential tools for smoothing plywood, and knowing how to use them will make the job a lot easier. Here’s a quick rundown:
| Tool | Use |
|---|---|
| Sandpaper | For initial smoothing. |
| Orbital Sander | For efficient, even sanding. |
| Belt Sander | For tough spots and edges. |
| Hand Planer | For leveling plywood surface. |
| Wood Filler | For filling gaps and holes. |
Now that you’ve got your tools, remember these Tool Maintenance Tips: keep them clean, lubricate moving parts, and store them properly to prolong their life.
Don’t forget to apply Plywood Cutting Techniques too: use sharp blades, make straight cuts, and avoid tear-out. With these tools and tips, you’ll have smooth plywood in no time.
Step-by-Step Guide to Sanding Plywood
Let’s dive into the step-by-step guide that’ll help you master the art of sanding plywood.
Firstly, understand the plywood types you’re working with. Harder types require coarser sandpaper. Start with a low-grit sandpaper, such as 80-grit, for initial sanding. Always sand with the grain, not against it. This is crucial in sanding techniques to avoid damaging your plywood.
Next, you’ll progress to a medium-grit sandpaper, around 120-grit, to smooth out the rough spots. Lastly, finish with a high-grit sandpaper, like 220-grit, for a polished look. Remember, it’s all about patience and precision. Don’t rush.
Once done, wipe away the dust with a damp cloth.
Congratulations! You’ve just learned the basics of sanding plywood. Practice, and you’ll be an expert in no time.
Best Practices for Applying Finish to Plywood
Now that you’ve sanded down your plywood, it’s time to delve into the best practices for applying finish to achieve a flawless look.
Let’s start by doing a Finish Types Comparison.
- Oil-based finishes enhance the wood’s natural color but take longer to dry.
- Water-based finishes dry quickly, but may raise the grain.
- Shellac finishes are non-toxic and easy to repair, but can be damaged by alcohol.
- Lacquer finishes dry fast and are durable, but require good ventilation.
- Varnish finishes are highly durable, but take time to apply and dry.
For Plywood Staining Techniques, remember to apply the stain evenly using a brush or rag, and wipe off any excess before it dries.
Always test the stain on a scrap piece first to avoid surprises.
Troubleshooting Common Plywood Smoothing Problems
In dealing with common plywood smoothing problems, you’ll need both patience and the right tools, but don’t worry, we’ll guide you through this process step by step.
Problem Identification is your first step. Check for rough patches, warps, or splinters.
Next, comes Solution Exploration. If you’re dealing with roughness, a good sanding with medium-grit sandpaper should do the trick. For warps, consider using a moisture treatment and clamping the plywood flat until it dries.
Splinters, on the other hand, can be fixed by gently sanding the area and applying wood filler.


Leave a Reply