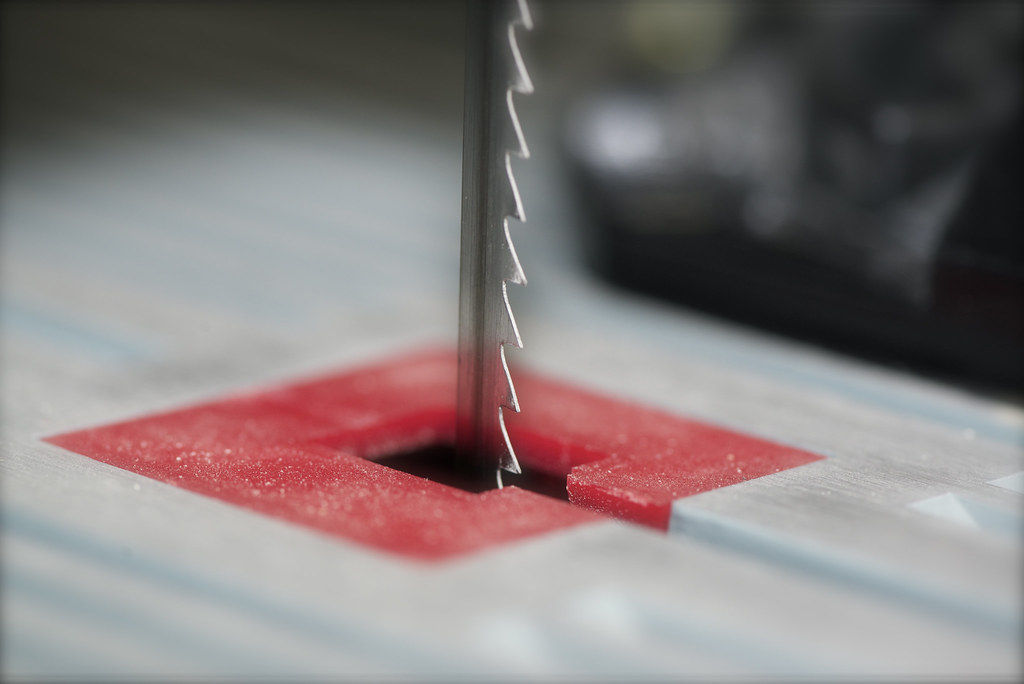
So, you’re about to start on the fascinating journey of unraveling the mystery of measuring a bandsaw blade.
Before you plunge into the intricacies of blade length, width, thickness, TPI, and set, pause for a moment.
Did you consider the importance of understanding these measurements in relation to your bandsaw’s performance and longevity?
In this comprehensive guide, we’ll walk you through the step-by-step process of accurately measuring a bandsaw blade, providing you with the knowledge and confidence needed to tackle your woodworking projects with precision and efficiency.
Importance of Blade Length
Correctly measuring the blade length of your bandsaw is essential for ensuring peak performance and safety.
The blade length refers to the distance from the tip of the blade to the point where it attaches to the bandsaw. Using an incorrect blade length can result in the blade slipping off during operation, leading to poor cuts and potential safety hazards.
Ensuring the blade length is accurate is critical for the bandsaw to function at its best, improving cutting efficiency and the quality of your workpieces.
To measure the blade length accurately, you should consult the bandsaw’s manual or seek advice from a professional if you’re unsure.
Regularly checking and maintaining the blade length is recommended to guarantee consistent performance. Incorrect blade length can’t only affect the quality of your cuts but also put you at risk of accidents.
By understanding and monitoring the correct blade length for your bandsaw, you can enhance both the safety and effectiveness of your cutting operations.
Understanding Blade Width
Measuring the blade length accurately guarantees peak performance and safety for your bandsaw; now, let’s explore understanding blade width.
The blade width plays a critical role in determining cutting precision, straight cut capability, and beam strength for accurate cuts. It’s essential to make sure that the blade width falls within the permitted range of your bandsaw machine to achieve peak performance.
Wider blades offer increased beam strength, making them ideal for straight cuts, while narrower blades are more suitable for intricate curved cuts.
Selecting the right blade width is important for achieving desired shapes, radii, and cutting flexibility in your woodworking projects.
Checking Blade Thickness
To guarantee top performance and safety when operating your bandsaw, it’s crucial to assess the blade thickness accurately.
Blade thickness is a critical factor that impacts the performance and capabilities of your bandsaw. Typically measured using gauge, such as 0.025 inches for a standard bandsaw blade, the thickness of the blade plays a significant role in determining its stability, durability, and cutting abilities.
Thicker blades, such as those with a higher gauge, offer more stability and durability during cutting operations. They’re ideal for heavy-duty tasks that require cutting through tough materials.
On the contrary, thinner blades provide increased maneuverability for intricate cuts and curves, making them suitable for detailed woodworking projects.
Understanding blade thickness is essential as it directly influences the amount of material removed and the quality of the cut.
By selecting the right blade thickness for specific cutting tasks, you can achieve excellent results and enhance the efficiency of your bandsaw operations.
Identifying TPI (Teeth per Inch)
Identifying the TPI (Teeth per Inch) on a bandsaw blade is important for optimizing cutting performance and achieving desired results. TPI refers to the number of teeth present on the bandsaw blade within each inch of cutting length.
Higher TPI blades, with more teeth per inch, are well-suited for cutting thinner materials as they deliver smoother finishes.
Conversely, blades with lower TPI, fewer teeth per inch, are ideal for cutting thicker materials due to their faster cutting speeds.
The TPI directly impacts the quality, speed, and precision of the cuts made by the bandsaw blade.
To guarantee optimal cutting performance, it’s vital to match the TPI of the blade to the thickness of the material being cut.
Measuring Blade Set
For accurate assessment of the blade set, make sure to carefully count the number of teeth in a one-inch section and observe the direction in which they point, using a magnifying glass if necessary to distinguish the tooth configuration.
The blade set refers to the pattern in which the teeth are bent to the left or right to create a kerf wider than the blade body, allowing for smoother cuts and efficient chip removal.
By understanding the blade set, you can optimize cutting performance and minimize heat buildup during operation.
Identifying whether the teeth are set to the left, right, or alternate between left and right is crucial to ensure the blade functions effectively.
Using a magnifying glass can help differentiate subtle differences in tooth orientation, aiding in determining the blade set accurately.
Paying attention to this detail will enhance your bandsaw’s cutting capabilities and overall efficiency.
Conclusion
In summary, measuring a bandsaw blade accurately is essential for ensuring top performance and avoiding issues such as slipping or poor cutting results.
By paying attention to details such as blade length, width, thickness, TPI, and set, you can select the right blade size for your bandsaw.
Remember to follow the proper steps and calculations to determine the correct measurements for a precise fit and smooth operation.

Leave a Reply