
When talking about finishing, learning how to sand wood is a very important part of the entire process. Achieving a smooth and sanded surface makes the difference for an attractive wood finish on your woodworking project.
Is sanding wood important? Yes, it is. Sanding serves as a foundation in the process of wood finishing. Most types of raw wood come with rough surfaces, feeling rust and sawdusty. They could also be filled with dents, marks, and other surface blemishes. As such, if you were to paint or stain this type of surface, you will only end up with a blotchy and messy finish, hiding the real wood grain.
If you consider yourself a beginner, no need to worry! In this tutorial, we will highlight the basic steps in sanding wood. Follow along!
What You Need
- Workspace
- Sanding dust protection outfit
- Sandpaper (different grits)
- Soft-bristled brush
Step-by-Step Instructions
Step 1 – Prepare Your Work Space

Sanding wood can turn out to be quite a messy process. This means the need to deal with a whole lot of sawdust. As such, it is recommended to do it outdoors, or in a garage or workshop if all possible. You may want to use a flat, secure surface or work table. Some woodworkers set up using a pair of sawhorses, together with a plywood board that they can purchase from a local home improvement store.
Step 2 – Wear Protection Against Sanding Dust

Shop-vac attachments can be purchased for your palm sander or orbital palm sander. This will help in eliminating more of the sawdust which is not caught by the bag that is attached to the sander. While sanding wood, it is best to wear safety goggles to preventing sawdust from entering your eyes. A sanding face respirator or a face mask can also be worn if you like. Other woodworkers also wear utility work gloves to avoid being exposed to splinters. This will also help in reducing vibration caused by sanding.
Step 3 – Choose Different Sandpaper Grits

Sandpaper is available in different grits, ranging from very fine grit, like 220 or 320 grits to very coarse grit, like 60 grits. It is often recommended to begin with a low grit of sandpaper in sanding your entire project. Note that this may take a very long time to complete the project because it will remove all of the rough particles off the wood. As you continue to move up in the sandpaper grit, you can expect a smoother finish, with less material that is removed. At this point, it is best to determine the grit that you will need for your specific project.
The sandpaper grit also depends on the type of wood that you are using. For example, if you are using premium wood for your project, one that is in very good condition, then you may want to begin with 120 grit, then moving up to 220 grit sandpaper. However, if the wood is very rough, or has an old finish on it, then you may want to start using a 60 grit sandpaper, and eventually moving up the grit from there.
Step 4 – Begin with a Corse Grit Sandpaper
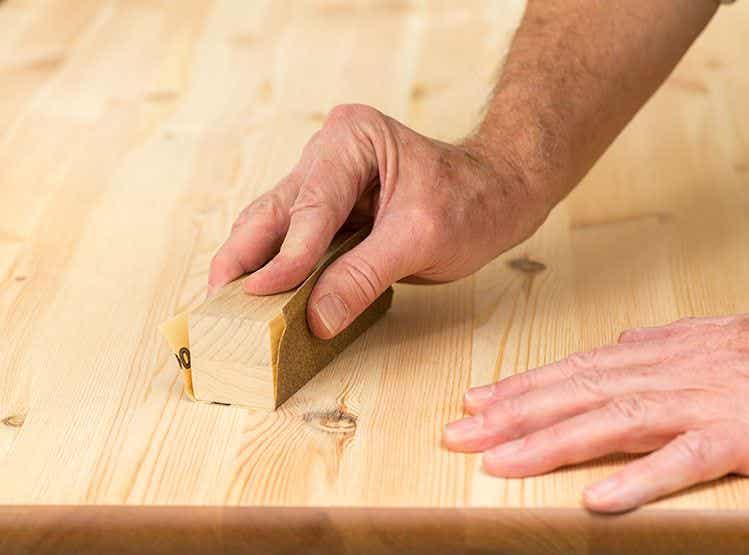
You can begin with rough grit sandpaper. An 80 grit sandpaper is good for the first sanding round. It usually takes the longest amount of time to complete, removing the most material. A visible difference in the appearance of the wood will become obvious as you sand.
Step 5 – Continue with a Medium Grit Sandpaper

Medium grit sandpaper can be used next. You can opt between 120 grit or 150 grit for this, working towards smoothing the surface of your wood.
Step 6 – Finish Off with a Fine Grit Sandpaper

Finish the sanding process using sandpaper with a finer grit, like a 220 grit. You would want the wood surface to feel smooth after finishing.
Step 7 – Clean Up

The last part of the process involves removing sawdust from the wood. You can opt from the different ways of doing so, such as using a damp cloth or a shop vac, among others. One common way is using a soft-bristled brush in sweeping most of the sawdust off. Then, wipe off using a tack cloth, removing the remaining sawdust. This type of cloth is quite sticky, which is why you might want to use latex gloves. It works well in removing remaining sawdust.
Conclusion
Taking into consideration the basics of sanding will help you achieve the surface that would be ideal for painting or tainting. This step in the woodworking finishing process is very important if you want to achieve a professional-looking output. Learning how to sand wood the right way will help you achieve all of these and more. Why not share your experience with us? Feel free to leave your thoughts in the comments section below. Feel free to share this article if you like!

Leave a Reply