Are you wondering how to achieve a flawless finish when painting over wood filler? Look no further!
In this article, we will guide you through the process of preparing the surface, applying wood filler, and achieving a smooth finish.
With our expert tips and techniques, you’ll be able to seamlessly blend the filled areas with the rest of the wood surface, resulting in a professional-looking paint job.
Let’s get started!
Key Takeaways
- Wood filler is a versatile product that fills gaps, cracks, and holes in wood surfaces.
- Properly preparing the surface, including sanding and removing dust, is important for wood filler adhesion.
- Applying wood filler with a putty knife and allowing it to dry completely before sanding is crucial for achieving a smooth finish.
- When painting over wood filler, it is recommended to apply thin coats of paint in smooth, even strokes and to be patient for a professional-looking finish.
Understanding Wood Filler and Its Purpose
You should know the purpose of wood filler and how it can help with painting over it.
Wood filler is a versatile product that’s used to fill in gaps, cracks, and holes in wood surfaces. It’s typically made of a combination of wood fibers and a binding agent, such as epoxy or latex.
The purpose of wood filler is to create a smooth, even surface that can be painted over. It helps to hide imperfections and create a seamless finish.
When painting over wood filler, it’s important to choose a high-quality filler that’s compatible with paint. This will ensure that the paint adheres properly and that the finished result is durable and long-lasting.
Preparing the Surface for Wood Filler Application
Before applying the wood filler, make sure to properly sand the surface for better adhesion.
Sanding the surface helps to create a rough texture, allowing the wood filler to grip onto the surface more effectively.
Start by using coarse sandpaper to remove any rough patches or imperfections on the wood.
Then, switch to a finer grit sandpaper to smooth out the surface and ensure a seamless finish.
Make sure to sand in the direction of the wood grain to avoid any scratches or damage.
Once you’ve sanded the surface, wipe away any dust or debris with a clean cloth.
This will ensure that the wood filler adheres properly and provides a solid foundation for your paint job.
Applying Wood Filler and Achieving a Smooth Finish
To achieve a smooth finish, gently spread the wood filler over the surface using a putty knife. Start by applying a small amount of filler onto the putty knife and then spread it evenly over the damaged area. Use smooth, even strokes to ensure that the filler is spread out evenly and fills in any cracks or holes. Make sure to fill the damaged area completely, but avoid applying too much filler as it may cause the surface to become uneven.
Once you’ve applied the filler, let it dry completely before sanding it down to a smooth finish. Sand in the direction of the wood grain to avoid any scratches or marks. After sanding, wipe away any excess dust and your surface will be ready for painting.
Sanding and Priming the Filled Wood Surface
Once the filled area is dry, sand it down to create a smooth surface ready for priming. You’ll need to use a fine-grit sandpaper and work in gentle, circular motions. This will help to even out any bumps or imperfections left behind by the wood filler. Make sure to keep the sandpaper flat against the surface and avoid applying too much pressure, as this can damage the wood.
As you sand, periodically run your hand over the surface to check for smoothness. Once the filled area feels smooth to the touch, wipe away any dust with a clean cloth or tack cloth.
Now your surface is ready for priming. Remember to choose a primer that’s suitable for your project, whether it’s water-based or oil-based.
Painting Techniques for a Professional-Looking Finish
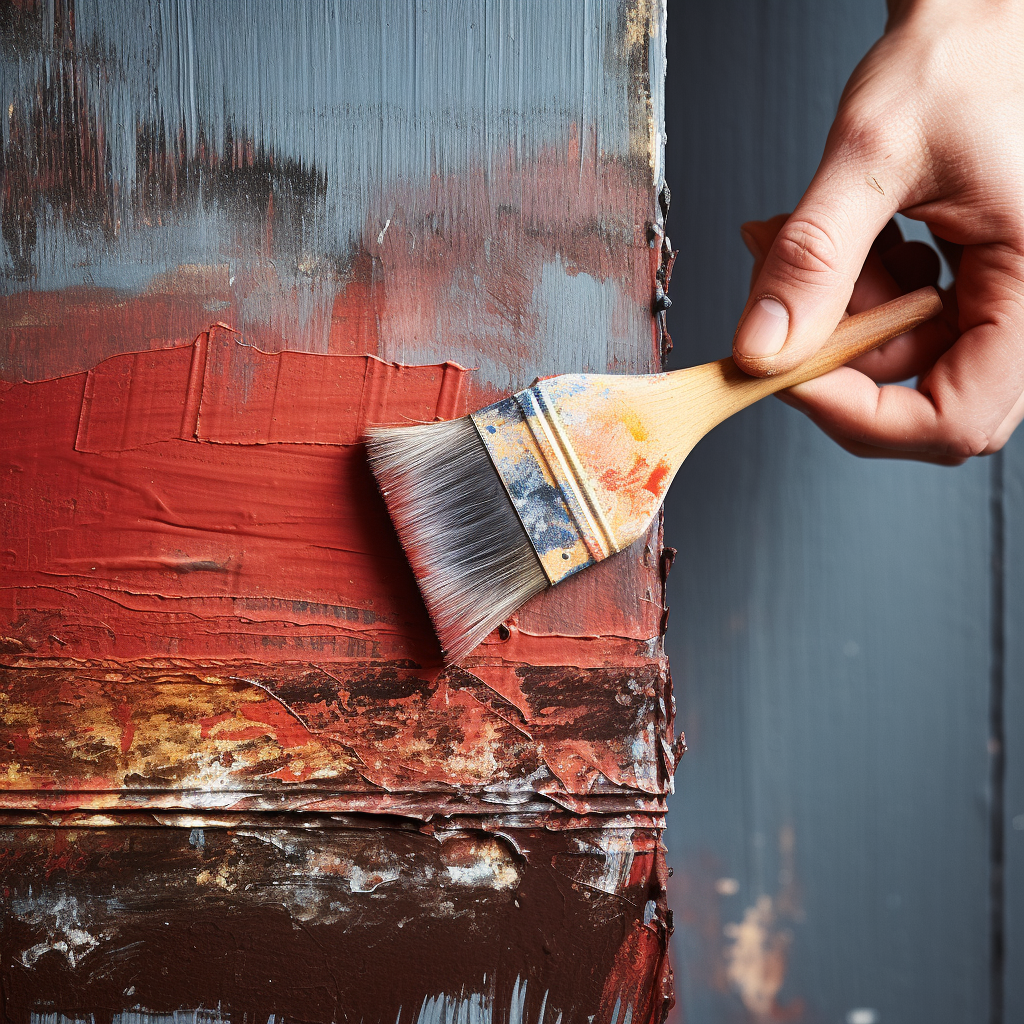
For a professional-looking finish, remember to apply thin coats of paint in smooth, even strokes. This technique ensures that the paint spreads evenly and minimizes the chances of drips and brush marks.
Start by loading your brush with a small amount of paint and then lightly brush it onto the surface, making sure to cover the wood filler completely. Avoid applying too much pressure, as this can create uneven texture and streaks. Instead, let the brush do the work and allow the paint to glide smoothly across the surface.
Take your time and be patient, applying multiple thin coats rather than one thick coat. This will result in a smooth and flawless finish that will make your project look professional and polished.
Painting over wood filler is an important step in achieving a smooth and professional-looking finish.
By understanding the purpose of wood filler, preparing the surface properly, applying the filler correctly, and sanding and priming the filled wood surface, you can ensure a seamless paint job.
By following these techniques, you can transform any wood surface and achieve a flawless result.
Frequently Asked Questions
Q: What is wood filler and why would I need to use it?
A: Wood filler, also known as wood putty, is a type of substance that is used to fill holes, cracks, and gouges in wood. It is used primarily in woodworking projects to repair imperfections or prepare the surface of the wood before painting or staining.
Q: What are the different types of wood filler available?
A: There are various types of wood fillers available, including stainable wood filler, water-based wood filler, and solvent-based wood filler. Each type has its own unique characteristics and advantages, depending on the specific requirements of your project.
Q: Do I need to prime the wood filler before painting?
A: Yes, it is recommended to prime the wood filler before painting to ensure proper adhesion and a smooth finish. Priming the wood filler helps to create a suitable surface for the paint to adhere to and prevents it from absorbing too much paint.
Q: How long does wood filler take to dry?
A: The drying time of wood filler can vary depending on factors such as the type of filler used, humidity levels, and the thickness of the application. In general, wood filler can take anywhere from a few hours to several days to fully dry and harden.
Q: Can I paint over wood filler?
A: Yes, you can paint over wood filler once it has dried and hardened. However, it is important to ensure that the wood filler is fully dry before applying any paint to avoid any issues with adhesion or drying of the paint.
Q: Can I stain wood filler?
A: Yes, certain types of wood fillers, such as stainable wood fillers, are specifically designed to accept stain. These fillers can be used to fill imperfections in wood and then stained to match the surrounding wood finish.
Q: How do I use wood filler?
A: To use wood filler, start by cleaning the surface of the wood and removing any loose debris. Then, apply the wood filler using a putty knife or a similar tool, making sure to press it firmly into the hole or crack. Smooth out the surface of the wood filler using the putty knife and allow it to dry before sanding and finishing the surface as desired.
Q: How do I choose the right wood filler for my project?
A: When choosing a wood filler, consider factors such as the type of wood you’re working with, the size and depth of the imperfection, and whether you plan to stain or paint the wood. For larger or deeper imperfections, a stronger and more durable wood filler may be necessary.
Q: Can I use wood putty on finished wood?
A: Yes, wood putty can be used on finished wood to repair small imperfections or fill minor cracks and gouges. However, it is important to ensure that the wood putty matches the color and texture of the surrounding wood in order to achieve a seamless finish.
Q: Can I use wood filler to repair natural wood?
A: Yes, wood filler can be used to repair natural wood surfaces. However, it is important to choose a wood filler that is compatible with the type of wood you are working with and follow the manufacturer’s instructions for best results.

Leave a Reply