You’ve got a beautiful cedar wood piece, but you’re worried about damage? You’re in the right place!
It’s crucial to seal cedar to maintain its beauty and durability. We’ll walk you through why it’s important, preparing your wood, choosing the right sealer, and the application process.
You’ll also learn maintenance tips to keep your cedar looking great. Let’s protect that cedar wood of yours, enhancing its natural charm and prolonging its life.
Key Takeaways
- Sealing cedar wood enhances its aesthetic appeal and extends its lifespan.
- Sealing protects cedar wood from weather, insects, and decay.
- Sealing prevents cedar wood from graying and warping due to exposure.
- The right sealer for cedar wood can be oil-based, water-based, or epoxy.
Understanding the Importance of Sealing Cedar Wood
In order to maintain its beauty and durability, you’ll need to understand why it’s so crucial to seal your cedar wood.
Cedar wood benefits from sealing, as it enhances its aesthetic appeal and extends its lifespan. The sealing process impacts the wood by forming a protective layer against weather, insects, and decay.
This layer also helps to retain the rich, warm tones of your cedar, preventing it from graying due to exposure. Moreover, sealing also prevents the wood from absorbing excess moisture, which can lead to warping and rot.
Preparing Cedar Wood for Sealing
You’ll need to properly prep your cedar wood before sealing to ensure the sealant adheres effectively. Here’s a detailed step-by-step guide on how to prepare your cedar wood:
- Utilize efficient Cedar Cleaning Methods. This involves removing any dust, dirt, or stains that could hinder the adhesion of the sealant.
- Conduct a Moisture Content Analysis. The wood must be dry before sealing. Any moisture content above 15% will affect the sealant’s efficiency.
- Sand the surface. This will create a smooth surface for the sealant to adhere to.
- Wipe down the cedar wood. Use a damp cloth to remove any remaining dust particles.
Selecting the Right Sealer for Cedar Wood
Choosing the right sealer is crucial. There are three main sealer types you should consider for your cedar wood.
First, there’s oil-based sealers. They’re highly compatible with cedar, penetrating deeply into the wood and providing strong protection against weather damage. However, they require regular reapplication.
Second, water-based sealers are easier to apply and clean up, but they mightn’t penetrate as deeply. They’re a good choice if you’re looking for a sealer that dries quickly and has less of a smell.
Lastly, consider epoxy sealers. They create a strong, clear coating that can protect your cedar from UV rays and moisture. But, they’re more challenging to apply and can show scratches.
Step-by-step Guide to Applying Sealer on Cedar Wood
Before you start applying sealer on your cedar wood, make sure you’ve thoroughly cleaned the surface so that the sealer can adhere properly. Sealer Application Techniques and Troubleshooting Sealer Issues are vital to ensure a successful result.
Here’s a simple guide to help you:
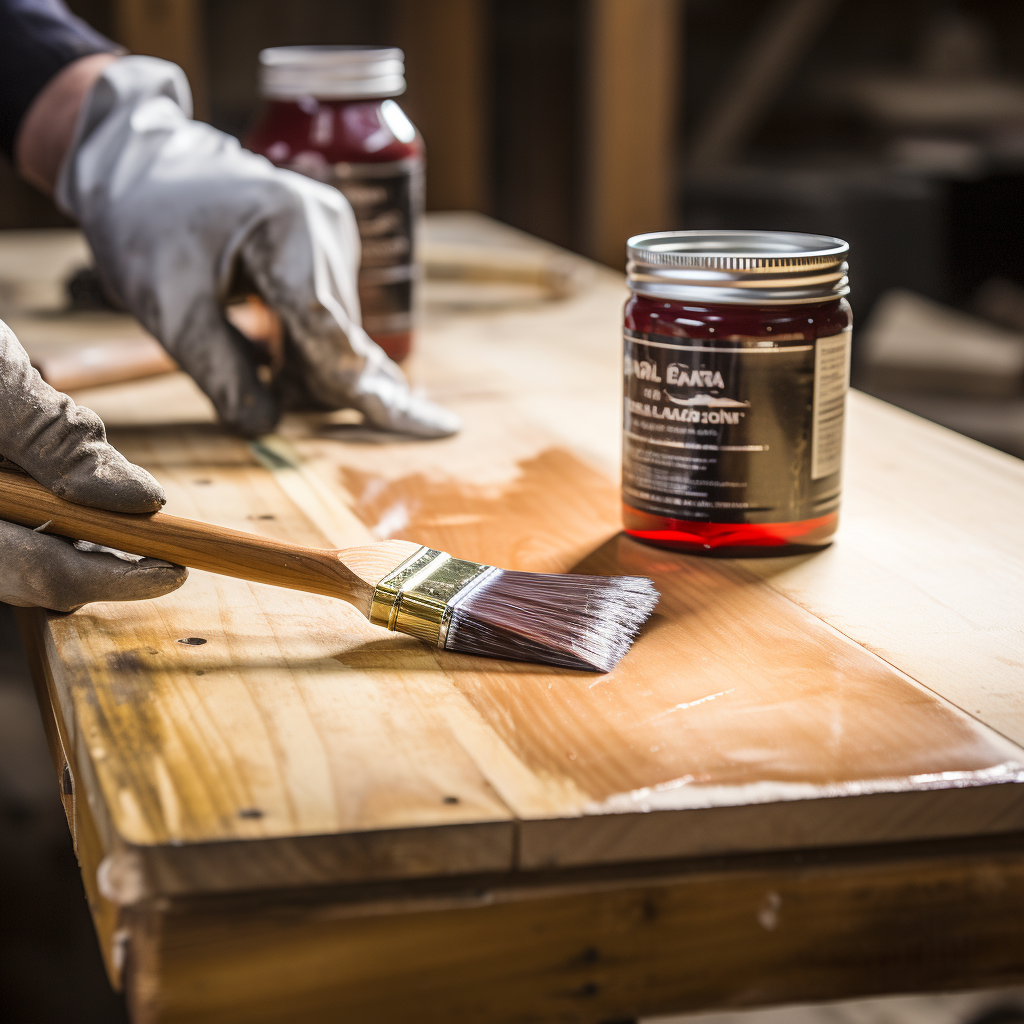
- Using a brush, apply the sealer in even strokes. Always follow the grain of the wood.
- After application, let the sealer dry as per the manufacturer’s instructions.
- If you observe any issues like bubbles or unevenness, troubleshoot immediately. Don’t let the sealer dry out completely before addressing these issues.
- Once dried, check the surface. If it’s not smooth or if the sealer hasn’t adhered well, you might need to reapply.
Maintenance Tips for Sealed Cedar Wood
After you’ve sealed your cedar wood, it’s important to follow the right maintenance tips to ensure its longevity. Cedar lifespan extension hinges on regular maintenance and careful observation. Do periodic checks for any signs of damage. If you spot any, apply a fresh layer of sealer to prevent further deterioration. Sealer reapplication frequency depends on various factors like weather and usage.
Here’s a quick guide:
| Maintenance Tip | Rationale |
|---|---|
| Regular Inspection | Spot early signs of damage |
| Immediate Repair | Prevents further deterioration |
| Sealer Reapplication | Adds extra protection |
Frequently Asked Questions
Q: What is the best way to seal cedar wood?
A: The best way to seal cedar wood is by applying a wood sealer or stain.
Q: How does sealing cedar wood protect the wood?
A: Sealing cedar wood helps protect the wood from UV damage, moisture, and other weather elements.
Q: Will sealing cedar wood change its natural color?
A: Sealing cedar wood with a transparent or semi-transparent stain will enhance its natural color rather than change it.
Q: Can I seal untreated cedar wood?
A: Yes, it is recommended to seal untreated cedar wood to protect it and extend its lifespan.
Q: What should I do before sealing cedar wood?
A: Before sealing cedar wood, make any necessary repairs, clean the surface, and allow the wood to dry completely.
Q: How should I apply the stain to cedar wood?
A: When applying the stain, work in small sections and use a brush, roller, or sprayer to evenly coat the wood.
Q: How long does cedar wood stain last?
A: The lifespan of cedar wood stain varies depending on factors such as the quality of the stain, the location of the wood, and the amount of exposure to weather conditions. Generally, high-quality stains can last several years before needing reapplication.
Q: Can I seal cedar siding or cedar fence with the same stain used for cedar wood?
A: Yes, the same stain used for sealing cedar wood can also be used for cedar siding or cedar fence.
Q: How often do I need to seal cedar wood?
A: Cedar wood should be sealed every few years to ensure its protection and longevity.
Q: How should I clean and maintain sealed cedar wood?
A: Regular cleaning with mild soap and water is recommended to remove dirt and mildew. Additionally, it is important to inspect the wood periodically and make any necessary repairs before resealing.

Leave a Reply